~/hub / custom-maps / kowloon

The body of Godzilla slumped behind a water tower at the end of the fight, with the prompt Press to end the game, Cost: 50000, Kowloon, Call of Duty Black Ops III Zombies

Kowloon:
Easter Egg

The Kowloon main quest step by step: the six switches, the 115 canister, the three challenges, the key card and the orb, the Lightning Rod, the generators, the flying orb, the Satisfaction Trial and the fight against Godzilla.

  • 7 Min. Lesezeit
  • 11 Kapitel
  • aktualisiert

Before starting

The main quest of Kowloon charges a metal orb with lightning, sends it across the rooftops and ends, since the Season 2 update, in a fight against Godzilla. It needs the six power switches, the Tramplesteam, the upgraded Sliquifier and a lot of points for the ending. Many steps can be done in any order: the Steam guide Kowloon Complete Map Guide advises to start the Sliquifier upgrade early and to wait before buying Mule Kick, because the Lantern of the upgrade takes a weapon slot.

The order below is the one of that guide, the most complete source. The Kowloon Easter Egg Guide on Steam, Kunjora and Not So Serious Gaming give the same steps, in a slightly different order.
Step 1: the six power switches

Six power switches stand around the map, each shown by a power icon when a player comes near. Turning on all six opens the stairs to Juggernog, Mule Kick and the upper roof, and they count for the second challenge. Their places are listed on the page of the perks and the power.

Step 2: the 115 canister

  1. In the room of Juggernog and Mule Kick, take the large canister on the far right, next to a hole in the floor.
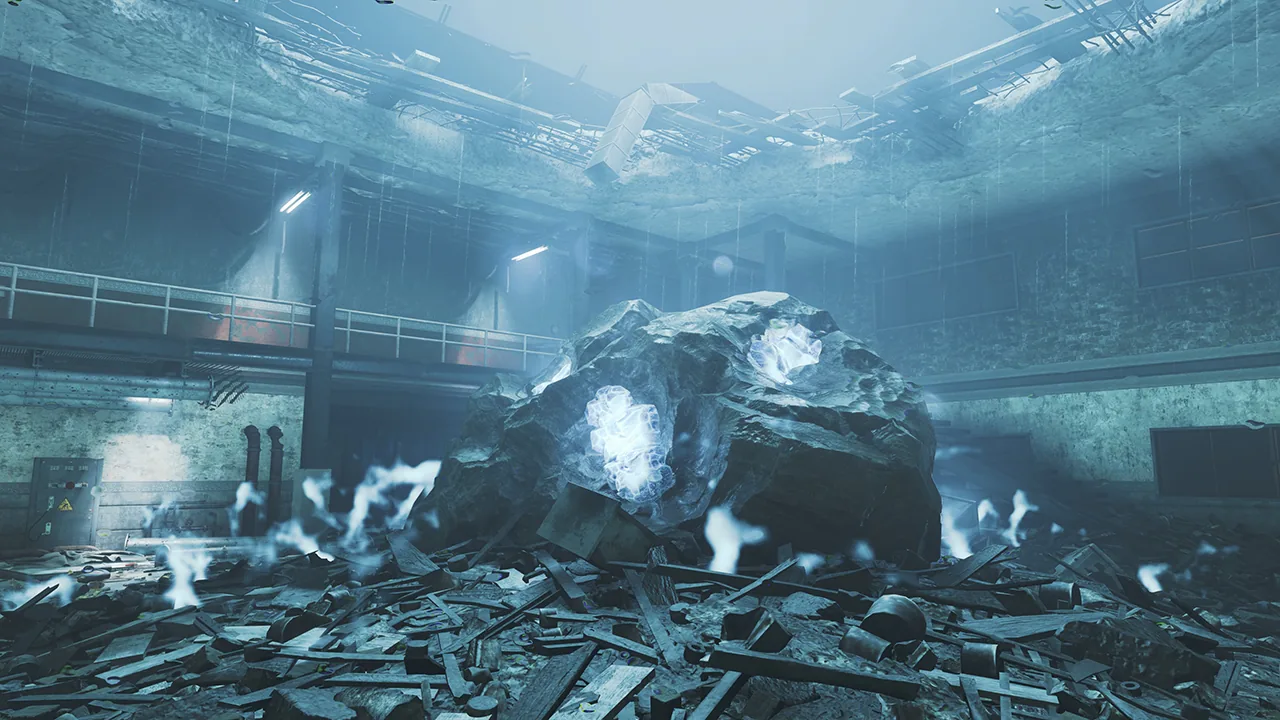
  2. Carry it to the meteor room, the room of Double Tap, and place it at the base of the meteor. The prompt is hard to find: walk around the rock until it shows.
  3. Wait two full rounds. The canister comes back glowing, full of Element 115. Take it now or later: it is only needed for the Sliquifier upgrade.
Workshop screenshot of the meteor room: the 115 meteor glowing in the rubble under the catwalks, Kowloon, Call of Duty Black Ops III Zombies

The meteor room

The room of Double Tap, with its large 115 meteor in the rubble: the canister fills at its base, the key card floats above it and the boss fight starts from its prompt.

Step 3: the three challenges

Three terminals start three challenges. A challenge is started at its terminal, but the players do not need to come back to it once it is done.

TerminalChallenge
Meteor room, across from Double TapFill three paper soul lanterns: on the spawn roof, on the main roof near the Mystery Box, and on the upper roof next to the challenge door. The Steam guides count about 20 and about 40 kills per lantern. A full lantern sends out small fireworks and goes dark.
Main roof, above Deadshot Daiquiri, near the Mystery BoxTurn on the six power switches. If they are already on, the challenge is done at once.
Speed Cola, on the raised platform across from the machineGet 50 kills with Pack-a-Punched weapons. Any upgraded weapon counts.

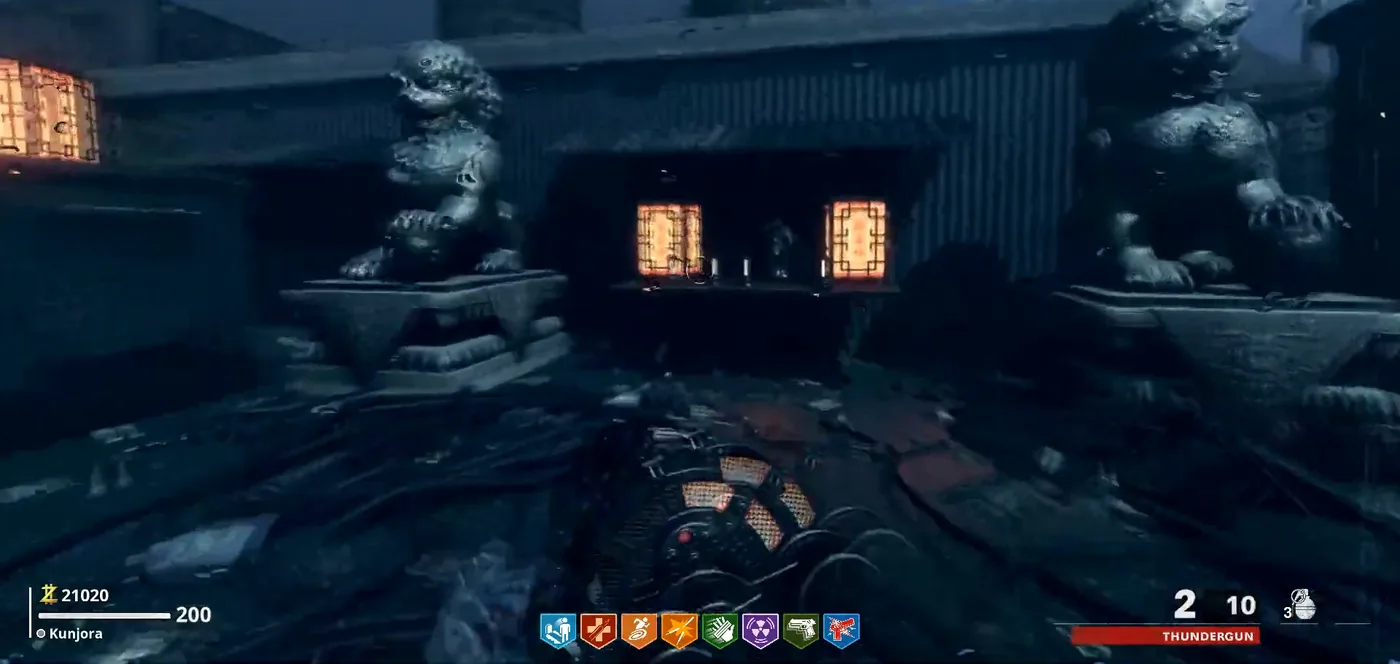
When the three are done, a loud sound plays and the gate of the upper roof, next to Elemental Pop, opens on a small room with two lion statues. The table between them holds the Lantern of the Sliquifier upgrade, and a stone pedestal stands across from it.

The two lion statues of the challenge room on the upper roof, open after the three challenges, Kowloon, Call of Duty Black Ops III Zombies

The challenge room

Behind the gate of the upper roof, opened by the three challenges: two lion statues, the table of the Lanterns, and the pedestal of the orb.

Step 4: the key card and the orb

  1. Go up to the platform above PhD Flopper, where two ziplines start. Take the left one: it drops the player into the meteor room.
  2. While falling, look at the blue key card floating in the hole of the ceiling and hold the interact button to grab it. A miss means climbing back to the roof.
  3. Back on the upper roof, open the locker of the hallway between PhD Flopper and Tacti-Quilla with the card. Take the metal orb inside, the Wundersphere of the Kowloon Easter Egg Guide.

The left zipline

From the platform above PhD Flopper, it ends with a drop through the roof of the meteor room, where the key card floats.

Step 5: the Lightning Rod

Its three parts can only be reached with the Tramplesteam, placed so that it throws the player over a gap. They are the same in every game:

PartPlaceHow to reach it
AntennaUpper floor of the meteor room, on a table on a broken platformTramplesteam on the catwalk by the outside ledge, facing the broken part of the catwalk
FrameThe building across from Speed Cola, with the blown-out wallTramplesteam on the Speed Cola platform, facing the hole in the wall
Electrical GeneratorAbove the electrical room and its power switch, behind Deadshot, near the power challenge terminalTramplesteam on the main roof, across the gap

The part names come from the Kowloon Easter Egg Guide. The rod is built on the zipline platform of the upper roof, where a blue outline shows its place. The Complete Map Guide warns that a broken Tramplesteam sometimes cannot be placed again, and advises to fetch the three parts with the same one.

Step 6: the three generators

  1. Put the orb in the Lightning Rod and wait about twenty seconds: lightning strikes and charges it.
  2. Bring the charged orb to the generator with a red light. Placing it starts a lockdown: purple barriers close the area, and the players must survive about a minute until the light turns green.
  3. Take the orb back, charge it again at the rod, and go to the next generator. The usual order: next to Juggernog, on the main roof near Stamin-Up, then next to Speed Cola, whose lockdown area is the smallest.
  4. After the third generator, charge the orb one last time. It becomes the golden, supercharged orb: four strikes in all.

Step 7: follow the orb

This step needs the upgraded Sliquifier; its quest is on the Sliquifier page.

  1. Place the golden orb on the stone pedestal of the challenge room, across from the lion statues.
  2. Shoot it with the upgraded Sliquifier. It flies off over the map, as the orb of the Moon Easter egg does, and stops in five places, where it must be shot again.
  3. The five stops: the hallway between Speed Cola and Fighter’s Fizz; the hallway between Fighter’s Fizz and the kitchen; the hallway between the kitchen and the main roof, past the power switch; boxes near the central structure of the main roof, around the corner from Stamin-Up; and the top of the electricity pole next to Elemental Pop, on the upper roof.
  4. After the fifth shot, the orb flies across the map into the mouth of the dragon statue above the Pack-a-Punch, on the spawn roof.

Step 8: the Satisfaction Trial

Back on the spawn roof, a prompt in the middle of the starting area starts the Satisfaction Trial, a soul challenge: the players cannot leave the Pack-a-Punch roof, and every zombie killed there sends its soul to the dragon above the zombie barrier. The Kowloon Easter Egg Guide counts about 150 zombies. The screen then flashes white and every player gets a free Perkaholic, all the perks; the same guide notes that it does not last forever.

Before the Season 2 update, this was the end of the quest: the guide of Kunjora, made the day after the release, ends here with a permanent Perkaholic and says that the creator meant to add a boss fight.

Step 9: the fight against Godzilla

A new message reads “Find the power source of the Titan”. The guides advise Quick Revive and Fighter’s Fizz first: the main attack of the boss downs a player in one hit.

  1. In the meteor room, hold the interact button on the prompt of the meteor. Footsteps of a giant shake the map and an objective marker appears.
  2. Follow the marker to one of three rooftops: Tacti-Quilla on the upper roof, the Pack-a-Punch roof or Speed Cola. The Complete Map Guide says the order is random. Godzilla looms over the buildings nearby.
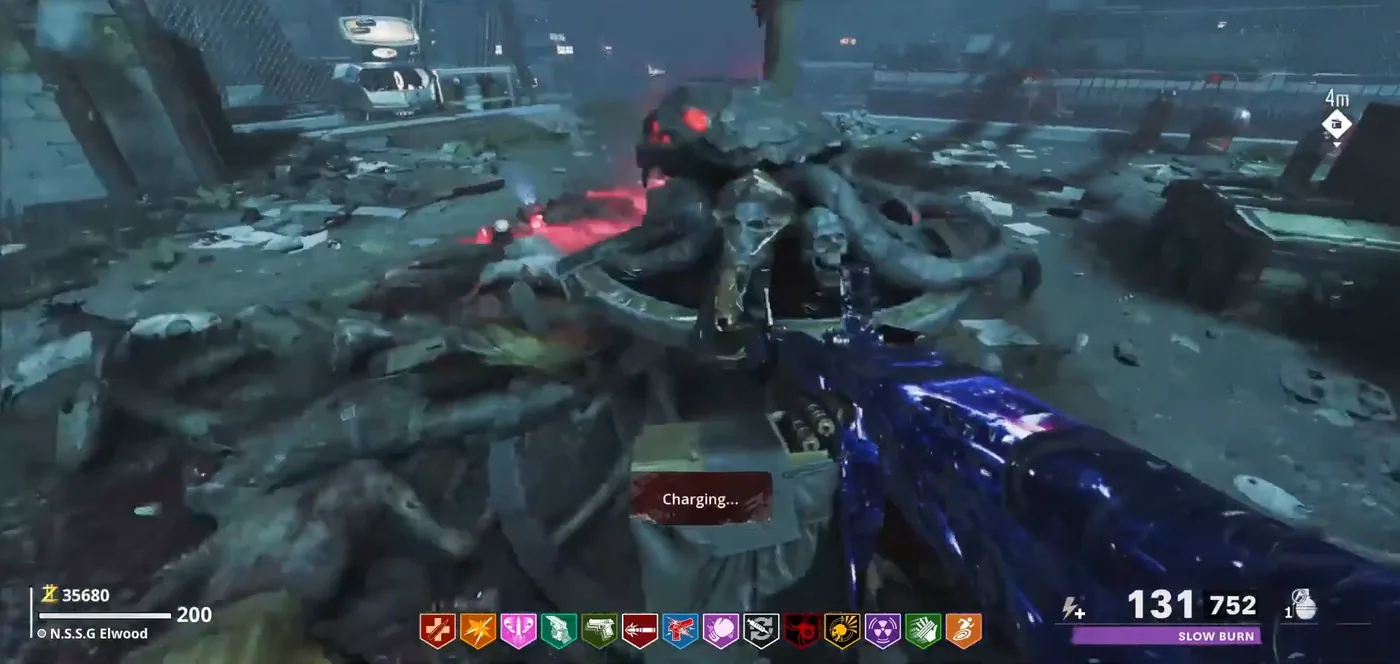
  3. All players must gather at the corruption engine in the middle of the area and interact with it to charge it. Until it is charged, the players hold off an endless horde and the fireballs that the boss rains on the roof.
  4. When a rising, charging roar is heard, take cover: Godzilla breathes blue fire over the whole roof, which downs any player in the open and kills the zombies. Shelters: on the Tacti-Quilla roof, the hallway of the locker; on the Pack-a-Punch roof, the lower part, behind the large green tarp; at Speed Cola, right next to the FFAR 1 wall weapon, a very precise spot.
  5. When the fire is gone, hold the interact button at the engine to fire a beam at Godzilla. Bullets and the Sliquifier do no damage to the boss: only the beams hurt it.
  6. Repeat on the two other rooftops. After the third beam, markers appear on the three engines: activate all three for a combined attack that kills Godzilla.
A corruption engine charging on a rooftop during the fight against Godzilla, Charging..., with zombies all around, Kowloon, Call of Duty Black Ops III Zombies

A corruption engine

The device in the middle of each rooftop of the fight: all players interact with it, it charges while the horde comes, then it fires its beam at Godzilla.

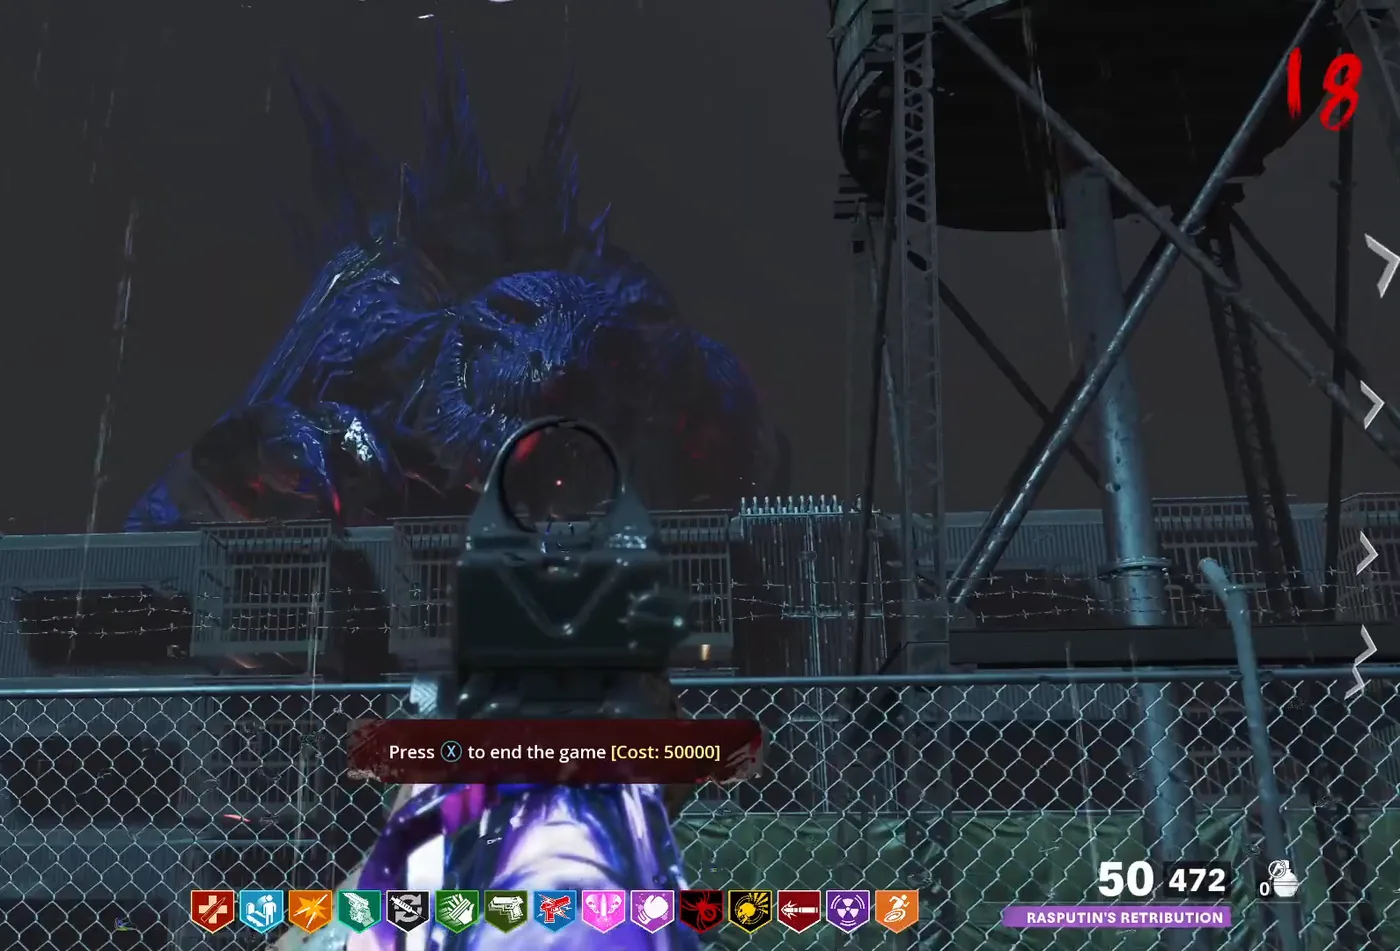
The body of Godzilla slumped behind a water tower at the end of the fight, with the prompt Press to end the game, Cost: 50000, Kowloon, Call of Duty Black Ops III Zombies

The ending

With Godzilla dead behind the buildings, the prompt of the spawn roof reads “Press to end the game [Cost: 50000]”.

The ending

With Godzilla dead, a buyable ending appears in the spawn area, at the spot of the Satisfaction Trial. It costs 50,000 points: the players “buy their way to safety”, in the words of Not So Serious Gaming. In the co-op video of Ascended Zombie, the players save up the 50,000 points after the fight and also try the round 200 secret of the sewing room.