


 English
 Français
 Italiano
 Español
 Deutsch
 Ranking
 Strumenti

The main quest of Der Riese: Declassified was designed by Eric Maynard, the narrative lead of the team. It starts from the Fly Trap of the original, sends the players through the three teleporters into new rooms, and ends with a boss fight against Samantha Maxis. It can be played solo or in co-op; the final panel of the patch of October 29, 2020 was adjusted because it was hard to activate in co-op.
~/hub / custom-maps / der-riese-declassified
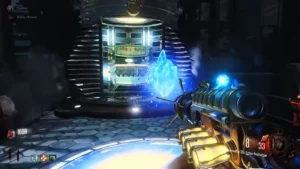
Der Riese Declassified:
Easter Egg
The main quest of Der Riese: Declassified step by step: the Fly Trap, the boilers of Teleporter Z-B, the electrical boxes of Z-A, the lights of Z-C, the crystal escort and its lockdowns, and the boss fight against Samantha Maxis.
- 6 min di lettura
- 7 capitoli
- aggiornato
Before starting
Power and Pack-a-Punch
The power on, the three teleporters linked and at least one Pack-a-Punched weapon. The Workshop description asks to turn every audio channel up before playing, since much of the quest is told through dialogue.
Perks
The guides advise Juggernog, Quick Revive and Speed Cola, and Timeslip to make the Mystery Box faster.
A wonder weapon
The Wunderwaffe DG-2 from the Box or the DG-Scharfschütze built during the quest, for the third teleporter.
Step 1: the Fly Trap
- With a Pack-a-Punched weapon, shoot the red blinking panel seen through the window on the right of the Pack-a-Punch, past the window that leaves the Animal Testing Laboratory. Power-ups float up into the sky and Samantha speaks.
- Shoot the three toys that appear, in any order: a teddy bear with a knife in the burning window seen from the spawn, a teddy bear in a cage to the right of the Trench Gun wall buy, and a Monkey Bomb in the furnace across from Mule Kick.
Step 2: the overloaded teleporters
Teleporters Z-A and Z-B each have a task, in either order. When a task is done, the panel in front of the teleporter blinks red; using it overloads the teleporter, and every player has to stand inside to travel. Each trip gives one half of the Wunderwaffe DG-Scharfschütze, and the first one also leaves the second part of the Ragnarok DG-5 in the spawn.
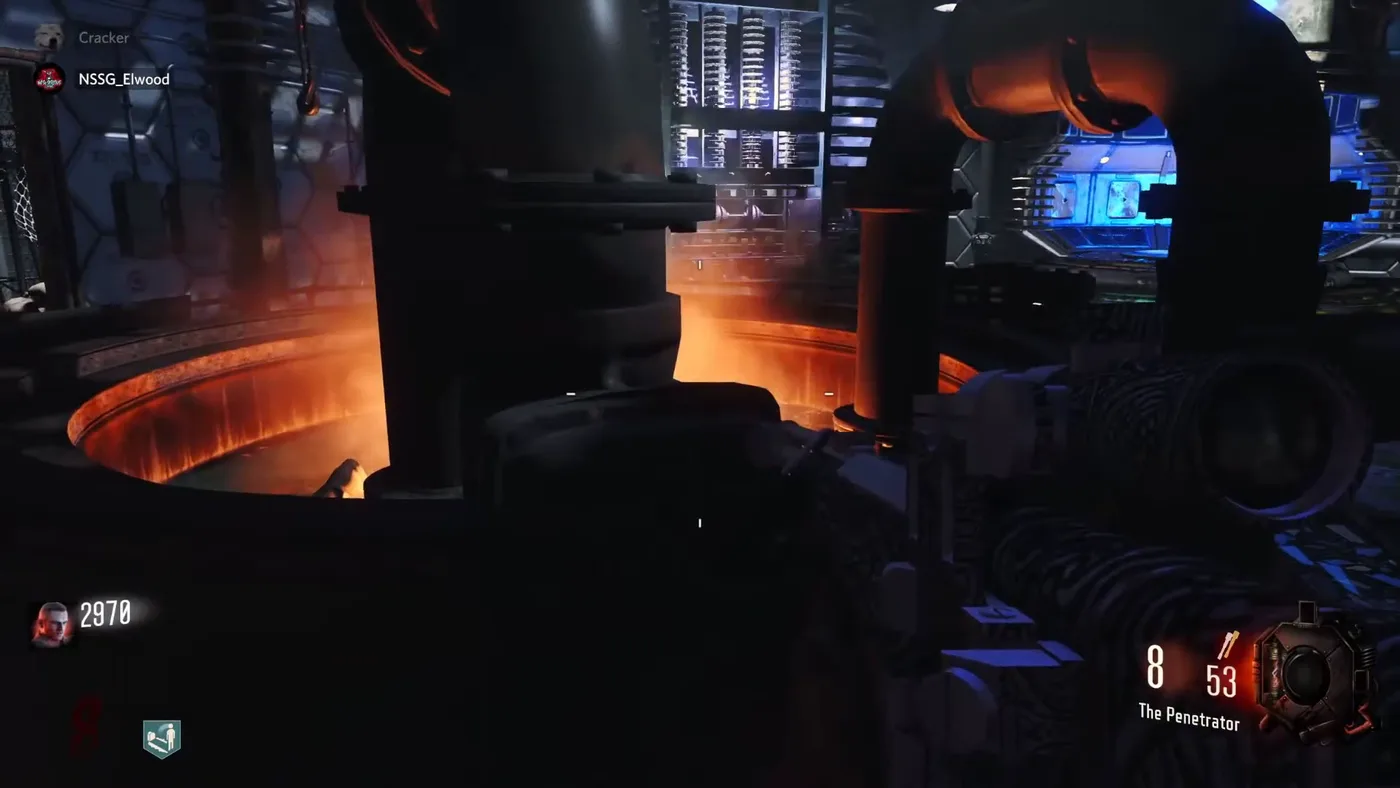
Teleporter Z-B: the boilers
Turn the four valves of the two boilers in front of the teleporter, two on each, until all four pipes bubble. Not So Serious Gaming hears a voice line when it is done. Neon Slice warns not to turn them too far, or the step fails and has to be redone.
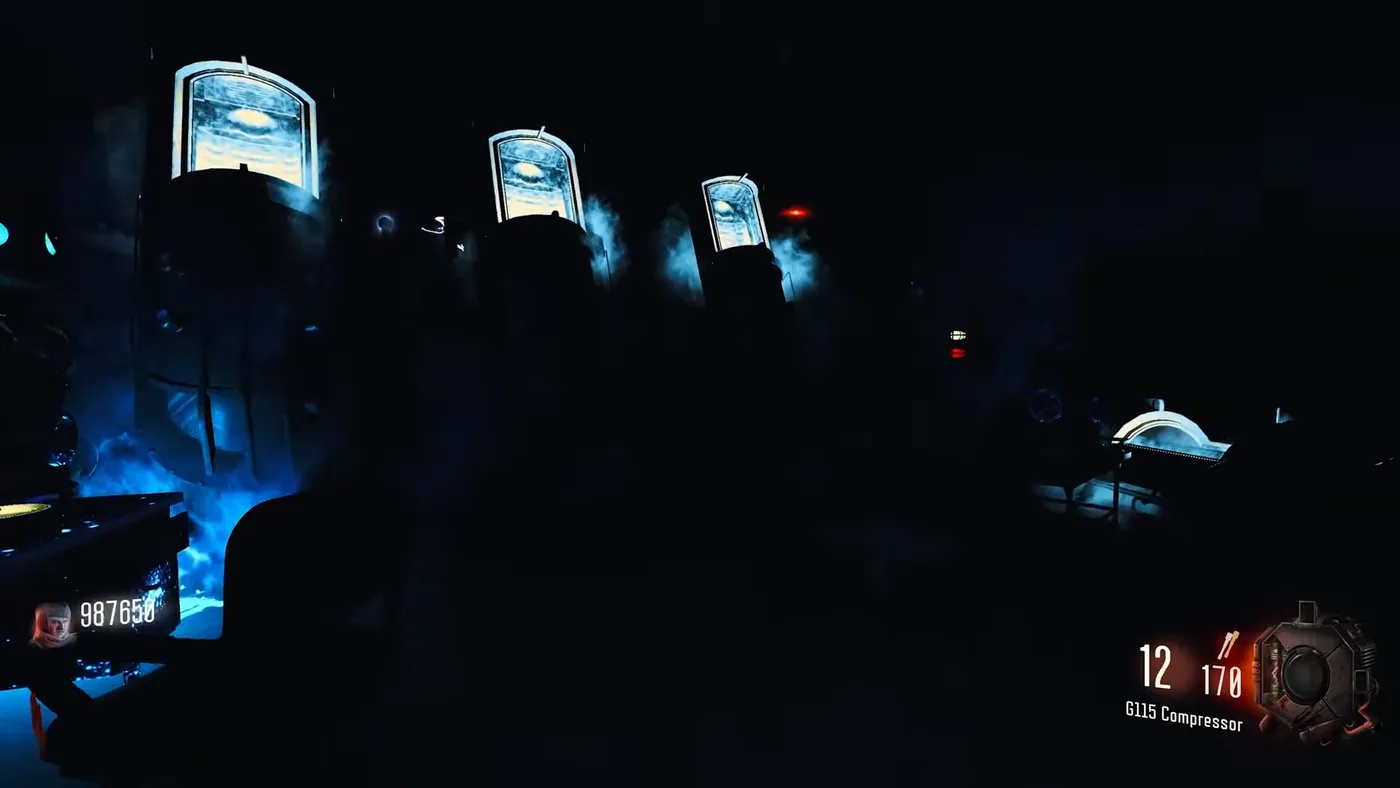
The laboratory and the bedroom
Z-B leads to a workshop of cryopods where the new Wunderwaffe sits in a glass case, with its half on a table; Z-A leads to Samantha’s bedroom, where Doctor Monty can be heard behind the door and the other half waits in a wardrobe.
Teleporter Z-A: the electrical boxes
Three boxes marked with a yellow triangle, each fed by a different number of cables from above. Shoot them with a Pack-a-Punched weapon, from one cable to three, as Ayyden and a commenter on IweZix’s guide explain. Flapix says instead that the order changes from game to game; either way, a wrong box plays a failure sound and the right order a success sound.
Step 3: the lights of Teleporter Z-C
Four lights hang on the walls around Teleporter Z-C, three green and one red. With the Wunderwaffe DG-2 or the DG-Scharfschütze, shoot them so that a beam of lightning bounces between them and forms a cross: back left, front right, front left, then back right, the red one. Then shoot the middle of the cross, at the teleporter. The panel blinks red; overload the teleporter and travel.
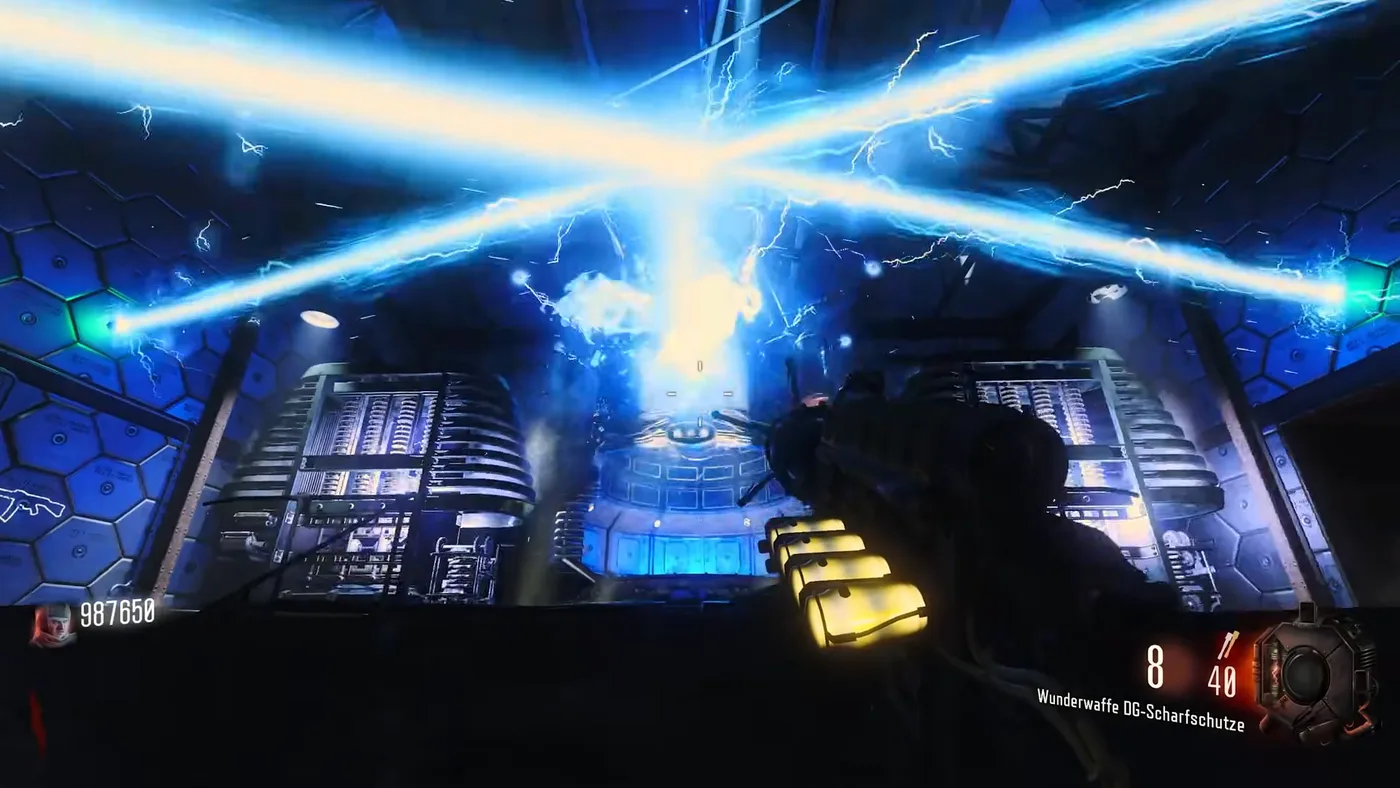
The cross of lightning
The four lights linked, the beams crossing above Teleporter Z-C.
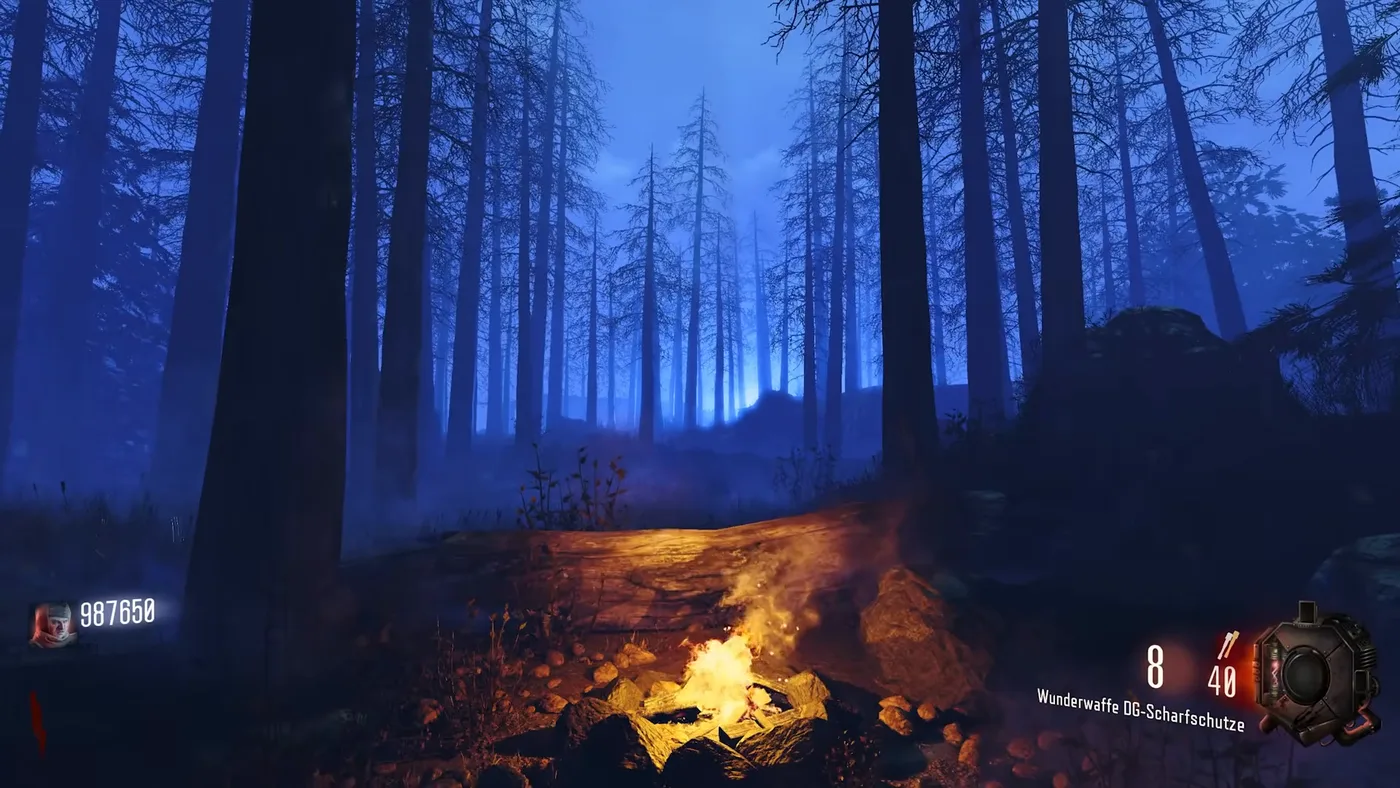
The forest
The trees and the campfire of the Black Ops III main menu, where the crystal appears.
This teleporter leads to the forest of the Black Ops III main menu. Within 30 seconds a blue crystal, the elemental shard, appears over the campfire. Picking it up plays a long cutscene: the forest turns into the Dark Aether, an Apothicon roars in the distance, and a dark Samantha warns Richtofen that he will never succeed. After a minute the players are sent back to the spawn.
Step 4: the crystal escort
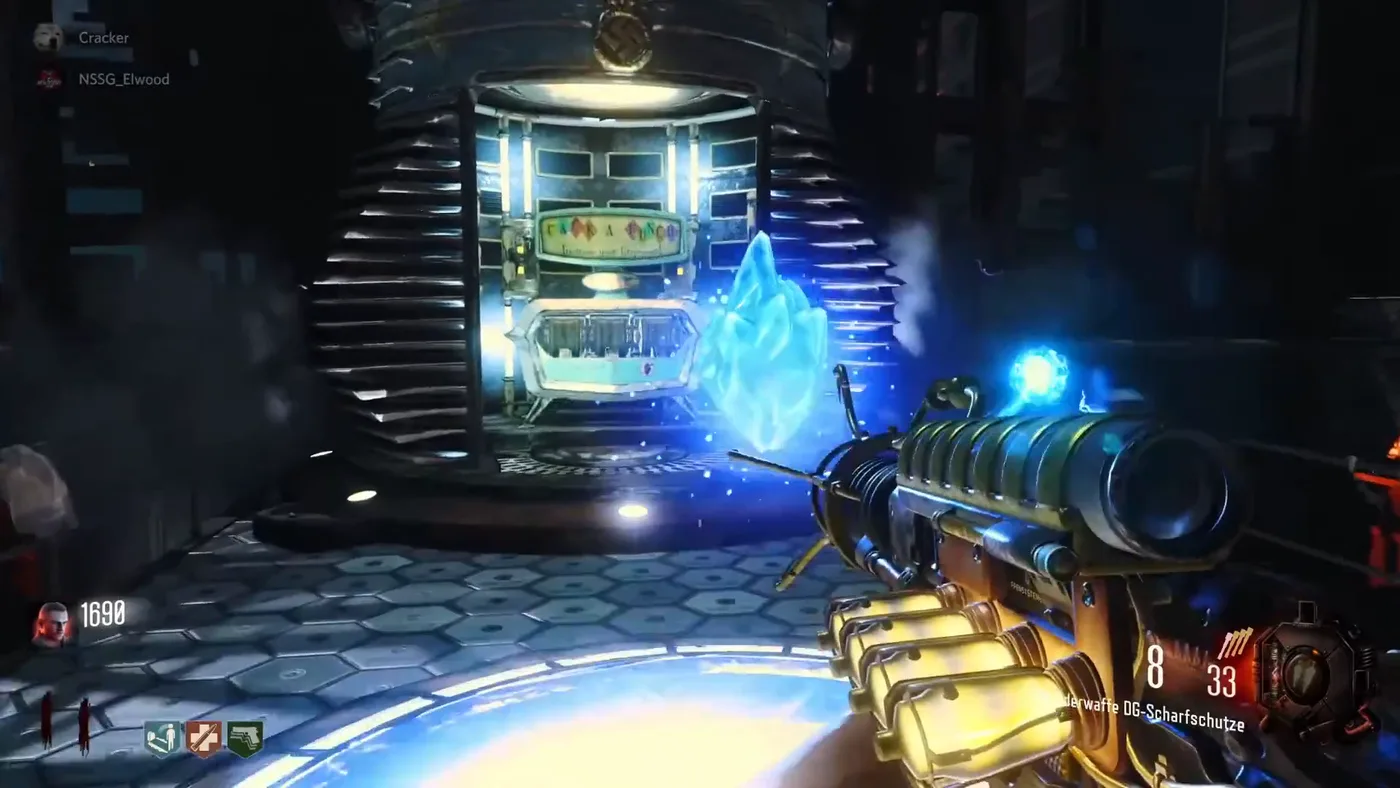
The crystal in the spawn
It floats on the mainframe, next to the Pack-a-Punch. The prompt reads “Initiate Temporal Anomaly” and needs every player. It gives a Max Ammo and a Full Power, all zombies sprint, and the round no longer ends until the escort is over.
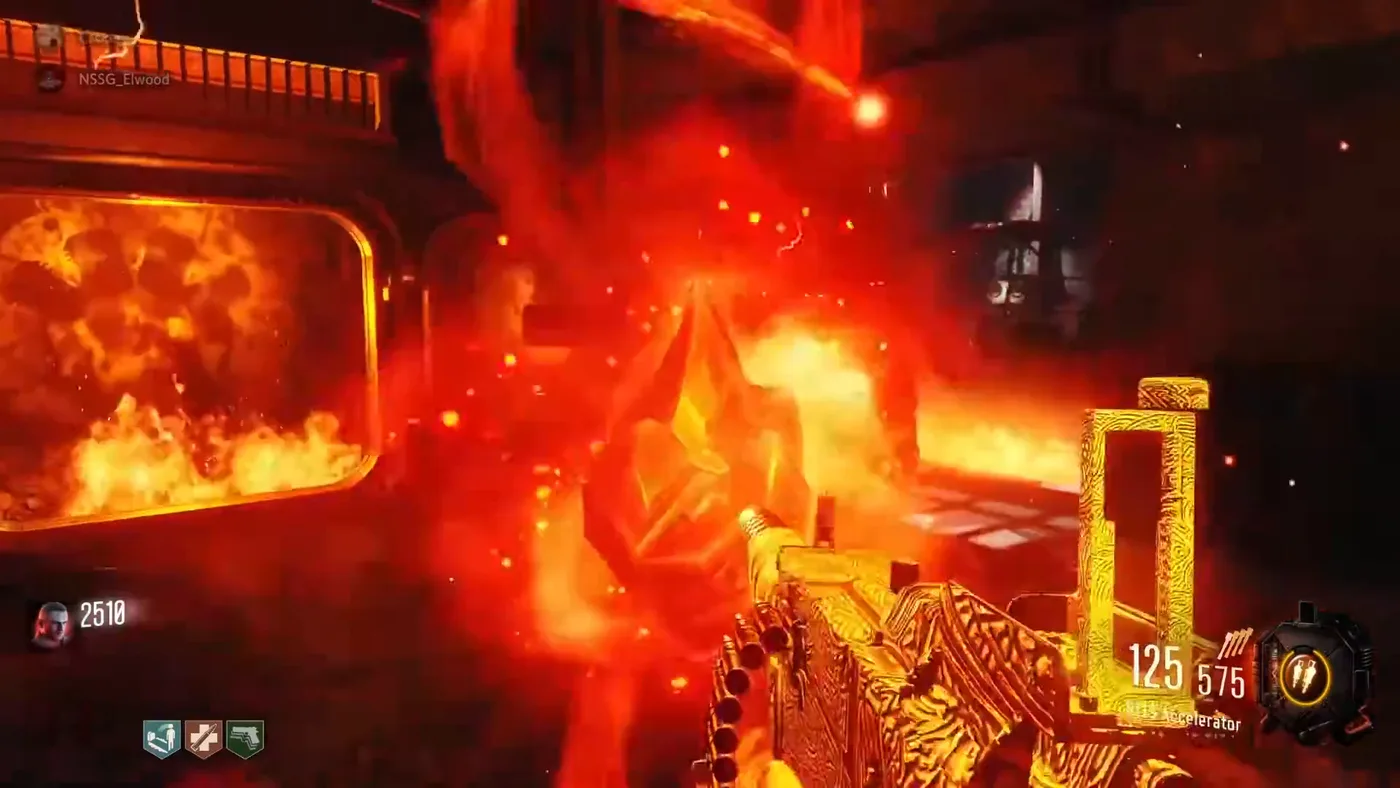
The lockdowns
The crystal only moves while a player is near it, slowly, along a set path. At each stop it turns red, fire closes the area, and it has to be filled with souls: 20 kills at first, up to 40. Not So Serious Gaming keeps a crawler alive each time it moves.
The routes
Three paths, as Flapix shows them: from the spawn to the furnace, then Quick Revive, then into Teleporter Z-C; from the spawn to its left side, the Trench Gun and the front of Teleporter Z-A, then into Z-A; and from the spawn to the Wunderfizz and the electric trap by the power, then up to the catwalk of Teleporter Z-C. Each teleport brings the players back to the spawn with a Max Ammo. That makes two teleports and seven lockdowns before the last one.
The last lockdown
On the catwalk, use the crystal to start it. When it ends, every player gets every perk for the rest of the game, Quick Revive aside in solo, where it is still lost on a down. Not So Serious Gaming calls this reward Perkaholic.
Along the way, flashbacks tell the story of the factory: Maxis asking the Nazi party for funding in November 1939, Richtofen locking Maxis and his daughter in the teleporter in October 1945, and the Soviet and American soldiers who reached the factory in December 1945. Tinhorn puts the whole escort at about twenty minutes. The patch of October 29, 2020 disabled the traps during the escort, and listed a known issue: starting the escort during a dog round locked the quest. Ayyden adds that the crystal can turn invisible after a teleport, and that escorting it to the next lockdown area brings it back. Several players report on Steam that the last crystal can still bug out.
Step 5: Samantha
When the last lockdown ends, the screen fades to white. The panel in front of Teleporter Z-C then sends the players straight to the boss fight, with no way back: the game ends when the quest is over. A cutscene shows the crew face to face with a shadowy Samantha in a frozen arena, where zombies and Ice zombies attack.
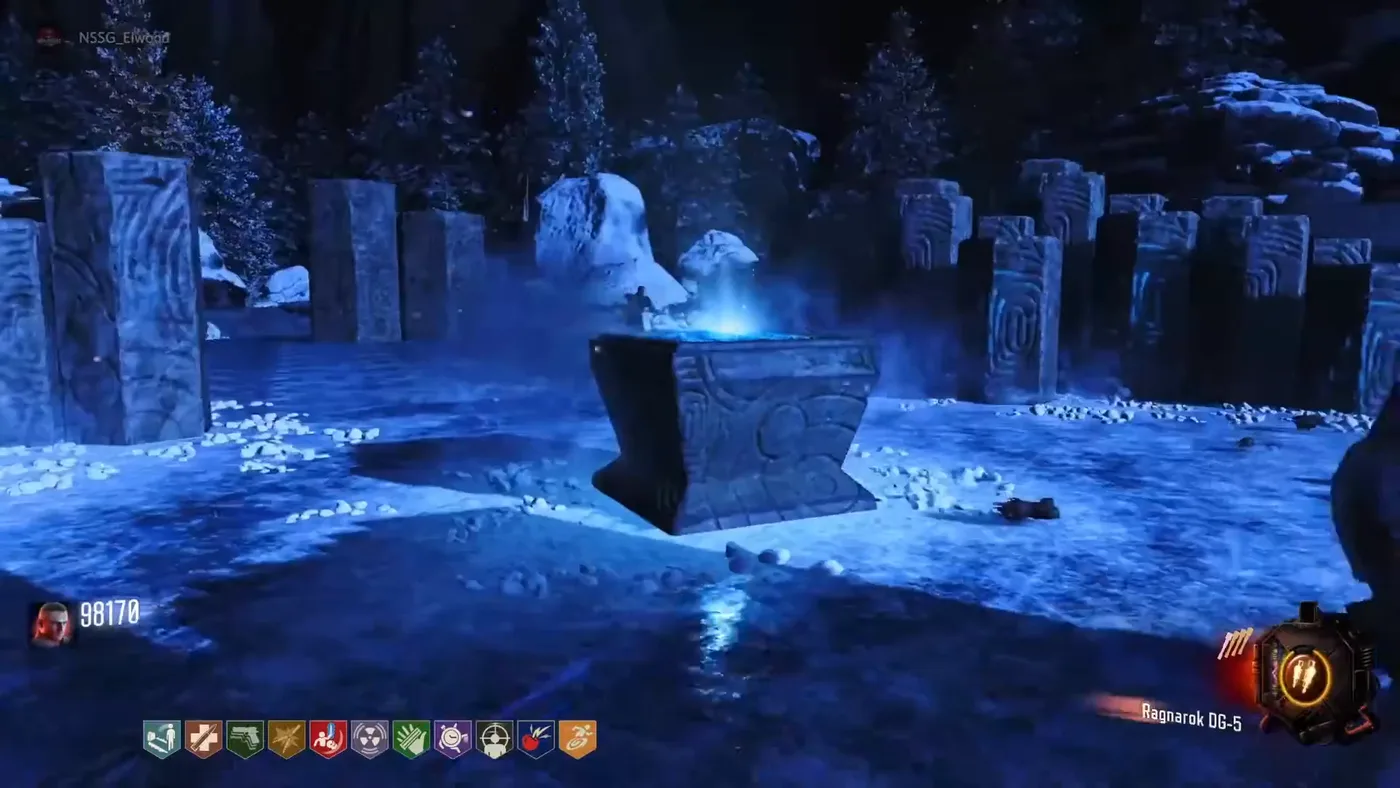
The arena
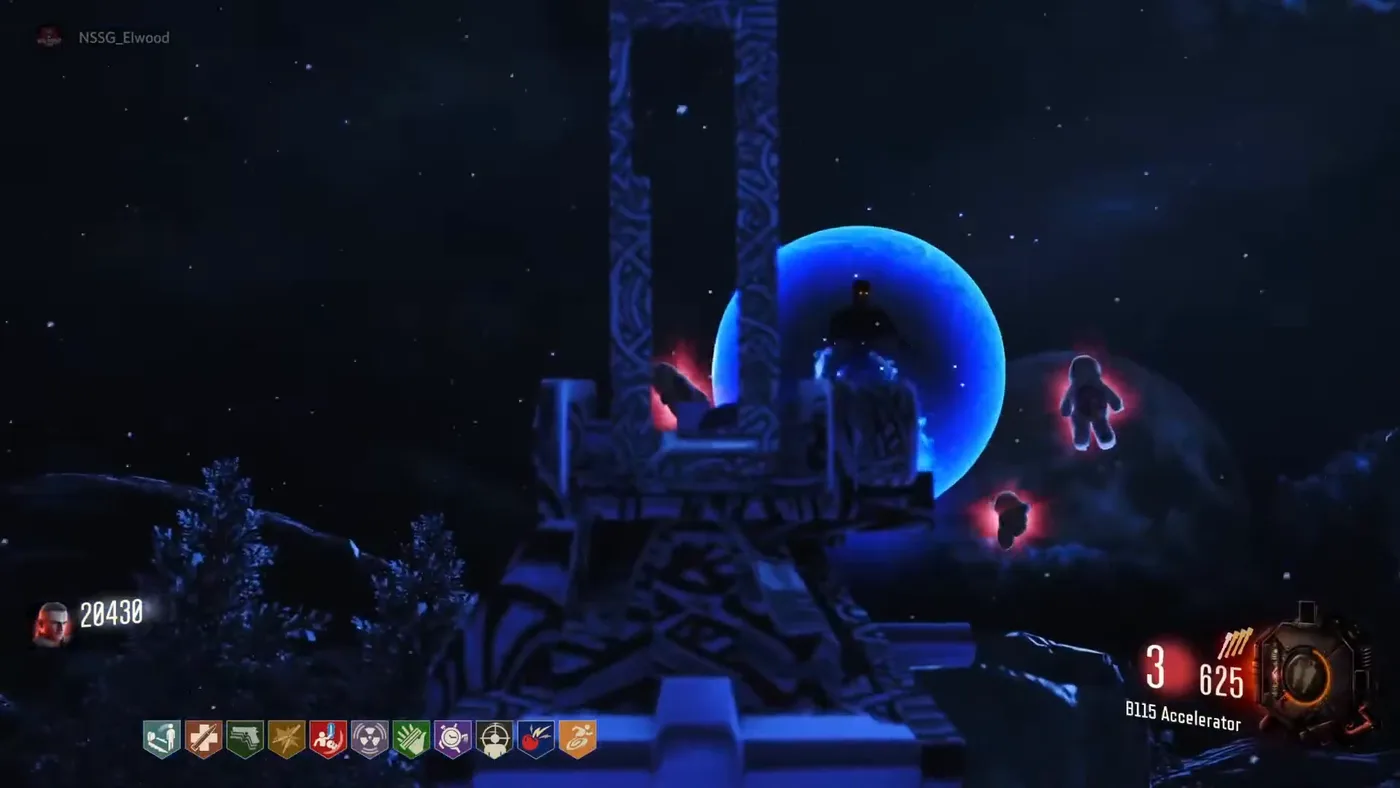
A frozen clearing ringed by carved stone blocks, with an altar in the middle.
Her shield
Samantha floats inside a blue bubble that blocks all damage. At one point red glowing teddy bears appear around her, and they have to be killed or the shield never drops again.
Her attacks
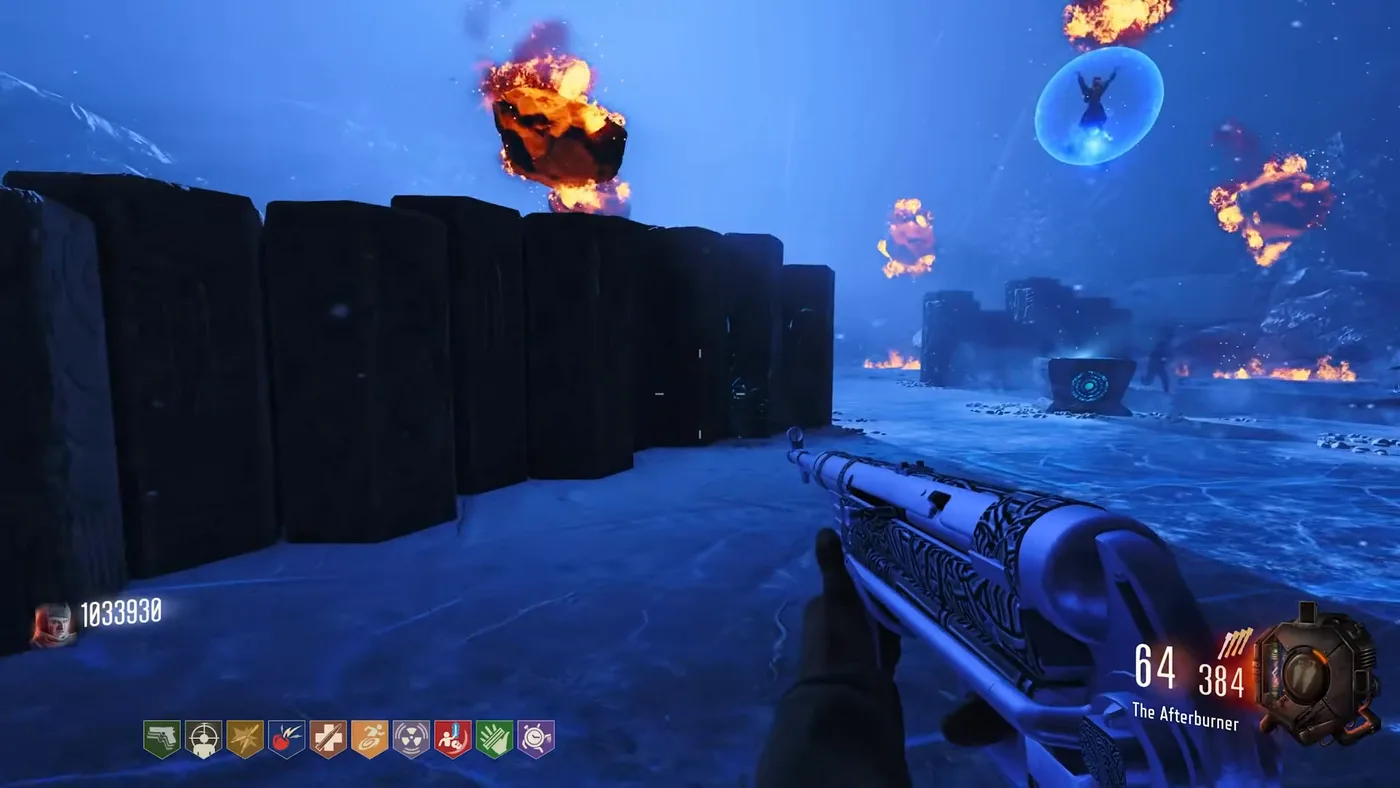
Burning boulders that hover over the ground before they slam down, a frozen floor that leaves only a small ring of safety, an electric orb that chases the players, and Hellhounds.
Three phases
Flapix splits the fight in three: survive until four teddy bears appear and shoot them; then she drops her shield from time to time; in the last phase she can be hit at any moment.
Ammo
Max Ammos and Full Powers drop during the fight; the update of November 5, 2020 added Max Ammos to its last phase for the players who ran out.
The guides disagree on the weapon: STARMASTER458 finds the Mustang & Sally the strongest against her, along with the DG-3 JZ and a Pack-a-Punched Panzerschreck or machine gun, while Not So Serious Gaming found neither Wunderwaffe useful against her and advises a powerful bullet weapon, such as a shotgun. When she dies, a cutscene plays and the crew is sent on to Kino der Toten, in an ending that mirrors the opening of that map, before the game closes. The update of November 5, 2020 made that last white flash kill every zombie.
Rewards
Every perk for the boss fight, the cutscenes and flashbacks of the story, and the ending of the map. The Workshop page names no other reward.