~/hub / custom-maps / five-remastered

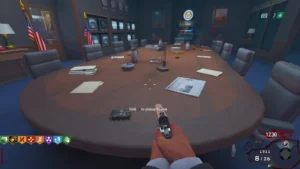
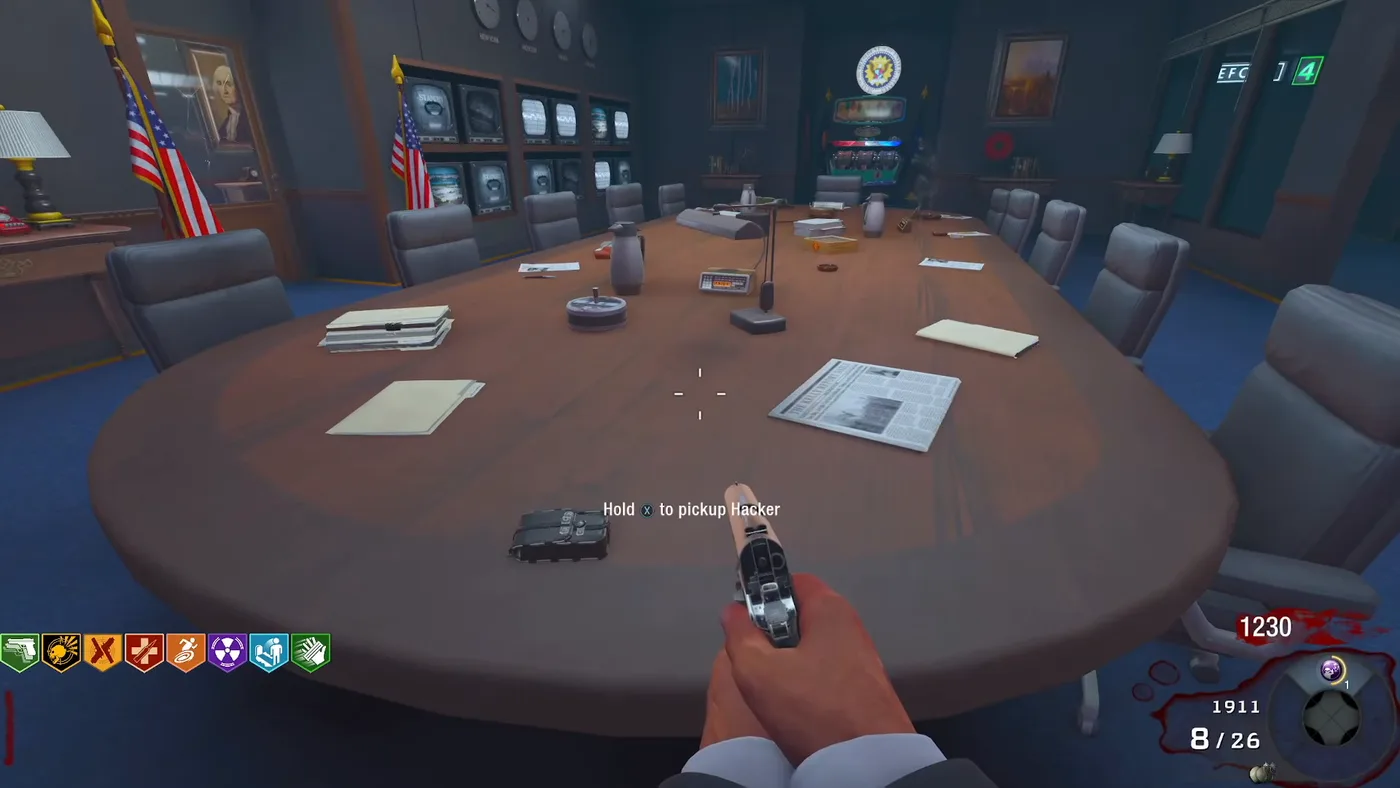
The hacker lying on the round table of the Pack-a-Punch room, with the prompt to pick up the Hacker, Five Remastered, Call of Duty Black Ops III Zombies

Five Remastered:
Easter egg

The main quest of Five Remastered step by step: the power, the hacker, the four DEFCON numbers, the traps and the clocks, the crossbow of the Pentagon Thief, the recorders, the Winter’s Howl and the three ritual circles, rewarded by Perkaholic and the Tundra Gun.

  • 4 min di lettura
  • 3 capitoli
  • aggiornato

Before starting

The main quest of Five Remastered runs only in the Modernized mode. It can be done in solo or in co-op; in co-op, every player must be in the labs for the first ritual circle. What it needs: the power, the hacker, the Winter’s Howl, built from three parts, and a lot of ammunition for the end. During the ritual circles any down fails the step. The update of July 7 fixed a “Samantha glitch when failing escort step on modern”, and the update of July 9 the return of the weapons at the end of a quest step.

Reward

Perkaholic, then the Tundra Gun in the weapons testing room.

Lock

Hacking the DEFCON switches closes the way to the Pack-a-Punch until the quest is complete, TNT says, except during a Bonfire Sale: upgrade your weapons before step 4.
The steps

  1. Turn on the power, in the second room on the left in the labs.
  2. Pick up the hacker: press the four DEFCON switches of the War Room to reach DEFCON 5 and teleport to the Pack-a-Punch room. The hacker, the device of Moon, lies on the big table in front of the arrival, on the table to the right of the Pack-a-Punch, or on the table across from the exit door.
  3. Find the four numbers. Each DEFCON switch has a red number, from 1 to 4, hidden in one of three places that change every game. The switch next to Mule Kick: in the Pack-a-Punch room, through the window across from the Wunderfizz above the trash can, through the window next to the red telephone on the portrait of George Washington, or on the ceiling above the central table. The switch near the elevator: through the window inside the elevator, on the overturned chair, on the wall by the portrait of Washington or high on a wall. The switch at the top of the stairs: in the labs, in the room of Stamin-Up, between the hyperbaric chambers, on the wall by the TV or under the table with the speaker. The switch across from the stairs: in the starting area of the top floor, on the desk through the teller window, on the wall behind the trash bin or on the light above.
  4. Hack the four switches in order, from 1 to 4, for 500 points each. A wrong order is reset at the next round. A sound confirms each good switch, and another the end of the step. The Pack-a-Punch is now closed.
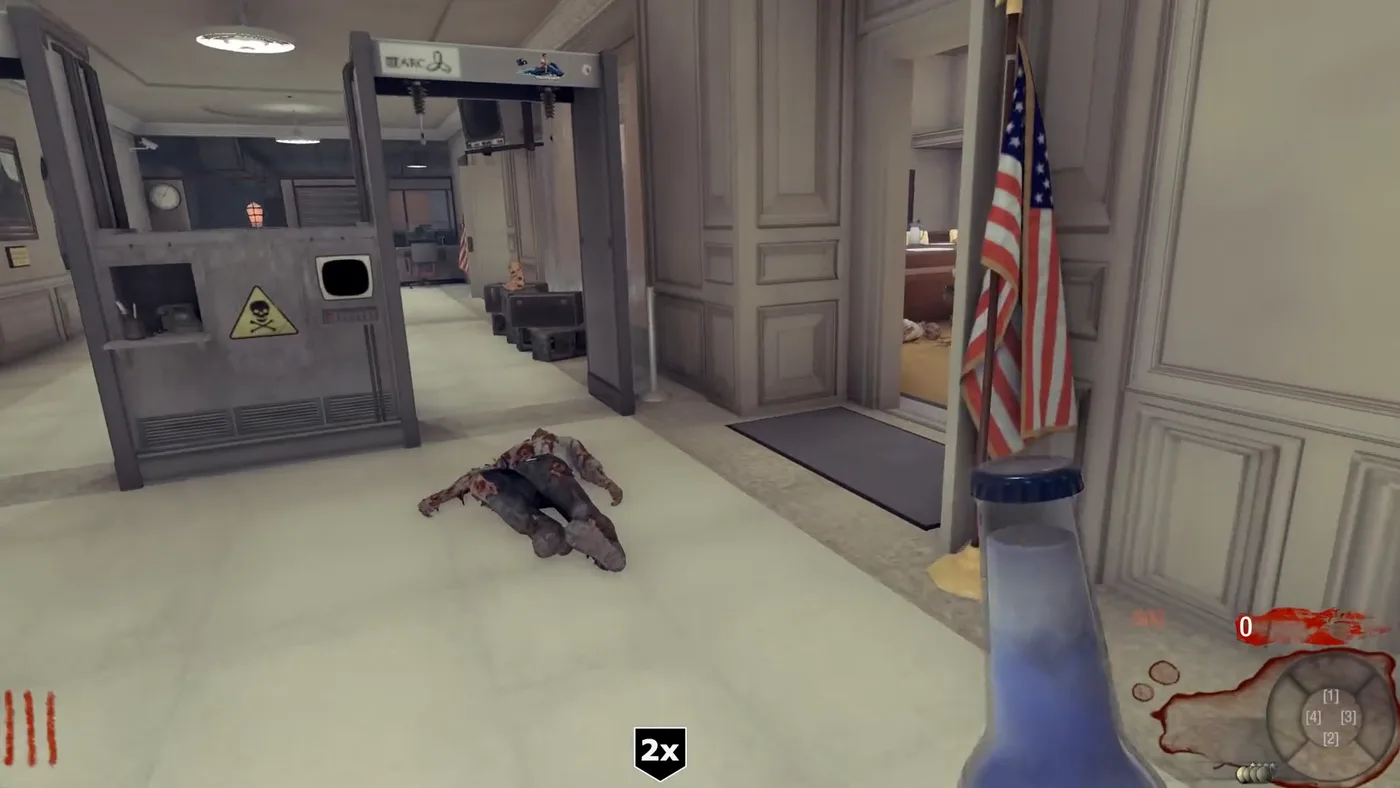
  5. Repair the traps: carry the two missing parts, one at a time, to the metal detectors of the top floor. One lies on the floor of the War Room, by the computers near the elevator to the labs; the other in the first room on the left in the labs.
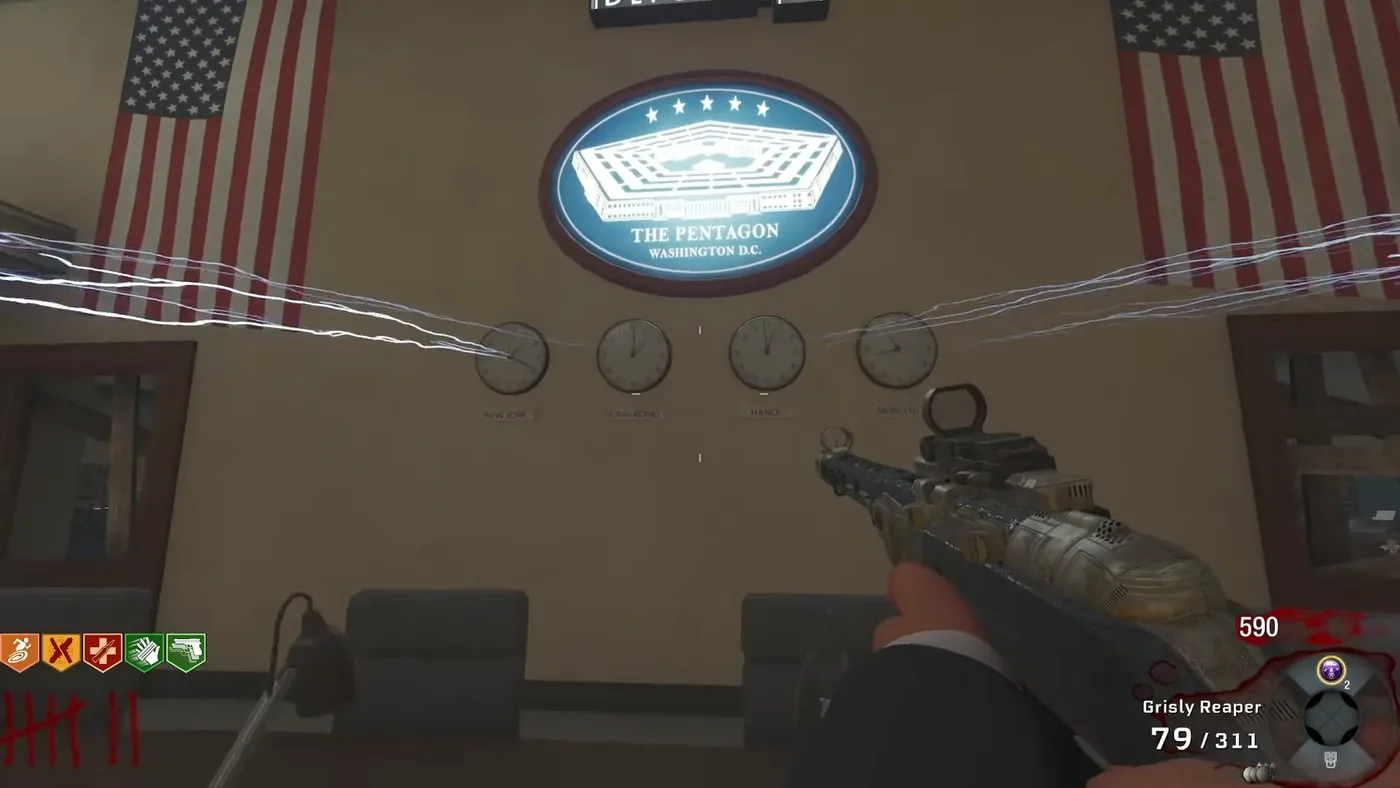
  6. Shoot the clocks: turn on both traps. Their electricity strikes the clocks on the wall; shoot them in this order before the traps stop: New York, Moscow, Hanoi, Hong Kong. A wrong order means waiting for the traps to recharge.
  7. Take the crossbow: the sprinklers come on, and the Pentagon Thief appears near the teleporter of the top floor, an Explosive Crossbow in hand. Take it from him; it replaces a weapon.
  8. Shoot the four recorders with the crossbow, each behind a window barrier: on the top floor, the window left of the clocks, next to the GobbleGum machine, and the window across from Speed Cola; in the War Room, the upper-floor window next to a DEFCON switch, and the lower-floor window by the elevator.
  9. Build the Winter’s Howl if it is not done yet: the barrel from a Nova crawler, the cylinder from the Pentagon Thief, the grip from the hidden office of Anywhere But Here, built in the weapons testing room.
  10. Fill the first ritual circle: with the elevator on the floor of the labs, a circle appears near it. Only souls of Nova crawlers frozen and shattered by the Winter’s Howl count, and the circle moves around the labs as it fills; players without the weapon receive a Death Machine. A Max Ammo waits in the elevator. The circle ends in the elevator, which takes the players up to the War Room.
  11. Fill the second circle: finish the round; the next circle, in the elevator, is filled with hellhounds. Follow it to the other elevator, where another Max Ammo waits, up to the conference room.
  12. Fill the third circle: finish the round again; this one is filled with exploding toxic zombies, and ends at the front of the large room. MrTLexify notes that the escorts take away every weapon but the Winter’s Howl.
  13. Collect the rewards: Perkaholic is given at once. Then the Tundra Gun waits in the weapons testing room of the labs.
The hacker lying on the round table of the Pack-a-Punch room, with the prompt to pick up the Hacker, Five Remastered, Call of Duty Black Ops III Zombies

The hacker

The device of Moon, found in the Pack-a-Punch room.

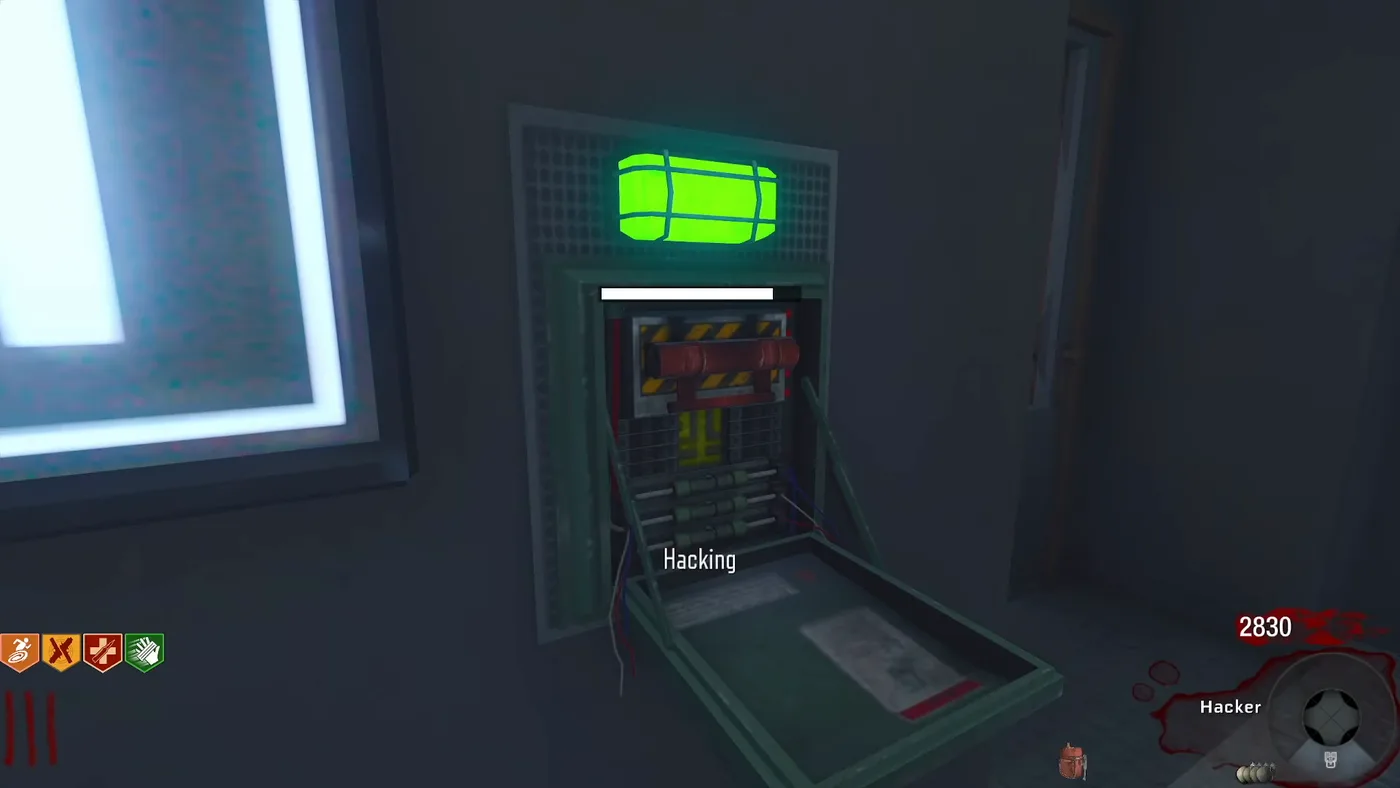
A DEFCON switch of the War Room being hacked, its green light on, the word Hacking on screen, Five Remastered, Call of Duty Black Ops III Zombies

A DEFCON switch

Hacked for 500 points in the right order.

Electricity from the two traps striking the row of clocks under the seal of the Pentagon in the conference room, main quest, Modernized mode, Five Remastered, Call of Duty Black Ops III Zombies

The clocks

Struck by the electricity of the two traps.

One of the two metal detector traps of the top floor, its hazard sign and control box, Legacy mode, Five Remastered, Call of Duty Black Ops III Zombies

A metal detector

One of the two traps to repair, on the top floor, seen here in a Legacy game.

A recorder

One of the four tape recorders behind the windows.

A ritual circle

Filled with the souls of enemies frozen by the Winter’s Howl.

Another reading of the Easter egg numbers

Tinhorn and FPSpsycho explain step 3 differently: each number is hidden near the portrait of one of the four characters, and in the Pack-a-Punch room the name plate of each character has a pen that points towards his DEFCON switch. Both readings lead to the same order; Sassy Asi and MrTLexify use the places listed above.

The three parts of the Winter’s Howl, in detail