~/hub / custom-maps / overload-bo3-custom

The turquoise Power Aid Punch machine in the Terminal Lab, with the prompt Power Aid Punch, cost 5000, and its effect, Overload BO3 Custom, Call of Duty Black Ops III Zombies

Overload BO3 Custom:
Perks and Pack-a-Punch

Overload BO3 Custom perks and Pack-a-Punch: the two parts of the power switch and their spots, the perk machines, Power Aid Punch and Glitching Gin, and the dynamite, switches and lockdown that bring Pack-a-Punch down.

  • 4 min di lettura
  • 3 capitoli
  • aggiornato

Power

Without power, Overload is drawn in grey and the players light their way with a flashlight; the change notes of update 6 retouched this look. As in TranZit, the switch is built in the power room of the reactor, but from two parts, each with three possible spots, which Flapix, Not So Serious Gaming and No Thumbs Crew list in the same way.

PartPossible spots
WireIn the Power Station, entered by the forklift entrance: on a barrel on the right; on a barrel further along the ground floor, by the lockers; upstairs, in the right-hand corner, reached by breaking the boards by Juggernog
HandleIn the bunker, whose door stands next to Double Tap: on the spiral staircase next to a dead body; past Stamin-Up, through the doorway on the right, on a barrel; just before the power room, on a bookshelf on the right
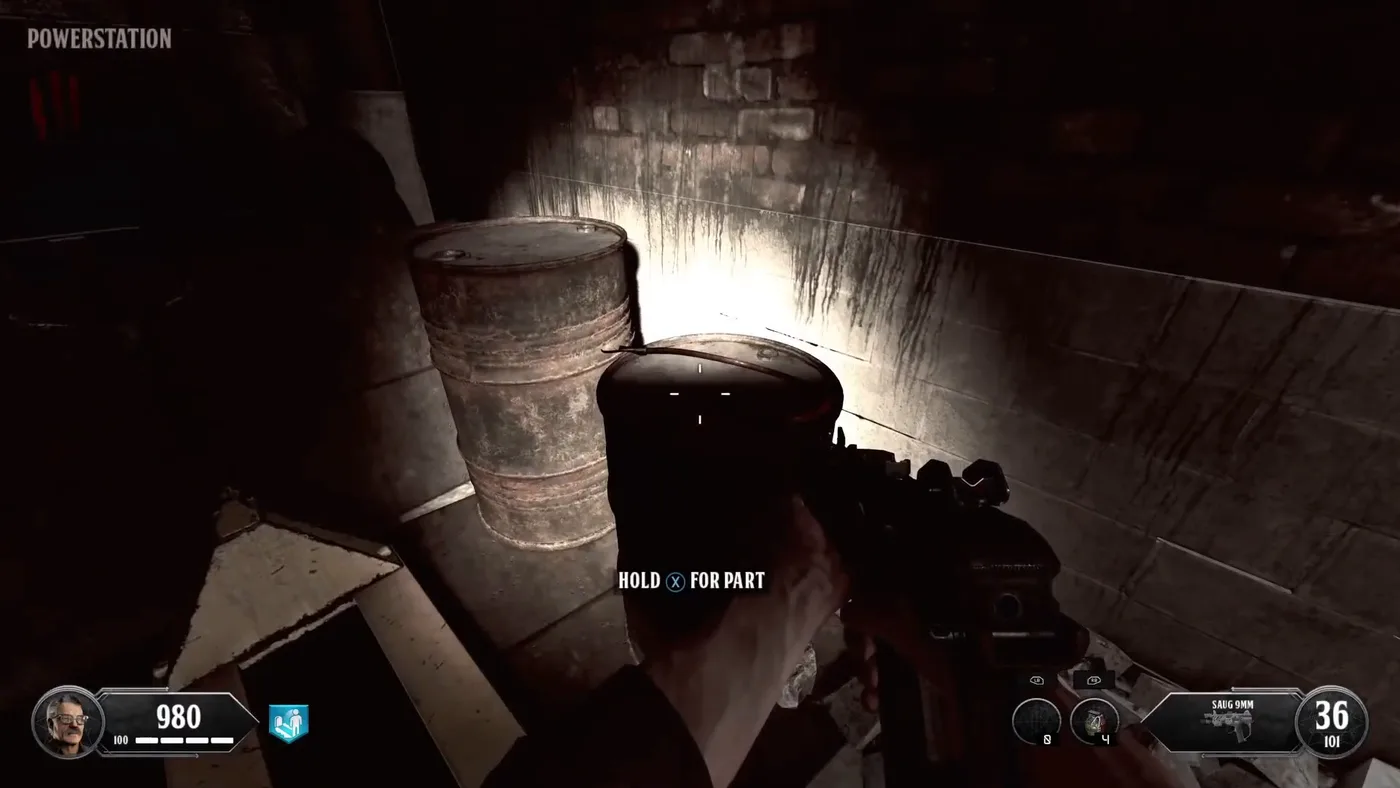
A barrel in the dark of the Power Station lit by a flashlight, with the prompt Hold for part, in black and white without power, Overload BO3 Custom, Call of Duty Black Ops III Zombies

The wire

One of its three spots: a barrel on the ground floor of the Power Station, lit by the flashlight while the power is off.
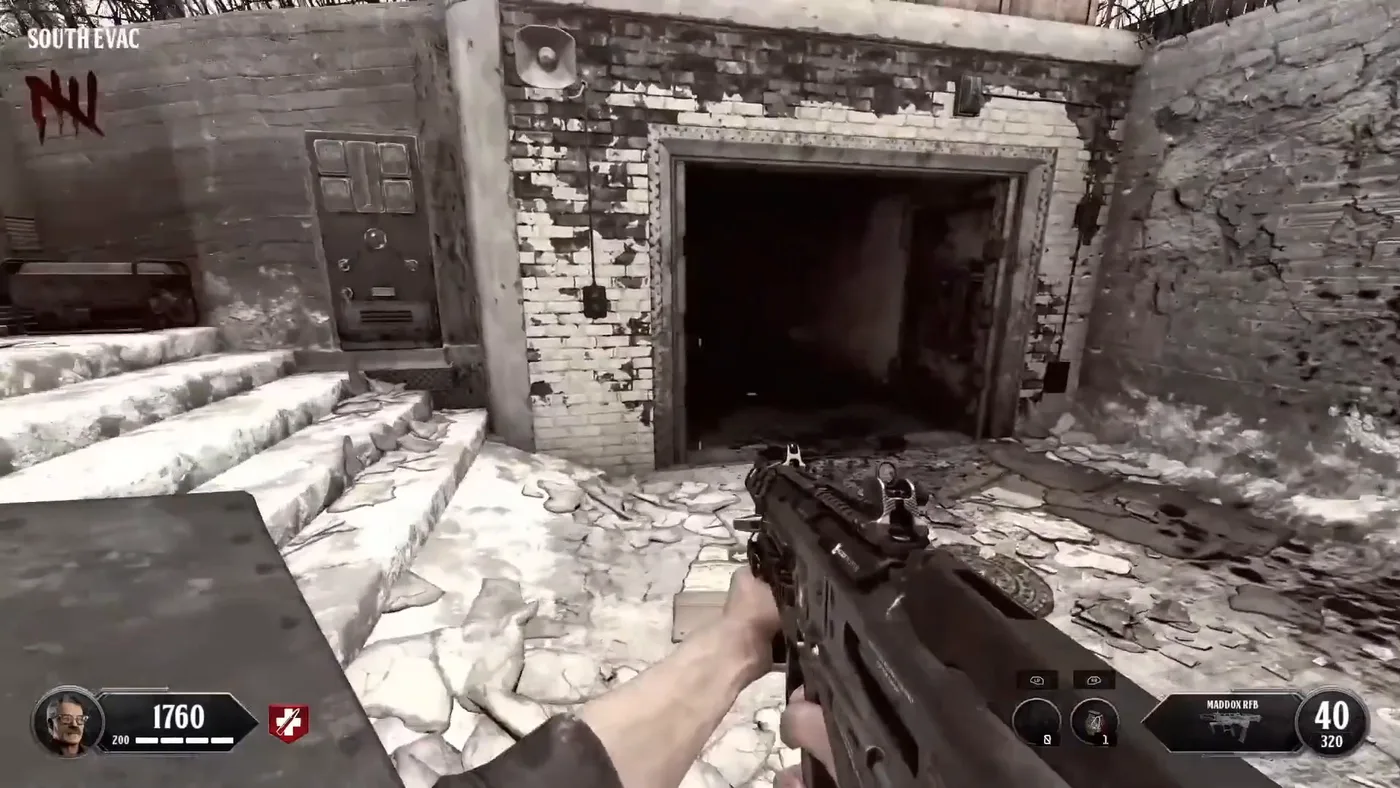
The open steel door of the bunker in a white brick wall beside a few steps, in South Evac, in black and white without power, Overload BO3 Custom, Call of Duty Black Ops III Zombies

The bunker door

The door of the bunker, beside a few steps, next to Double Tap; Pankake101 notes that it takes a moment to open. The handle is inside.

The power room

At the end of the bunker, where both parts are built into the switch, as in TranZit.

What the power opens

The safe of the spawn, with the dynamite of Pack-a-Punch, and the perk machines. Pankake101 warns not to touch the computer of the power room yet: it is used at the end of the main quest.
Perks

Pankake101 counts a limit of six perks; a seventh slot is earned with the Ted targets (see the secrets). The perks wear the bottles of Black Ops 4, credited to Planet, and the machine of Electric Cherry is a model credited to Lethal Peelz. No source read for this book gives the price of the classic machines.

PerkWhereSource
Quick ReviveAt the spawn, next to the safeNot So Serious Gaming, Watchful Wolf
JuggernogIn the Power Station, by the boards that lead upstairsNot So Serious Gaming, Flapix
Double TapAt the bunker doorNot So Serious Gaming, Flapix
Stamin-UpIn the bunker, on the way to the power roomNot So Serious Gaming, Flapix
Speed ColaIn the Abandoned Mine, by the first switch of the teleportersNot So Serious Gaming, Flapix
Mule KickUnderground, next to the thermite grenades and a dialNot So Serious Gaming, Flapix, Pankake101
Electric CherryNo source gives its spotNo Thumbs Crew, Watchful Wolf
Power Aid PunchTerminal Lab, 5,000 pointsHUD of Watchful Wolf
Glitching GinRemoved on August 21, 2022Change notes, Pankake101
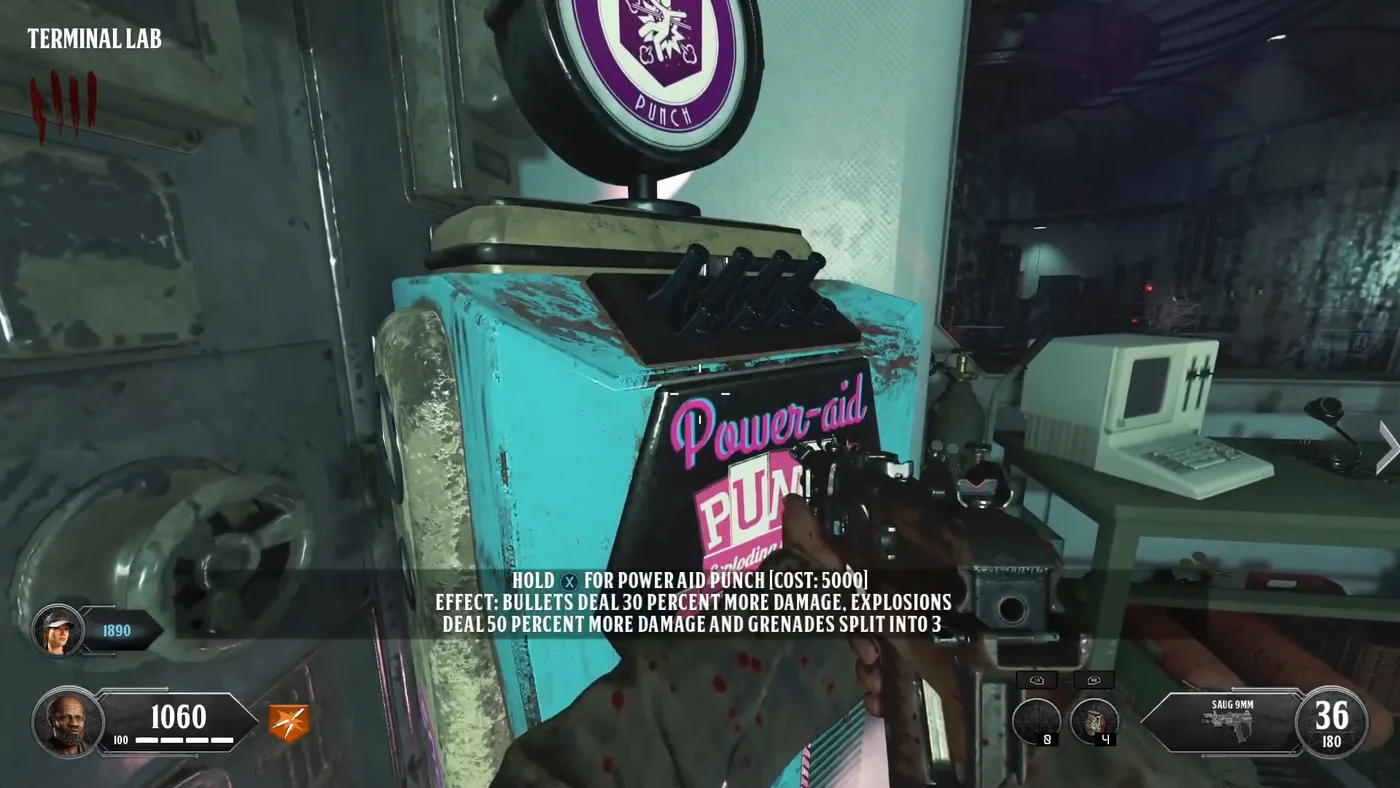
The turquoise Power Aid Punch machine in the Terminal Lab, with the prompt Power Aid Punch, cost 5000, and its effect, Overload BO3 Custom, Call of Duty Black Ops III Zombies

Power Aid Punch

The first custom perk of the map, for 5,000 points. Its prompt sums it up: “Bullets deal 30 percent more damage, explosions deal 50 percent more damage and grenades split into 3”. Pankake101 takes it as a fifth perk.

Glitching Gin

The second custom perk, scripted by Holofya on a model by Xela: the player teleported to wherever a grenade landed, which Pankake101 used to get out of the mine when stuck. The change notes blamed it for many crashes and removed it on August 21, 2022.

Speed Cola

In the Abandoned Mine, next to the first of the two switches of the teleporters, according to Not So Serious Gaming and Flapix.

Electric Cherry

No Thumbs Crew finds it very useful to stun the zombies inside the orb of the main quest.

Pack-a-Punch

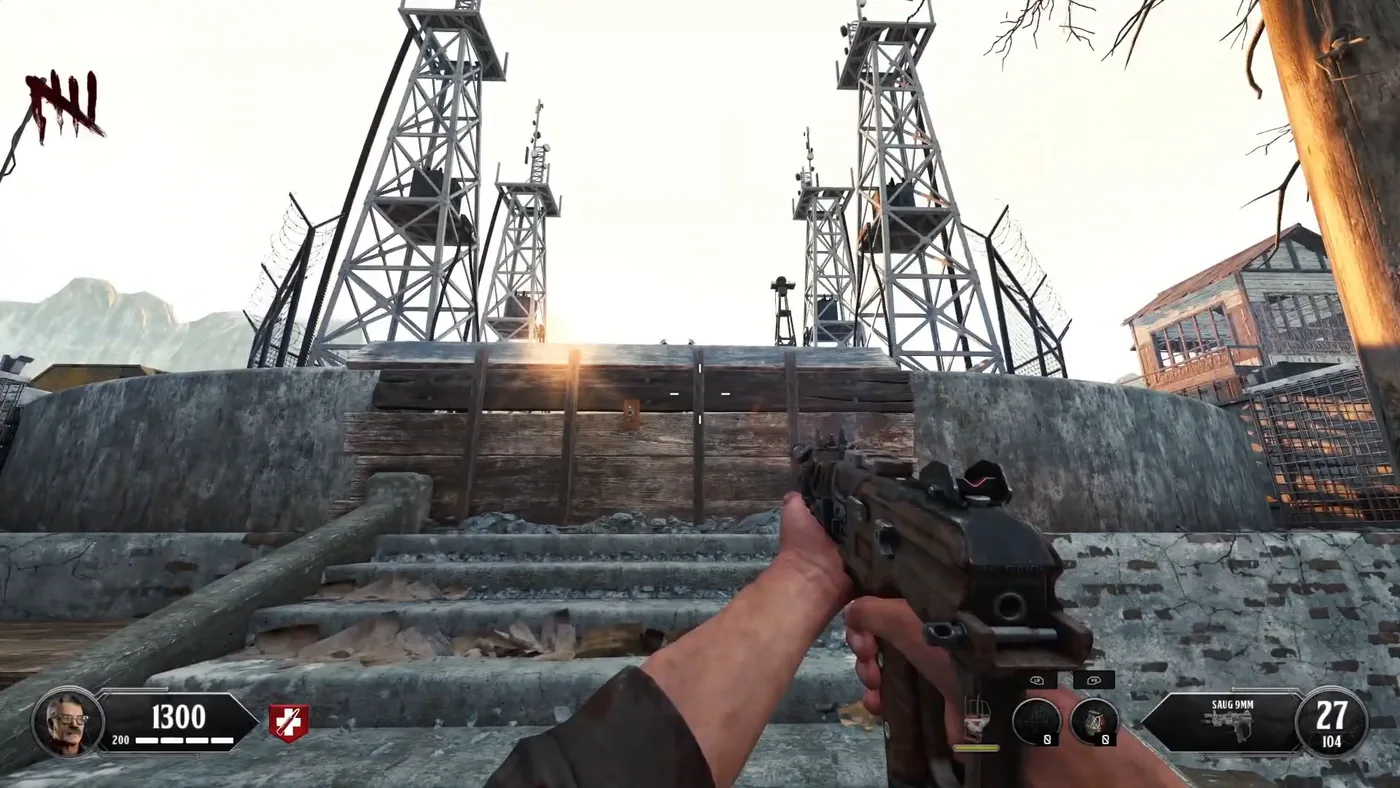
Pack-a-Punch is not on the map at the start: it falls from the sky into the yard behind the Power Station, at the far end of the map, once a lockdown has been survived there.

  1. Turn on the power: the safe next to Quick Revive, at the spawn, opens on a stick of dynamite. Take it.
  2. Go past the Power Station to the barrier of the yard and place the dynamite for 2,000 points: it blows the barrier open. Not So Serious Gaming found that a bug let the barrier blow without the dynamite; Flapix says the explosive opens it for half the price.
  3. Press the four switches in the corners of the yard in quick succession: in solo, within 10 seconds, according to Flapix and No Thumbs Crew; in co-op, as fast as possible, almost together at four players.
  4. Survive the lockdown: about a minute of zombies and Valkyrie drones, according to Flapix. Pankake101 advises the shield and to sprint rather than aim; an Insta-Kill works on the drones.
  5. When everything starts exploding, the machine drops into the yard like a meteor.
A wooden barrier between two steel pylons at the top of concrete steps, before the Pack-a-Punch yard, Overload BO3 Custom, Call of Duty Black Ops III Zombies

The barrier

The wooden barrier between the pylons, at the top of the steps, before the dynamite blows it open.

The switches

Four of them, one in each corner of the yard, according to Not So Serious Gaming. Update 7 stopped the lockdown from starting during a drone round, and update 8 fixed it with more than two players.

Dead Wire

The main quest needs a Dead Wire kill at each Death Ray. Until that step is done, update 7 makes Pack-a-Punch always give Dead Wire on a re-upgrade; Pankake101 had to Pack-a-Punch twice before that update.