~/hub / custom-maps / nightmare-bo3-custom

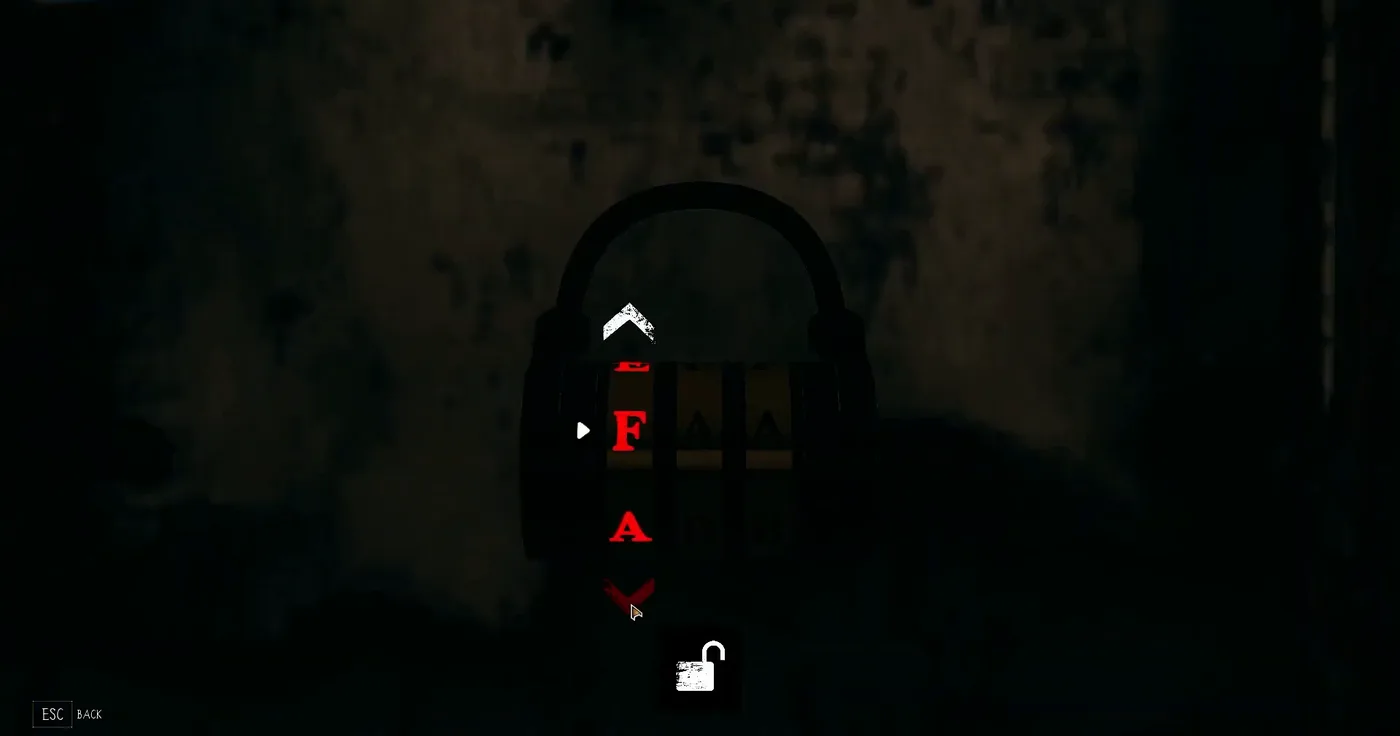
The padlock of the locker, its first dial being turned to the letter F, Nightmare BO3 Custom, Call of Duty Black Ops III Zombies

Nightmare BO3 Custom:
Easter Egg

The main quest of Nightmare step by step: the elevator and the padlock, the code of the security room, the four symbols, Yuri and the RC-XD, T.E.D.D., the chapel and the final boss.

  • 8 Min. Lesezeit
  • 8 Kapitel
  • aktualisiert

Before starting

The main quest of Nightmare is the whole game: there is nothing else to survive for, and the end credits roll once the final boss falls. The scoreboard key always shows the next objective. The steps below follow the solo guide of Fast Guides Glitch and the guide of Kunjora, which give the same order; Pankake101 shows the same steps in co-op. Some codes and symbols change from game to game: the letters of the padlock, the digits of the security door and the four symbols.

Players

Solo or co-op. Fast Guides Glitch plays solo, Pankake101 with two players.

No rounds

The zombies come in lockdowns, at each new area, until the security system is turned off.

Checkpoints

Dying sends the players back to the last checkpoint, not to the start.

Useful items

The Bowie knife and the Adrenaline Shot of the starting floor, a Molotov cocktail for the chapel, the flamethrower of the security room and a light machine gun for the boss.
Step 1: the elevator and the padlock

  1. Walk down the hallway of the starting floor and call the elevator. A lockdown of about two minutes starts.
  2. When it ends, the window on the right breaks open. Climb through it into the break room, where the first dufflebag waits.
  3. Use the blue control panel next to the window. It sounds an alarm, brings more zombies, and arrows and three letters appear on the walls: the first above the panel, the others out in the hallway, the last one at its far end. Nightmare Vision helps to see them.
  4. Open the padlock of the locker at the back of the break room with the three letters, in the order they were found. If the alarm stops before the third letter, use the panel again.
  5. Take the elevator key card from the locker and ride the elevator down to the sub ground floor, the reception.
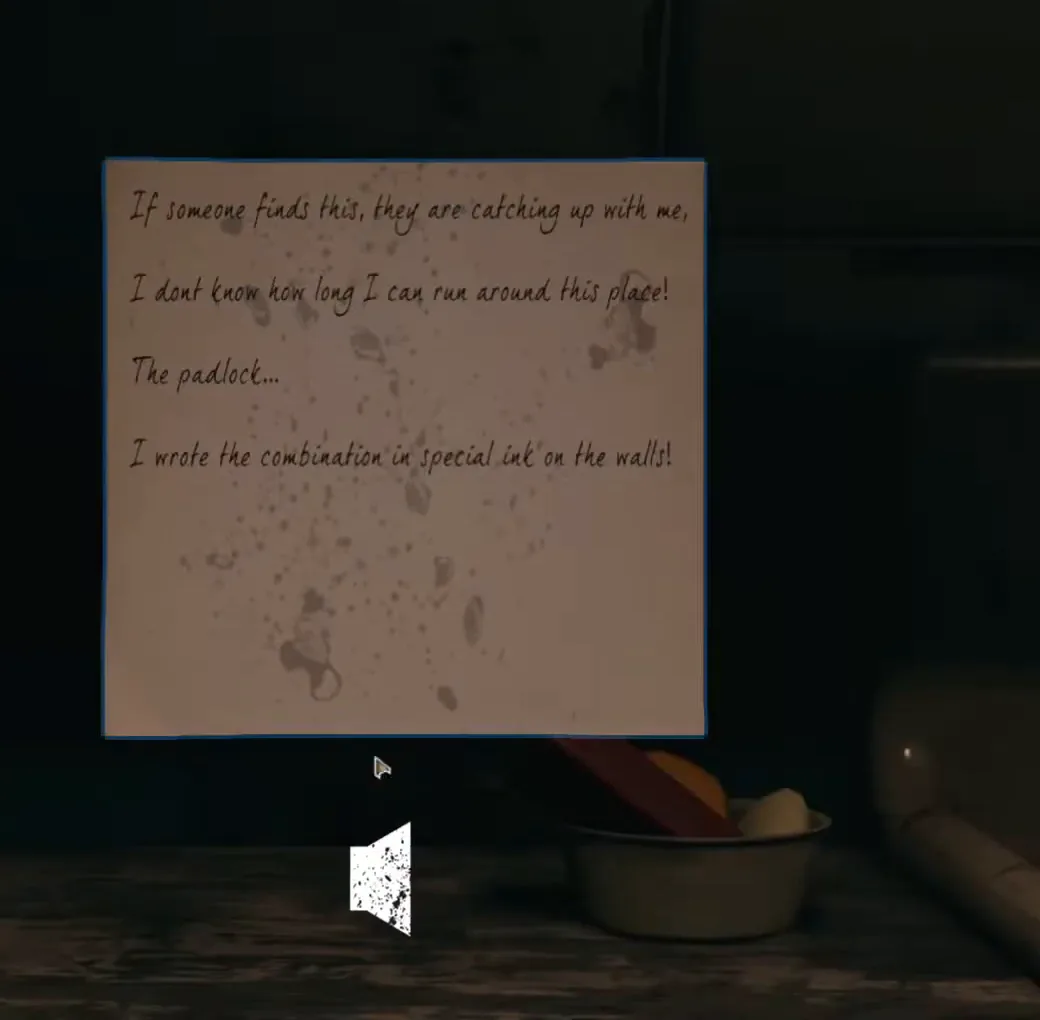
A note on a shelf of the break room: the writer says the combination of the padlock is written in special ink on the walls, Nightmare BO3 Custom, Call of Duty Black Ops III Zombies

The note

A note in the break room explains the puzzle: the combination of the padlock is written “in special ink on the walls”.

The padlock of the locker, its first dial being turned to the letter F, Nightmare BO3 Custom, Call of Duty Black Ops III Zombies

The padlock

Three dials of letters. The letters change from game to game: DDE for Fast Guides Glitch, FFB for Pankake101.

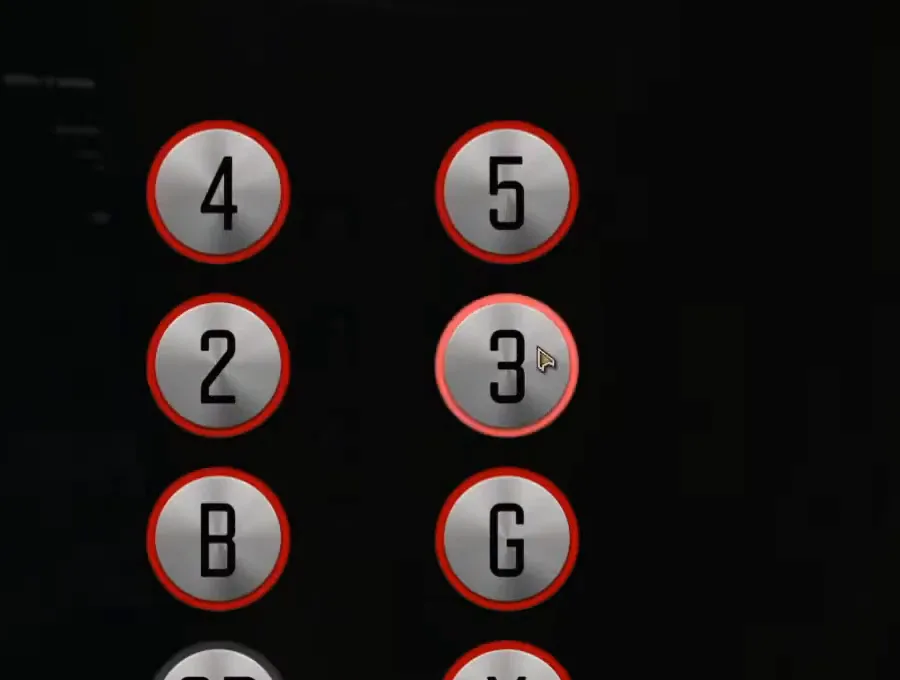
The buttons of the elevator: 4, 5, 2, 3, B and G, with the last two cut off at the bottom, Nightmare BO3 Custom, Call of Duty Black Ops III Zombies

The elevator buttons

Eight buttons. Only SB, the sub ground floor, takes the players on with the quest.

Step 2: the code of the security room

The reception has one open door and several locked ones. The goal is the four-digit code of the security room, in the west wing offices.

  1. Shoot the chains off the door of the west wing and survive the lockdown.
  2. At the end of its hallway lies the flooded laundry room, where a crocodile swims. Cross it in Nightmare Vision, leave the vision at the back to read the note in the locker, and note its first two digits.
  3. Back at the reception, find the fuse in one of the drawers of the desk in the office on the left.
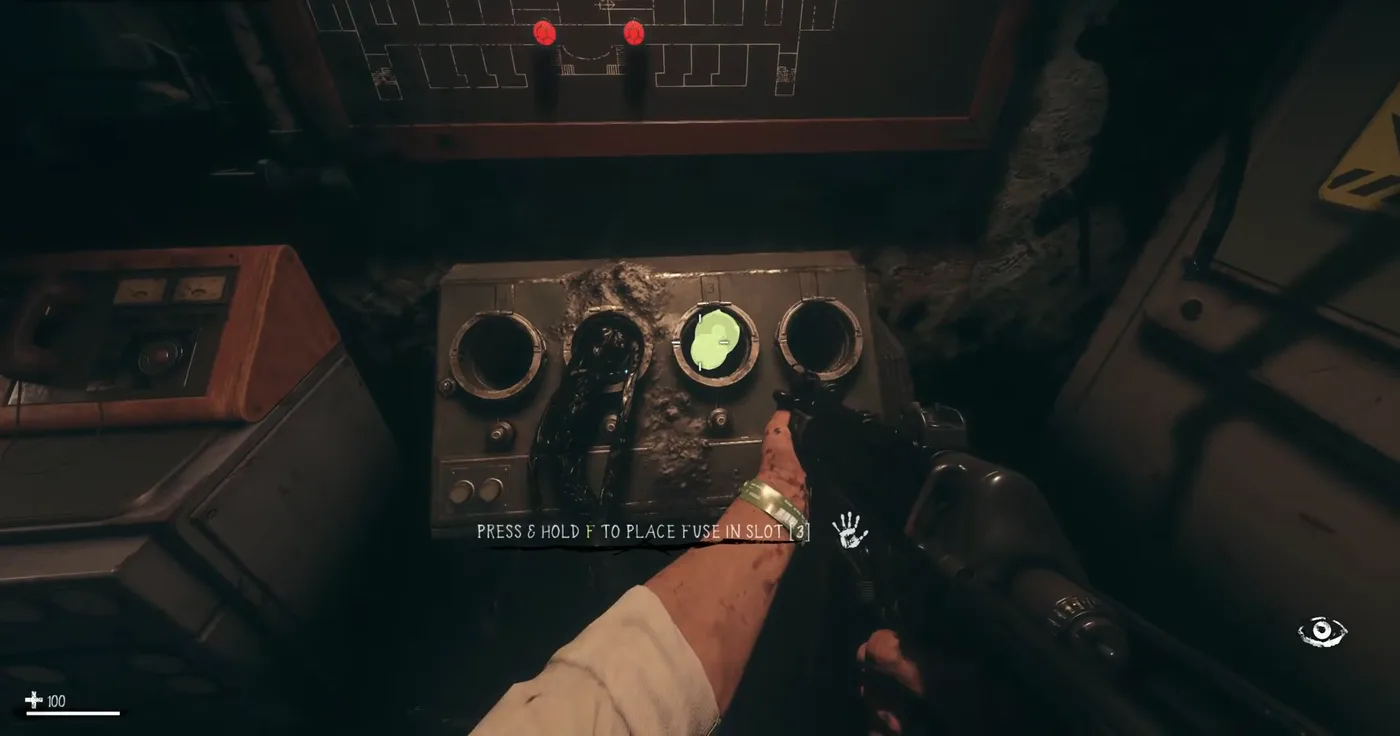
  4. In the maintenance room, under the reception, put the fuse in the first slot to open the east wing, and survive its lockdown.
  5. At the end of the hallway of the east wing, a note on a bookshelf gives the last two digits.
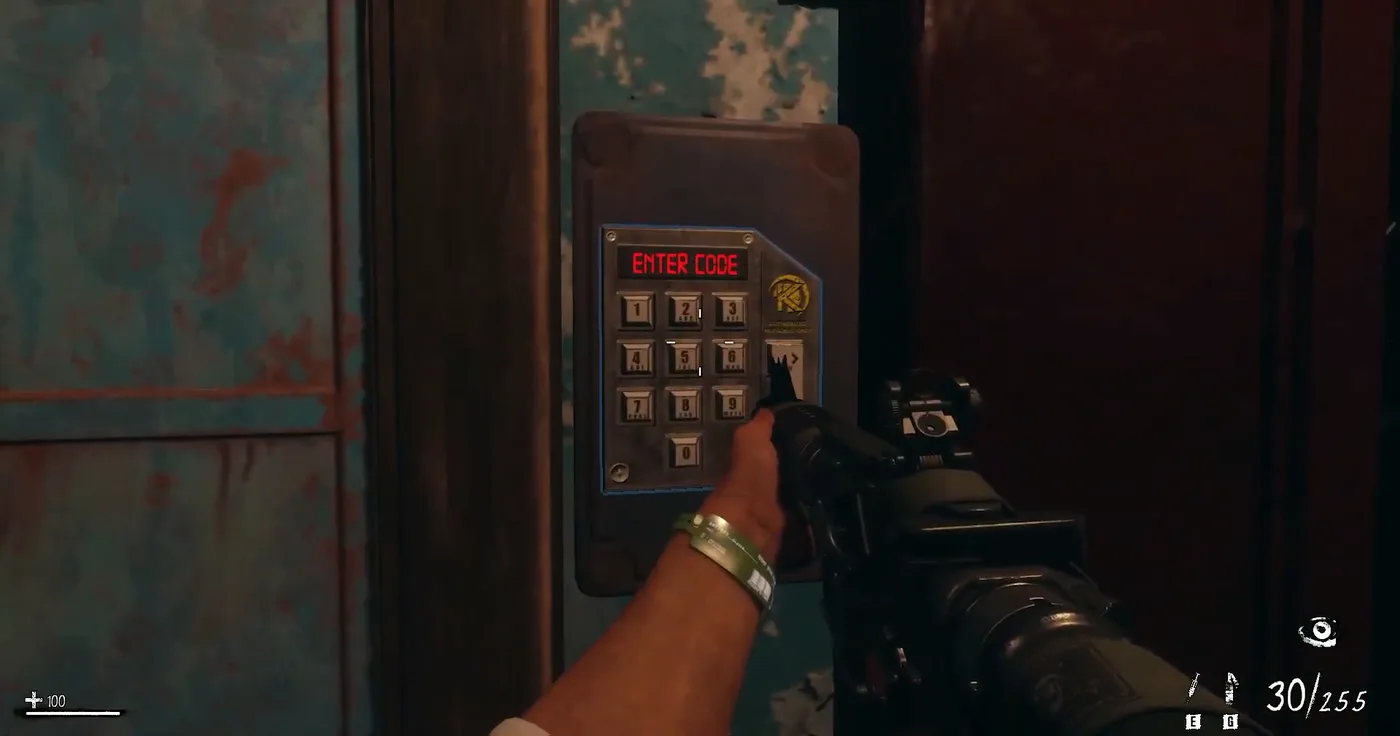
  6. Enter the four digits on the keypad of the security room door, in the west wing.
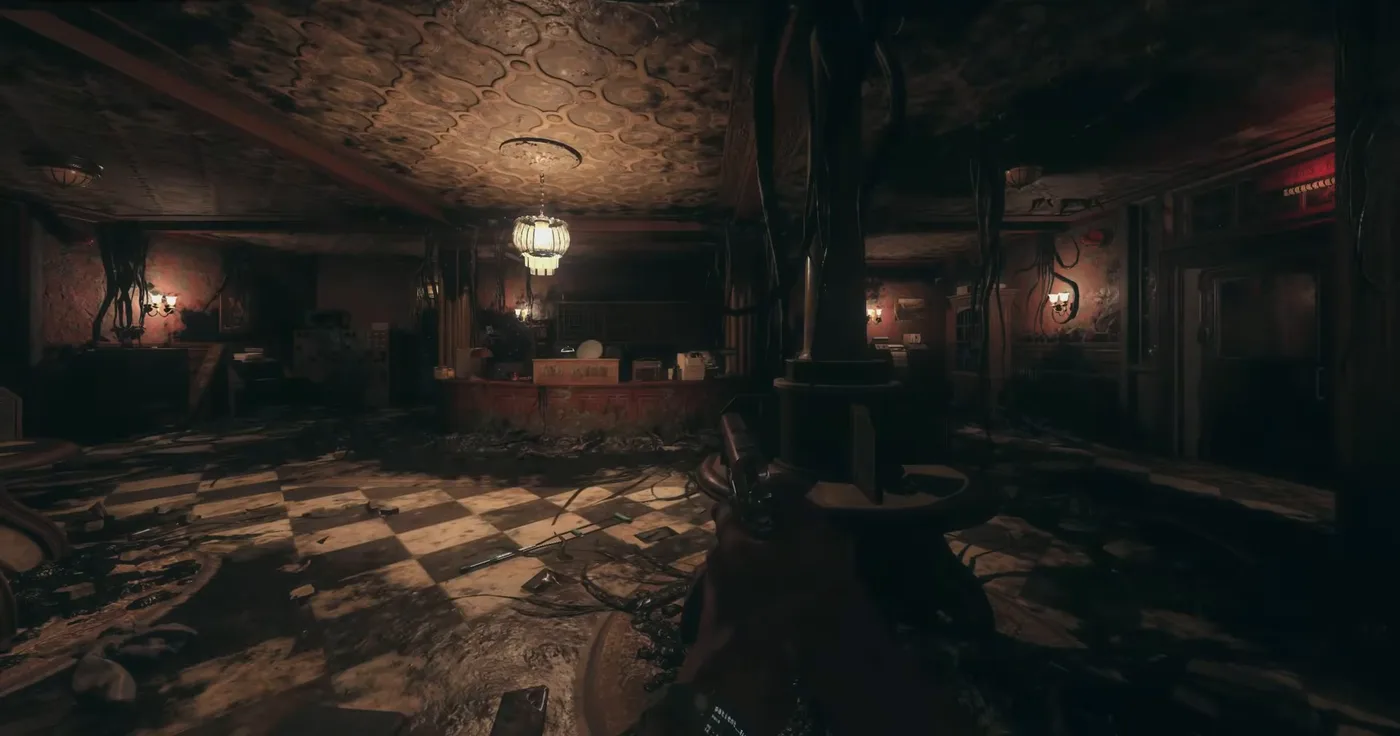
The reception: a hall with a checkered floor, a chandelier and old furniture, where the elevator arrives, Nightmare BO3 Custom, Call of Duty Black Ops III Zombies

The reception

Where the elevator arrives, with T.E.D.D. behind the counter. Its doors lead to the west wing, the east wing, the maintenance room and, later, the upper floor.

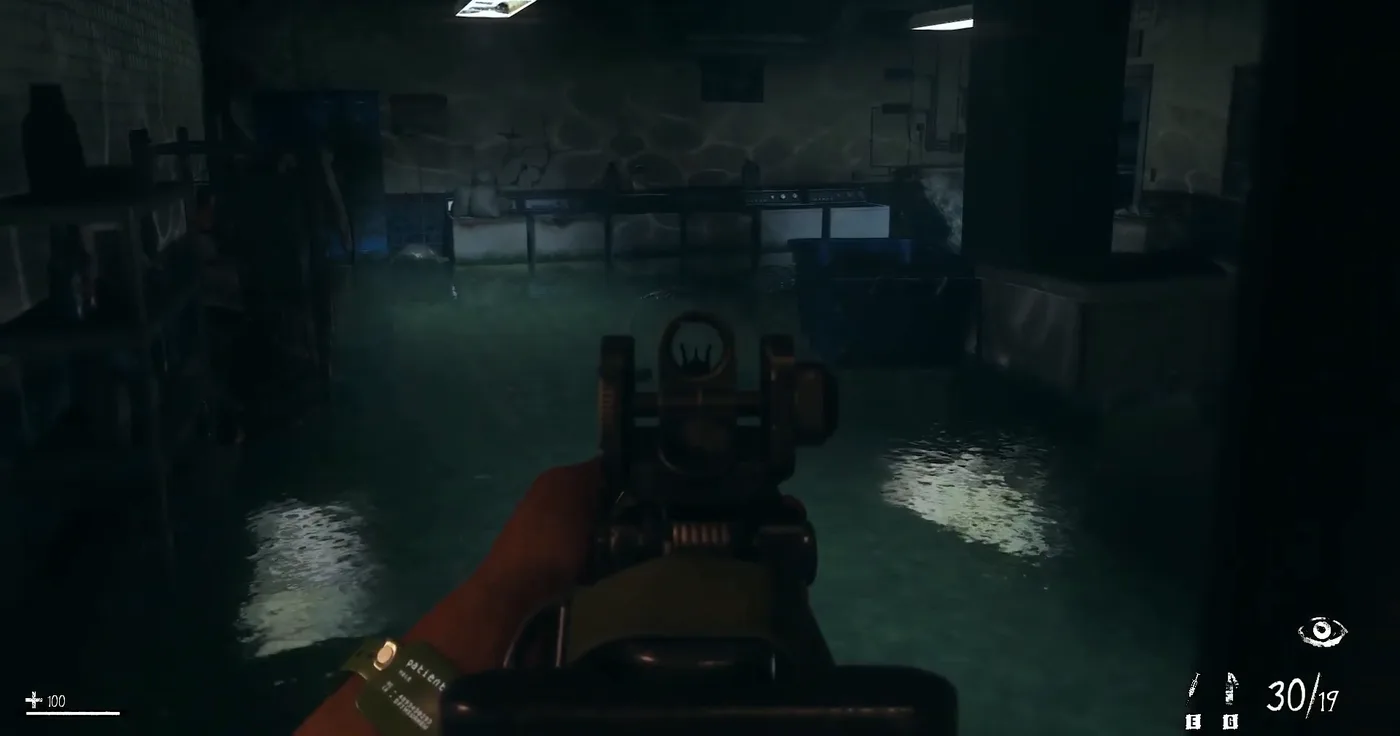
The flooded laundry room of the west wing, with dark water, shelves and counters along the walls, Nightmare BO3 Custom, Call of Duty Black Ops III Zombies

The laundry room

Flooded, with the crocodile in the water. The first half of the code is on a note in a locker at the back.

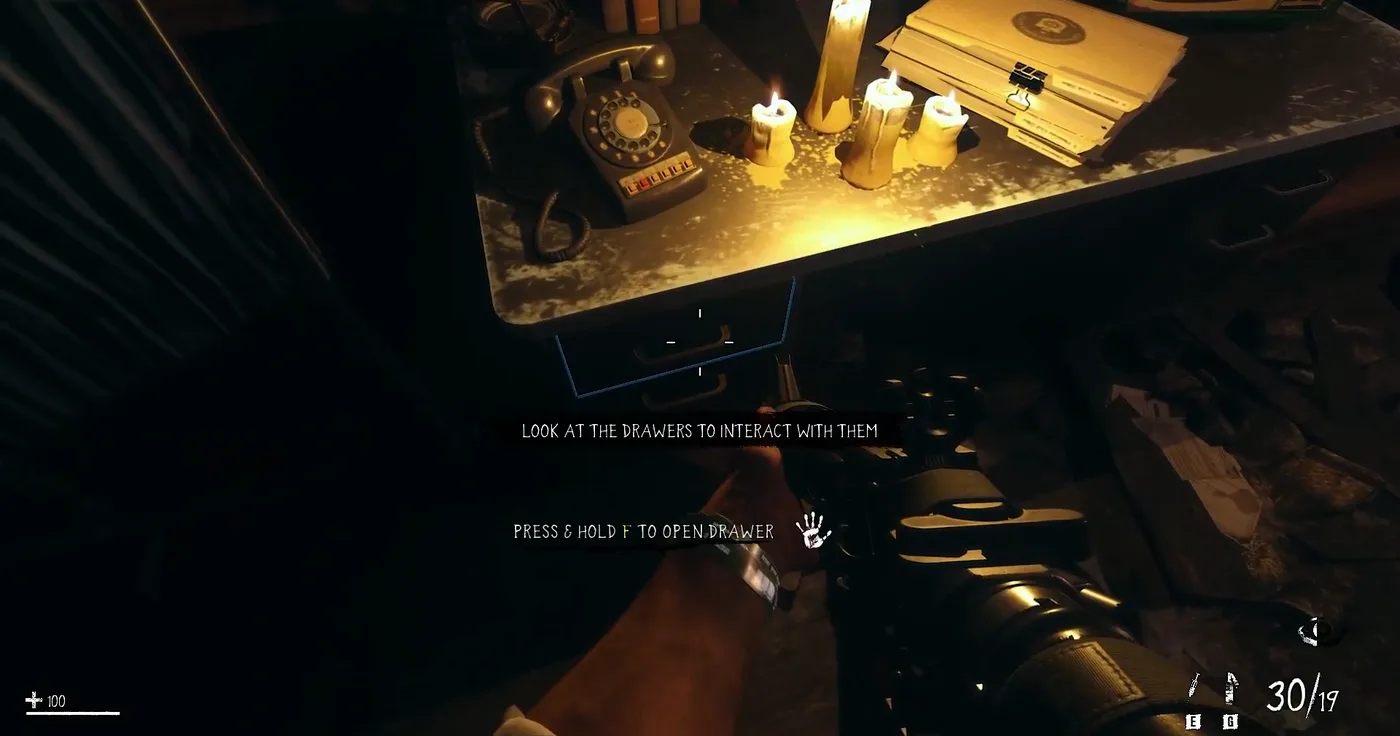
A desk with a telephone, candles and files, and the prompt to open its drawers, Nightmare BO3 Custom, Call of Duty Black Ops III Zombies

The fuse

In one of the drawers of a desk, near the reception. The prompts ask to look at the drawers to open them.

The keypad of the security room door, with its red ENTER CODE screen, Nightmare BO3 Custom, Call of Duty Black Ops III Zombies

The keypad

Next to the door of the security room. Each number is pressed with the use key, then the enter key.

The fuse box of the maintenance room: four round slots, one of them holding the glowing fuse, with the prompt to place the fuse, Nightmare BO3 Custom, Call of Duty Black Ops III Zombies

The fuse box

In the maintenance room under the reception. Its four slots each open a different area; the single fuse moves from slot to slot.

Step 3: the four symbols

Four monitors around the building show a symbol, with a number below it that gives its place in the sequence. The security room turns the alarms off once the four symbols are entered in that order.

  1. The first monitor is at the end of the west wing offices, across from the laundry room; the second in the staff canteen at the end of the east wing.
  2. In the maintenance room, move the fuse to the third slot to open the east wing of the wards, on the upper floor, and find the third monitor in an operating room at the end of the hallway.
  3. Move the fuse to the fourth slot to open the west wing of the wards, and find the fourth monitor in another operating room.
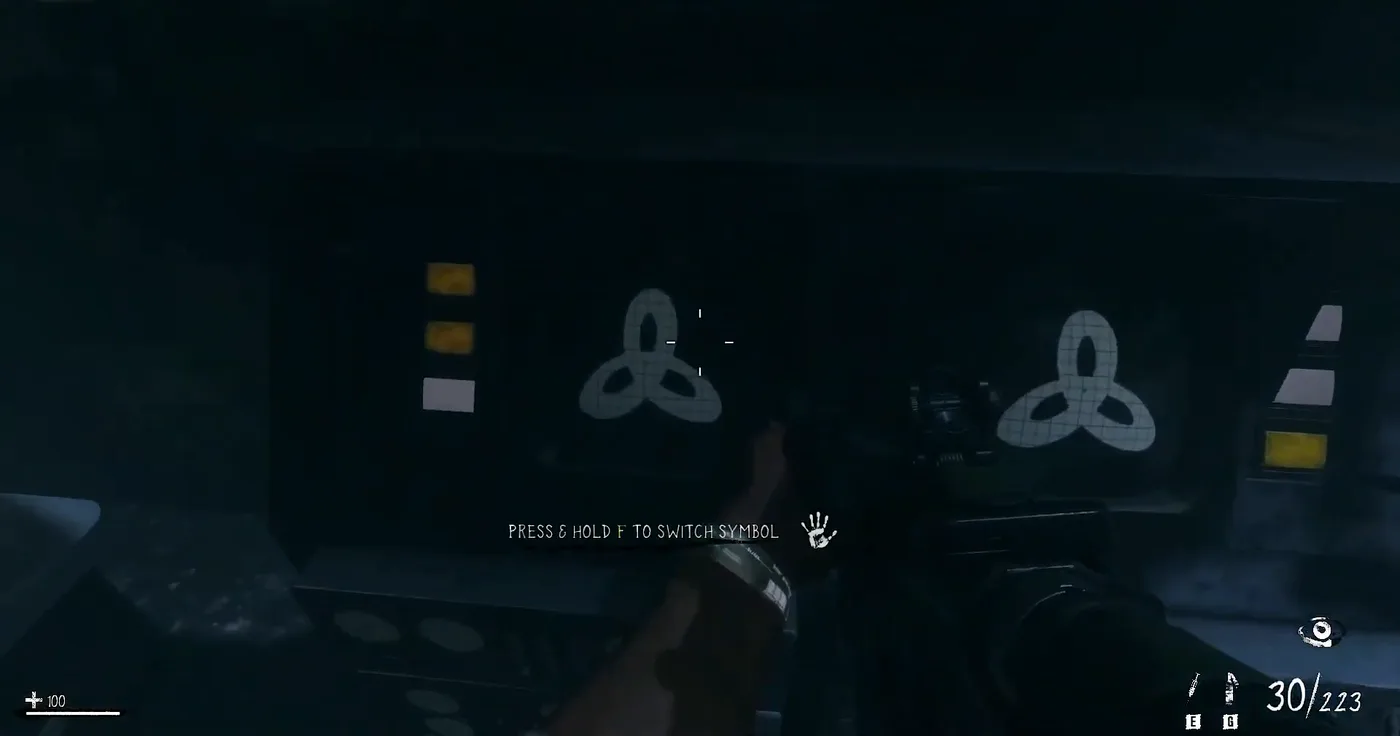
  4. In the security room, set each of the four terminals to its symbol, then use the center console. The lockdowns stop and every wing opens for good.
A small monitor high on a wall showing a radiation symbol, with the number 02 below it, Nightmare BO3 Custom, Call of Duty Black Ops III Zombies

A monitor

High in a corner, with its number below. The “EE tips” thread hears the static of the monitors before seeing them.

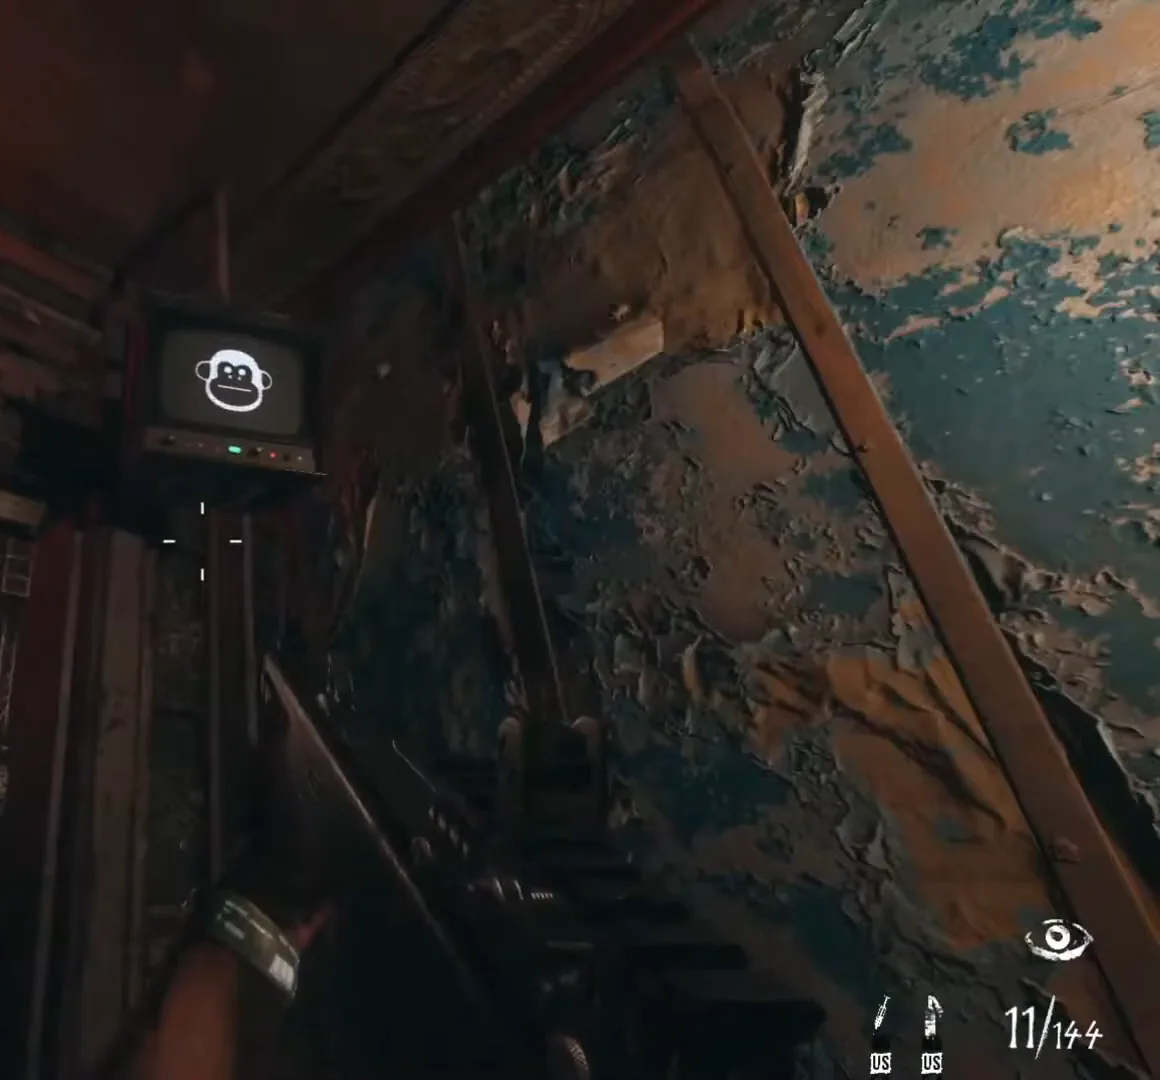
A monitor showing a monkey face, high on the peeling wall of a ward, Nightmare BO3 Custom, Call of Duty Black Ops III Zombies

A monkey

The symbols change from game to game: Pankake101 gets a monkey on three of the four monitors and a radiation symbol on the third.

The terminals of the security room, with two symbols on a screen and the prompt to switch the symbol, Nightmare BO3 Custom, Call of Duty Black Ops III Zombies

The terminals

Each terminal of the security room switches through the symbols until it shows the right one.

Fast Guides Glitch saves a lockdown: open the east ward with the third slot, run to its monitor, then move the fuse to the fourth slot at once and survive only the lockdown of the west ward.

Step 4: the vents and Yuri

  1. Shoot open three vents: in the staff canteen at the end of the east wing, at the end of the west wing hallway on the ground floor, and in the room of bathtubs of the upper floor, called the hydrotherapy room by Fast Guides Glitch.
  2. In the east wing of the wards, open the big silver door of the laboratory. A short scene plays, and Yuri appears.
  3. Bullets do not hurt Yuri, and firing a weapon draws him to the player. Lure him to the far end of the building, then walk back without sprinting or shooting, and avoid his electric traps.
  4. In the laboratory, take the remote control and the RC-XD, put the car down and drive it with the remote.
  5. Follow the yellow arrows into the three vents and drive over the explosive parts in each. Electric traps knock the car out; it must then be repaired by hand, and a new remote taken from the laboratory.
  6. Drive the rigged RC-XD up to Yuri and detonate it. Take the key card that drops from his body.
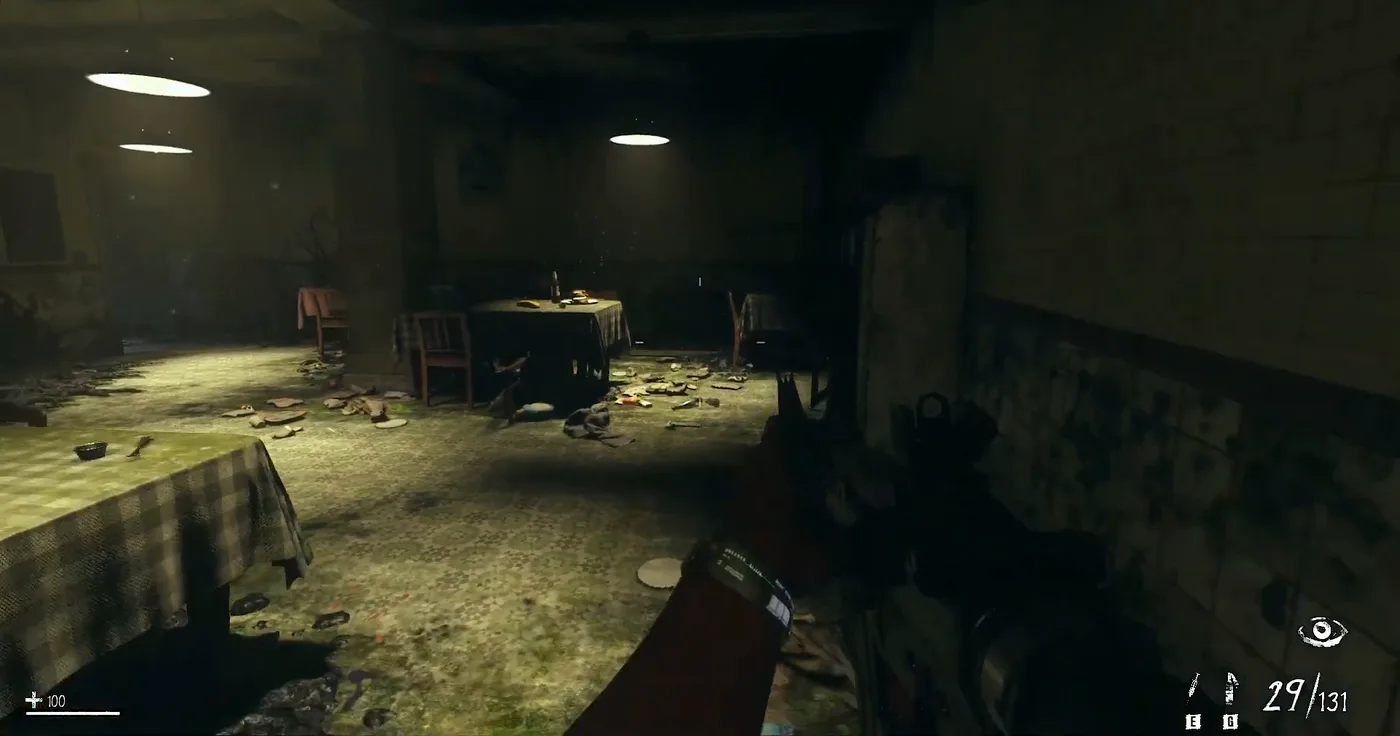
A dining room with tables under checkered cloths and hanging lamps, Nightmare BO3 Custom, Call of Duty Black Ops III Zombies

A dining room

Fast Guides Glitch shows this room of checkered tablecloths while it speaks of the staff canteen at the end of the east wing, which holds the first vent and the second monitor.

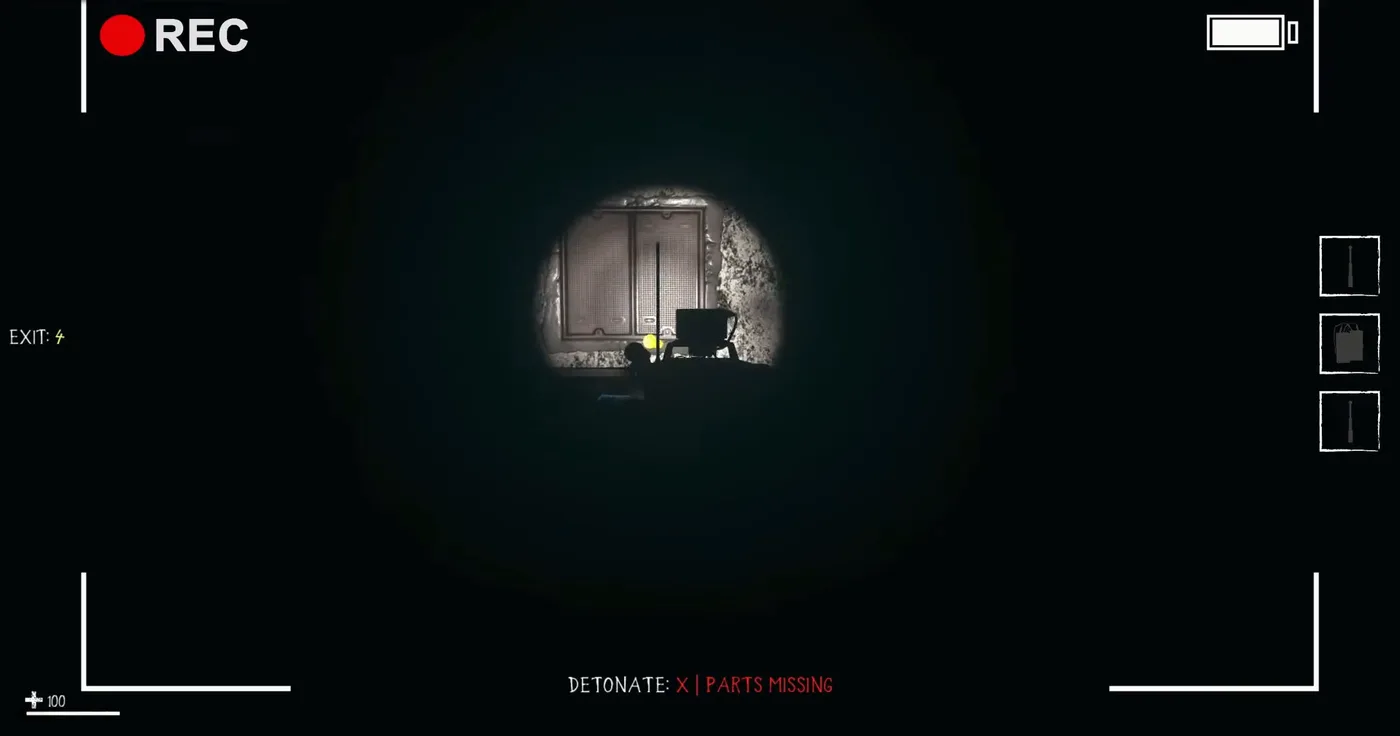
The camera view of the RC-XD in a dark vent, with REC in the corner and the prompt that parts are still missing, Nightmare BO3 Custom, Call of Duty Black Ops III Zombies

The RC-XD

The players drive the car through its camera. Until the three parts are collected, the prompt to detonate reads “parts missing”.

In the speedrun thread, ZeRoY wrote that a bug of the “RCXD/BOSS step” let the players take its target out without the three parts, and that it was fixed in the latest build; ZeRoY calls that target “Doc”. The change notes of version 1.01, on July 31, list an “RC-XD exploit fix”. That Doc is Yuri is a reading of these posts, not something a source states.

Step 5: T.E.D.D.

  1. At the reception, walk up to T.E.D.D. behind the counter and take its head.
  2. Carry it to the laboratory of Yuri and put it on the robot body on the bed.
  3. Use the terminal next to it with the key card of Yuri. T.E.D.D. goes into one side of the machine; the player walks into the other.
  4. A scene plays, and the player now sees through the body of T.E.D.D. Pankake101 explains that this body holds the key of the director’s office.

Step 6: the safe and the chapel

  1. In the office on the right at the start of the east wing offices, on the ground floor, take the safe cracker from the drawers of a desk; Kunjora calls it the office of Dr. Gersh. Pankake101 takes it early, right after the first fuse.
  2. Open the director’s office, at the top of the stairs of the reception, and shoot down the painting on the left wall. Use the safe cracker on the safe behind it and take the chapel key.
  3. Open the chapel, at the end of the west wing of the wards, and use the Kronorium at its back. A long lockdown starts. Fast Guides Glitch runs around the pews on the right; the “EE tips” thread throws a Molotov cocktail at the entrance of the altar.
  4. At the end of the lockdown, Blightfathers appear: one for Kunjora, two in the co-op game of Pankake101. Take the Kronorium and kill them.
  5. Put the Kronorium in the bookcase of the director’s office. A secret passage opens.
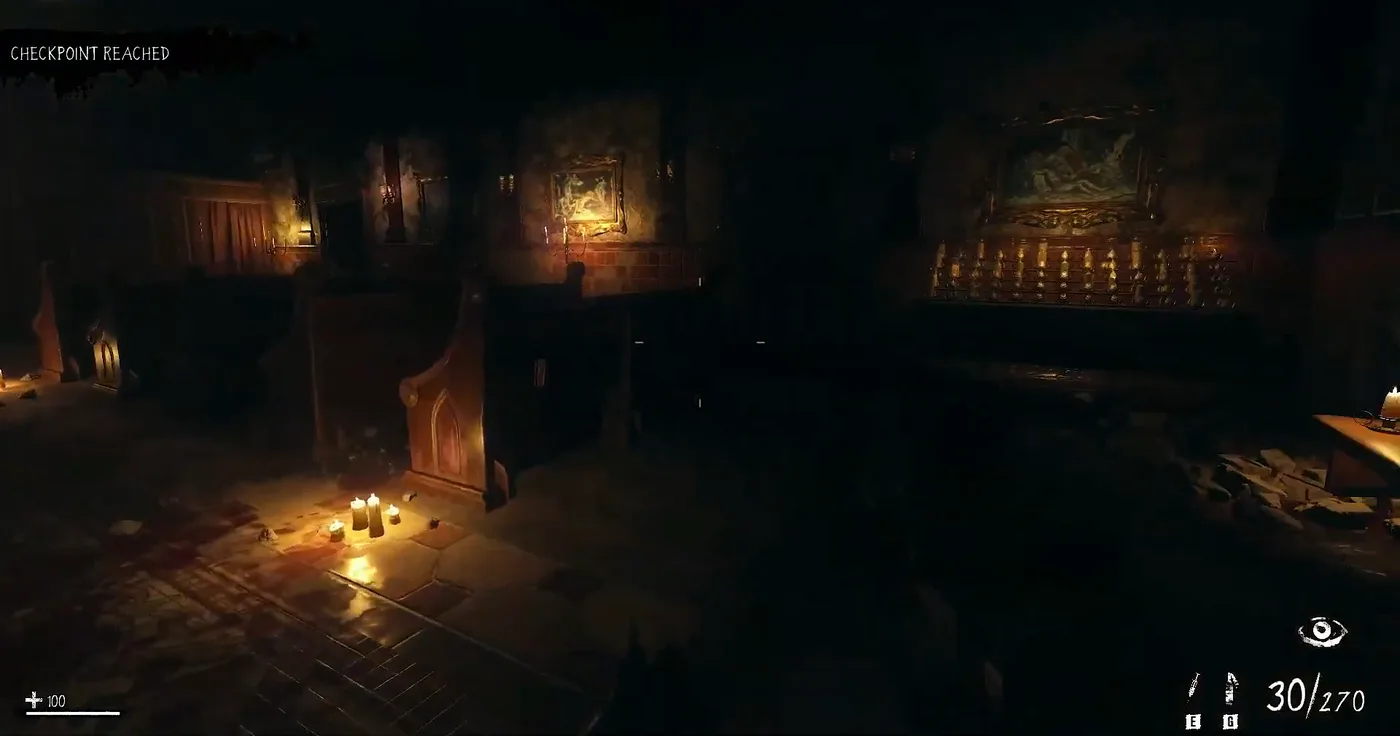
The chapel lit by candles, with its wooden pews and paintings on the walls, Nightmare BO3 Custom, Call of Duty Black Ops III Zombies

The chapel

Lit by candles, with its pews and paintings. The Kronorium waits at the back.

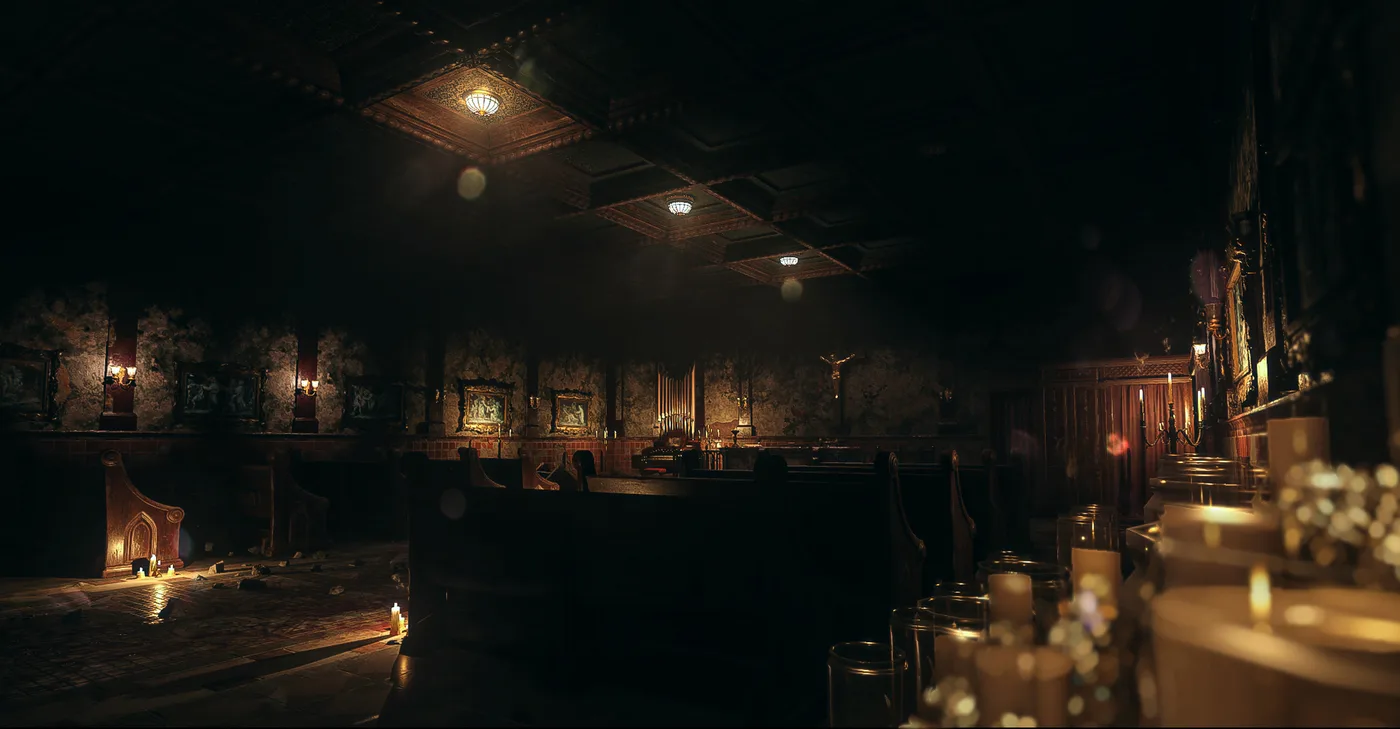
Workshop screenshot of the chapel: pews, a crucifix on the far wall and rows of candles in the foreground, Nightmare BO3 Custom, Call of Duty Black Ops III Zombies

The altar side

The same chapel on the Workshop page, with the crucifix and the rows of candles.

Step 7: the tunnel and the boss

  1. Take the secret passage down to a flooded tunnel. The players cannot run in the water; zombies come from both sides. An Adrenaline Shot helps to move faster.
  2. Use the doors at the end of the tunnel. A scene plays and the fight against the Nightmare begins, in a theater.
  3. In the first phase, the boss throws theater seats: move from side to side and keep shooting. Zombies and spiders join in.
  4. Past half of its health, it comes down to fight at close range and stomps those who come too close. Keep your distance.
  5. Use the Adrenaline Shots and the ammo crates of the stage, and Nightmare Vision to get back on your feet.
Workshop screenshot of a brick tunnel lit by ceiling lamps, with a hospital bed and pipes along the walls, Nightmare BO3 Custom, Call of Duty Black Ops III Zombies

A tunnel

A brick tunnel from the Workshop page. No guide read for this book says whether it is the tunnel of the boss.

Kunjora beats the boss in three to five minutes. When it falls, the final scene and the end credits play.

Yuri, the Blightfathers and the final boss