~/hub / custom-maps / mob-of-the-dead-bo3-custom

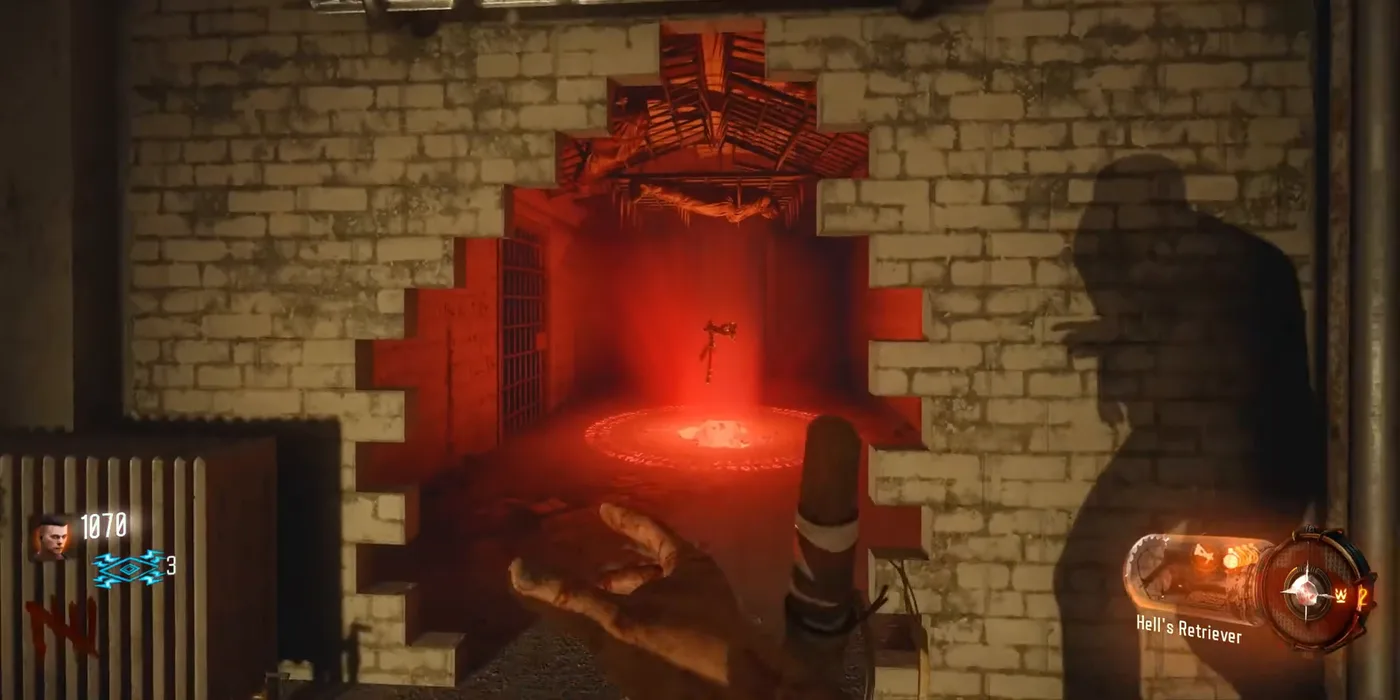
The broken brick wall glowing red where the Hell's Retriever waits, Mob of the Dead BO3 Custom, Call of Duty Black Ops III Zombies

Mob of the Dead BO3 Custom:
Weapons

The weapons of Mob of the Dead BO3 Custom: the wall weapons and their places, the Mystery Box, the Hell's Retriever and its Hell's Redeemer upgrade, the Spoon and the Golden Spork, and the parts of the Zombie Shield.

  • 4 min de lectura
  • 6 capítulos
  • actualizado

Wall weapons

The walls of Mob of the Dead BO3 Custom sell the weapons of Black Ops II, rebuilt with the remastered models that Xela made for the Die Rise remake made with dobby. The guides of the remaster name the wall weapons they walk past, but none lists their prices.

WeaponWhereSource
OlympiaSpawn room, the library, next to a Rusty Cage bottleKunjora, Steam guide
B23RCell block, near the first Cerberus headKunjora
MP5By the entrance to the showers, where an Afterlife gap opensKunjora
Remington 870 MCSCitadel tunnels, next to the wall of the Hell’s RetrieverKunjora
UziBottom of the Citadel tunnels, and in the warden’s officeKunjora; the change notes speak of Uzi wall buys

The release notes of the Workshop list the other weapons of the map through their new models and animations: AK-47, DSR 50, M14, FAL, Barrett .50 cal, PDW, B23R, MP5, Death Machine, M1911 and Ray Gun Mark II. They also nerfed the hipfire accuracy of the snipers. Each game starts with the M1911 and, copforthat says, the Shiv of the original instead of the knife of Black Ops III.
Mystery Box

The Box holds the Blundergat. The guides are seen with the Ray Gun and with its upgraded form, called Porter’s X2 Ray Gun on screen; the videos do not show where they got them. Brutus can lock the Box like any machine. The upgraded M1911 is Mustang and Sally.

Hell’s Retriever

The tomahawk of the map, ported from Black Ops 4 but still played with the Black Ops II animations. To earn it, feed three Cerberus heads: each eats zombies killed close to it, one at a time, about six per head according to Watchful Wolf and Fast Guides Glitch.

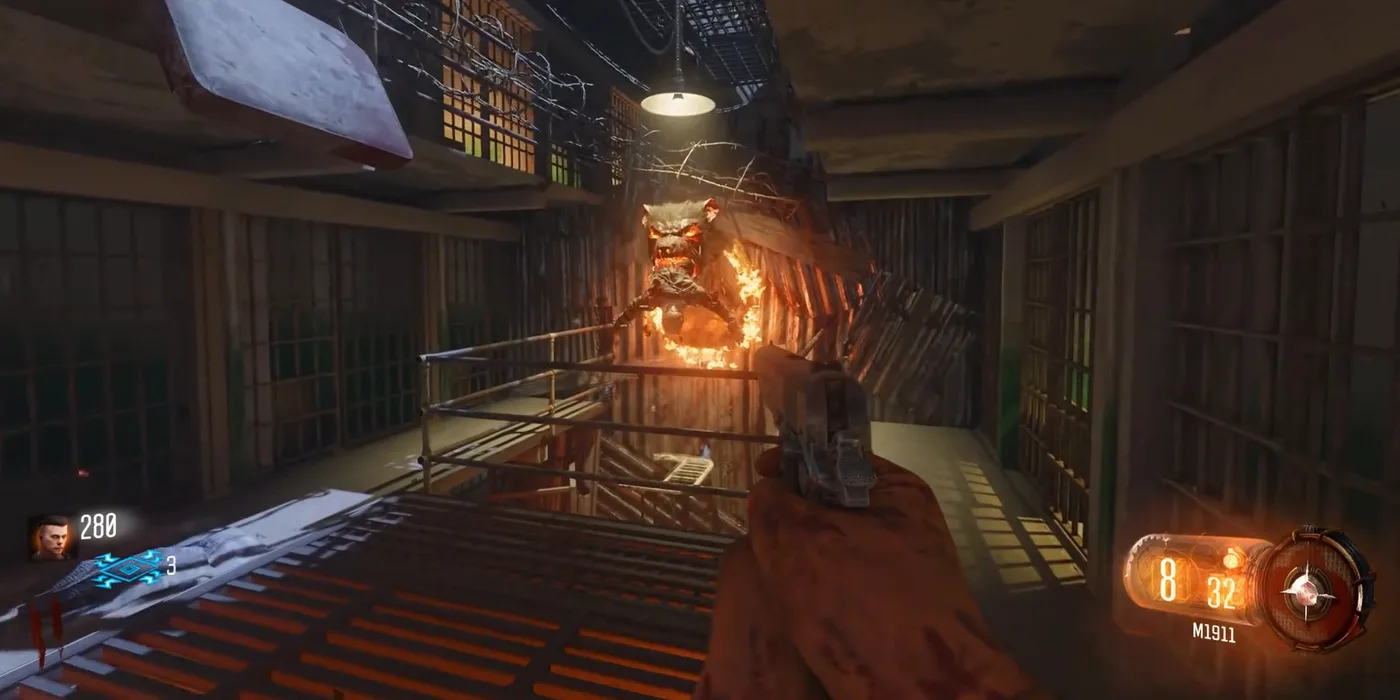
A Cerberus head glowing over the walkway of the cell block, Mob of the Dead BO3 Custom, Call of Duty Black Ops III Zombies

First head

In the cell block, between spawn and the area the guides call Broadway or Michigan Avenue, near the B23R.

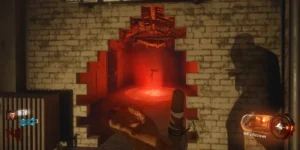
The broken brick wall glowing red where the Hell's Retriever waits, Mob of the Dead BO3 Custom, Call of Duty Black Ops III Zombies

The Retriever

With the three fed, it waits in a hidden room of the Citadel tunnels, behind a broken wall near the Remington, close to the showers.

Second head

In the infirmary, just before the stairs to the roof, next to the Valves cabinet.

Third head

On the outer wall of the docks, next to a workbench.

Thrown, it always comes back and picks up power-ups; held, it charges for a longer throw. copforthat wrote the quest of the Cerberus heads using the dragon heads of Der Eisendrache as a model.

Hell’s Redeemer

copforthat explained the upgrade in the making-of video, because players kept missing its first step. In order:

  1. Get about 15 kills with the Hell’s Retriever anywhere on the map. A distinct sound plays: it only unlocks the next step.
  2. On the bridge, kill zombies with the Hell’s Retriever only, without firing a gun or using the Pack-a-Punch, until the sound plays again. The original asked for round 10 or later; the remaster dropped that requirement in its release version.
  3. Back on the island, throw a charged tomahawk into the lava pool under the first Cerberus head. It does not come back.
  4. Play to the next round, then go back to where the Retriever was in Afterlife and take the Hell’s Redeemer. It charges three times instead of two.

Spoon and Golden Spork

The two melee weapons are, in copforthat’s words, reskins of the default melee weapon with other damage values.

  1. Spoon: after a first trip to the bridge, with the Hell’s Retriever, break the poster in a cell of Michigan Avenue near the warden’s office. In Afterlife, enter the passage behind it and zap the spoon on the floor until a laugh plays. Then pick up the second spoon on a table at the back of the cafeteria with a tomahawk throw.
  2. Golden Spork: drop the spoon in the lone blood-filled bathtub of the infirmary, then kill zombies with the Acidgat in the showers until a laugh plays (about 75 kills for Kunjora). Take the Golden Spork from the bathtub. The guides say it kills in one hit up to round 33 or 34.

Zombie Shield

PartWhere it can be
ClampPower room by the docks: on a small table facing the entrance, on the shelves in a corner, or next to the big generator at the back
Cell doorCitadel tunnels: against the wall on the stairs, in the corner before the lift of the rigging, or in a corner before the power room
FrameDocks: near the gate of the fuel tank, by the trap switch, or in a corner facing the tower trap
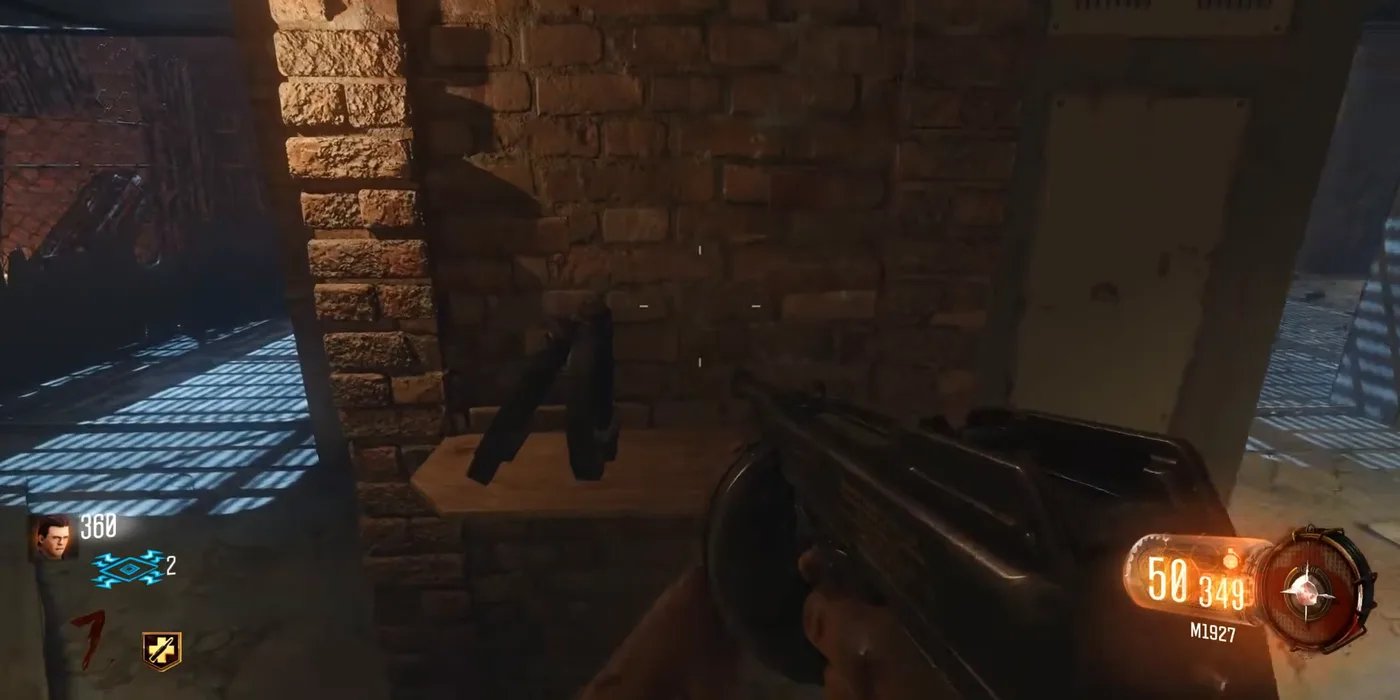
A shield part lying on a small stone table of the power room, Mob of the Dead BO3 Custom, Call of Duty Black Ops III Zombies

The clamp

One of its three spots: the small table facing the entrance of the power room.

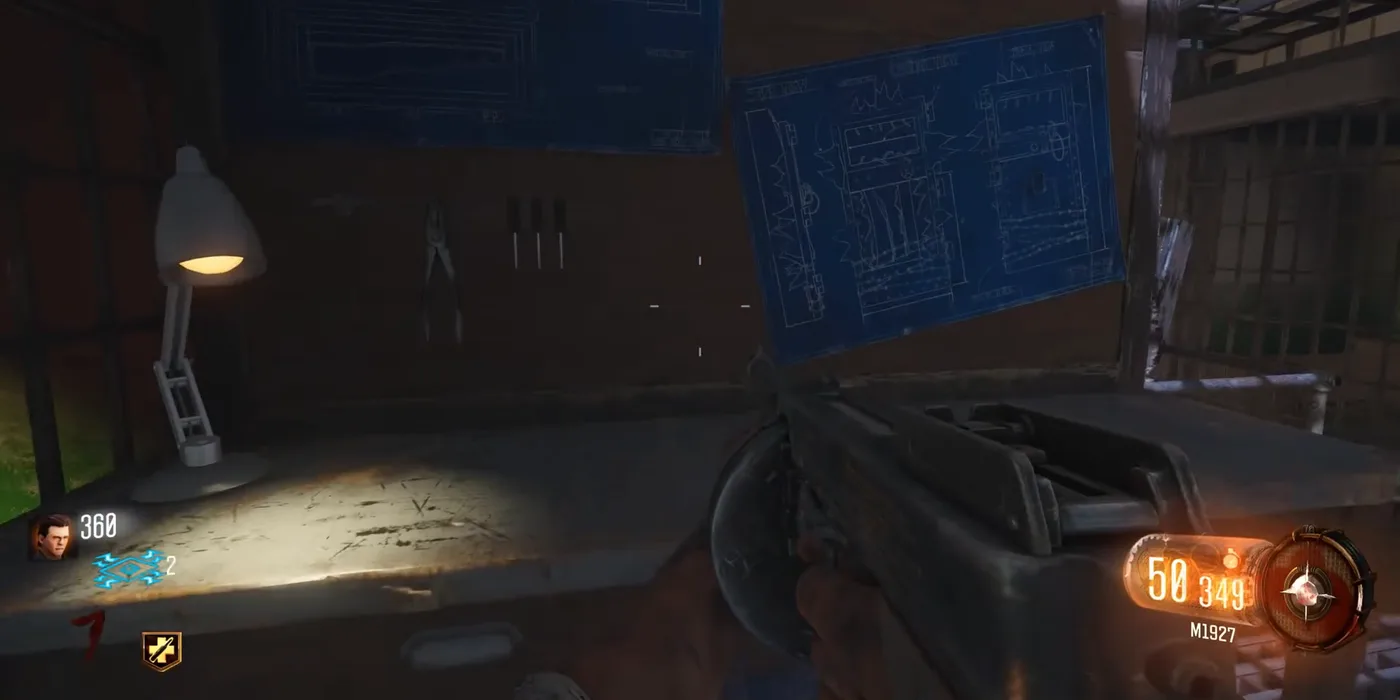
A workbench lit by a desk lamp, its blueprints pinned on the wall, Mob of the Dead BO3 Custom, Call of Duty Black Ops III Zombies

The bench

The shield blueprint is pinned above the same benches as the kit.

It is built at one of the same three workbenches as the Acid Gat Kit. The release version fixed shield parts that sometimes did not spawn and a shield that lost its health when leaving Afterlife.

The free Blundergat, the Acidgat and the Magmagat