~/hub / custom-maps / overload-bo3-custom

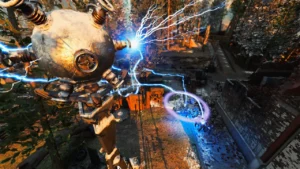
Workshop screenshot of the Avogadro, a metal sphere with arms, crackling with blue lightning over the map, Overload BO3 Custom, Call of Duty Black Ops III Zombies

Overload BO3 Custom:
Easter Egg

The main quest of Overload BO3 Custom step by step: the dials and the key card, the Death Rays and the secret rooms, the crystal, the orb through the teleporters, and the three phases of the fight against the Avogadro.

  • 6 min de lecture
  • 3 chapitres
  • mis à jour

Before starting

The main quest of Overload ends with the death of the Avogadro. It can be played solo or in co-op; the change notes of update 7 made the dials of step 3 easier in solo. The steps below follow the guides of Not So Serious Gaming, No Thumbs Crew and Flapix, which give the same order, checked against the games of Pankake101 and Watchful Wolf.

What to have

The power, Pack-a-Punch, the teleporters and the mine, according to Flapix, who strongly advises the shield and the Voltaic BZRKR. Pankake101 brings Juggernog, Double Tap and the shield before the lockdown of Pack-a-Punch.

Pen and paper

Pankake101 and Not So Serious Gaming both advise writing things down: the dials give a three-digit code, and the secret rooms twelve digits in three colors.

Save a zombie

Several steps start when a round ends. Pankake101 keeps a zombie alive between them to choose the moment.
Step by step

  1. Power and Pack-a-Punch. Build and turn on the power, blow the barrier of the yard with the dynamite and survive the lockdown of Pack-a-Punch.
  2. The mine. Buy the axe of the yard, break the planks over the drop at the spawn and turn on the two switches of the teleporters, by Speed Cola and in the Undercroft.
  3. The three dials. Three dials stand by Juggernog, by Double Tap and by Mule Kick in the mine; Pankake101 reads 1–2–3, 4–5–6 and 7–8–9 on them. In solo, each dial stops when it reaches its number, a change of update 7. In co-op, the 27 combinations have to be tried, the dials sparking like the generators of Origins until the right one is found; Flapix adds that the first valid dial changes from game to game. Write down the three numbers and where each came from.
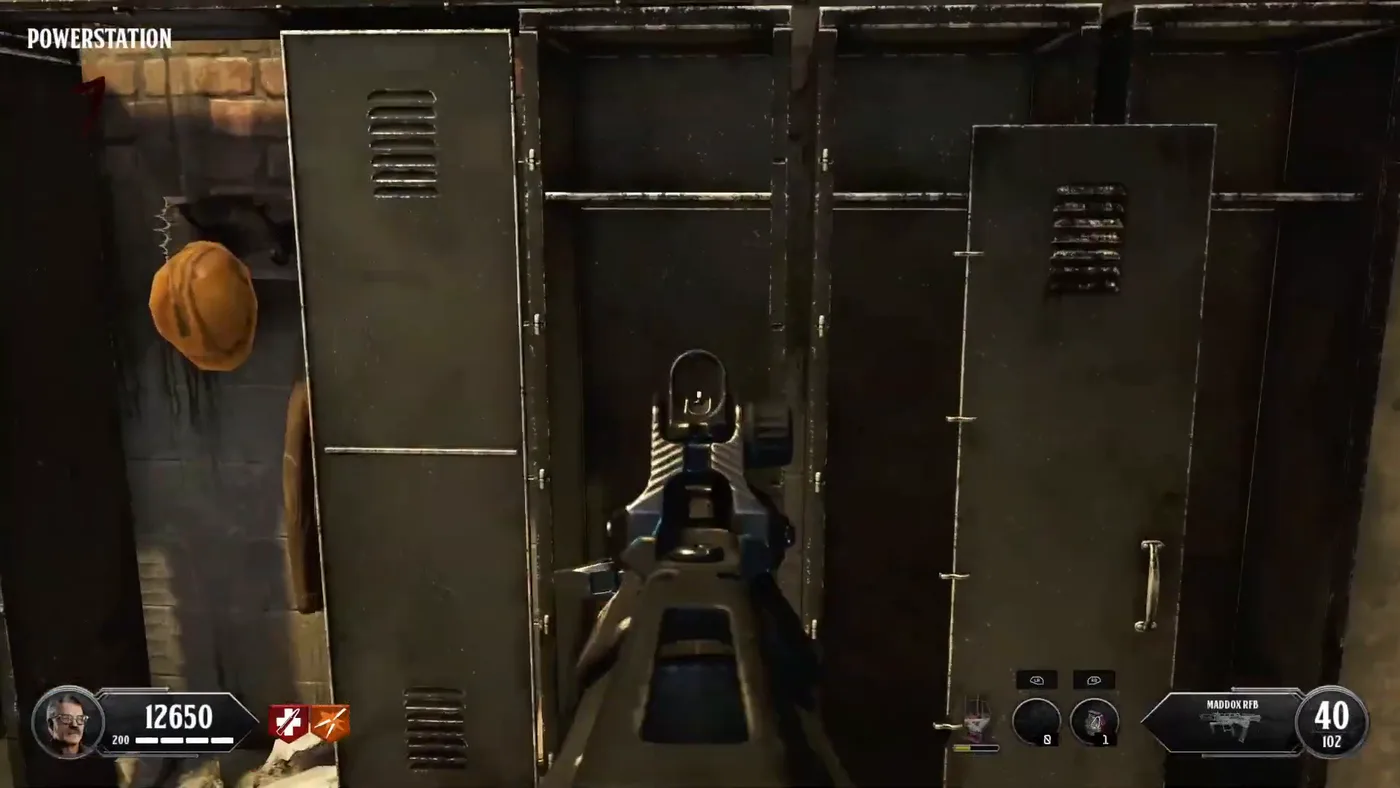
  4. The key card. A locker opens on the ground floor of the Power Station, toward the crater. Take the key card, after making sure no player is still in the mine, as Pankake101 warns.
  5. The Avogadro in the power room. Insert the card in the computer on the right of the doorway of the power room: a short lockdown starts. When the zombies stop coming, use the computer again: the Avogadro appears. Shoot it until it comes down to the ground floor, then until it leaves; No Thumbs Crew gets a Max Ammo when it is done.
  6. Dead Wire at the Death Rays. With Dead Wire on a weapon, kill a zombie next to each of the three Death Rays to power them.
  7. The secret rooms. Use the Death Rays to enter the afterlife and open four secret rooms: with the Death Ray of the spawn, the trapdoor of the left cabin and the door by Mule Kick in the mine; with the Death Ray of the crash site, the door by Juggernog and the door on the stairs from Double Tap to Stamin-Up. In each room, invisible plates show a blue, a green and a red digit when walked on; the green one sometimes needs a jump. The digits change every game, their places do not.
  8. The keypads. Enter the four green digits on the keypad of the Death Ray of the spawn, the four blue ones at the crash site and the four red ones at Pack-a-Punch, then press enter. No Thumbs Crew and Watchful Wolf find that the order of the four digits does not matter.
  9. The Avogadro at the Death Rays. End the round: the Avogadro spawns and the round does not end. Lead it next to each Death Ray and activate the trap when it is close. After the third, it drops a crystal and a Max Ammo, and the zombies stop.
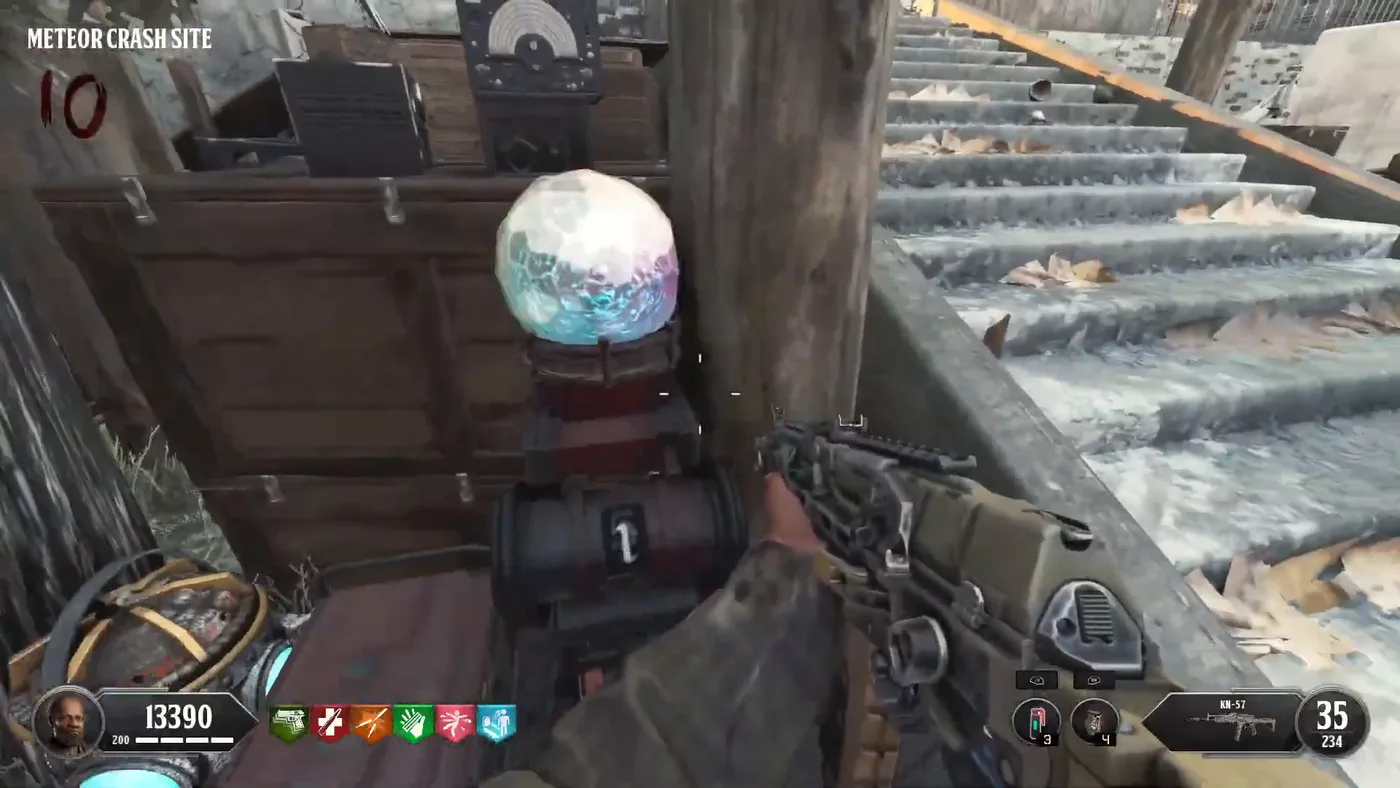
  10. The crystal and the Valkyrie. Place the crystal in the machine on the left of the stairs of Pack-a-Punch, between the crash site and the yard. End the round: a Valkyrie round follows, and one of the drones has to shock the crystal while a player stands by it. The crystal sparks when it is done.
  11. The orb. At the next round, pick up the charged crystal: an orb rises with a dome around it. Stay inside the dome, where the orb takes the souls of the zombies, and follow it across the map to the teleporter of the Undercroft, where it stops until it has enough kills.
  12. The teleporters. The orb now sits on the central pad of the Undercroft. Find the teleporter that sparks, and use it when it shows the symbol of the place where the orb is: the orb moves to the teleporter just used. Repeat until the orb reaches the power room; No Thumbs Crew notes that the first jump always leads to the Undercroft and the last from the power room.
  13. The code. In the power room, enter the three numbers of the dials on the wheels left of the power box, from top to bottom, and confirm. Not So Serious Gaming puts Juggernog on top, Double Tap in the middle and Mule Kick at the bottom; Flapix enters them in the order in which the dials were validated. The orb flies into the machine in the middle of the room.
  14. The boss fight. Go down to the central teleporter of the Undercroft and interact with it to start the fight.
The crystal of the Avogadro placed on its machine by the stairs of the Meteor Crash Site, Overload BO3 Custom, Call of Duty Black Ops III Zombies

The crystal machine

The machine by the stairs of the Meteor Crash Site, near Pack-a-Punch, with the crystal of the Avogadro placed on it.

A row of metal lockers with a hard hat hanging on the side, on the ground floor of the Power Station, Overload BO3 Custom, Call of Duty Black Ops III Zombies

The locker of the key card

The lockers of the ground floor of the Power Station; one of them opens once the dials are set.

The keypads

Each Death Ray has a keypad of one color: green at the spawn, blue at the crash site, red at Pack-a-Punch. Not So Serious Gaming clears a mistake with the clear button and warns not to forget enter.

The dome of the orb

No Thumbs Crew finds that the dome only moves when the orb gets the kills, not the players: zombies have to stand inside a few seconds, and Electric Cherry helps to stun them. Update 6 turned the teleporters off and added music during this escort.

The boss fight

The Avogadro fights in three phases. When it is yellow it can be damaged; after ten to fifteen seconds without enough damage it lets out a wave that kills in one hit, according to Flapix, who advises taking cover behind a wall.

  1. Phase 1, in the Undercroft. Three machines stand around the room. Activate one just before the Avogadro shoots: shocked by both, the player falls into the afterlife. In afterlife, use the same machine, revive, and use it a third time: the Avogadro weakens and can be shot. Do it again with a second machine.
  2. Phase 2, across the map. The Avogadro teleports the players to the power room, then moves through the crash site, the Power Station, the path to the spawn and the spawn. In each area, shoot it until it freezes, yellow, in front of a blue barrier, then knife it to pass the barrier. In co-op, No Thumbs Crew advises that everyone runs through together.
  3. Phase 3, back in the Undercroft. Use the last machine as in phase 1. The Avogadro comes down onto the central teleporter, where it has to be finished.

The reward

The death of the Avogadro gives Perkaholic, every perk at once. The central teleporter then ends the game: No Thumbs Crew and Watchful Wolf have to gather 50,000 points between the players to leave.

The known bug

In the last phase, the Avogadro sometimes never comes down and can no longer be damaged: Flapix, Not So Serious Gaming and No Thumbs Crew all hit it, and the only way out is a new game. Flapix says it was never fixed.

Co-op

No Thumbs Crew finds the timing of the machines very tight in co-op: the Avogadro targets one player at a time, and a player in afterlife should wait by the machine while another stands ready to use it.