


 English
 Français
 Italiano
 Español
 Deutsch
 Rankings
 Herramientas

Before the quest
The main quest of Totenreich frees the Shadowsmith Dravakar from the Warden. It asks for the power, the Pack-a-Punch, the Glocke Drop Controller, the Wunderbarrage Controller and the Jotunn Star.
~/hub / map-wiki / totenreich
The main quest of Totenreich step by step: the power and the Pack-a-Punch, the Jotunn Star, the Wundersignal and the Wunderbarrage, the Atomkraft Core, the Vegvisir runes and the boss fight against the ice giant Dravakar, with its rewards.
The main quest of Totenreich frees the Shadowsmith Dravakar from the Warden. It asks for the power, the Pack-a-Punch, the Glocke Drop Controller, the Wunderbarrage Controller and the Jotunn Star.
The Lantern from a named Zursa, the Chain Links from the ship, the shrine of the Burial Grounds, the ghost of Astrid Loven and the top of the lighthouse.
Three pieces of uranium, in any order:
Find a fishing rod, Olaf’s Cod Cranker, and catch the glowing green fish. An Irradiated Ravager comes the next round with a pack of Ravagers; it drops the uranium.
With an ARC-XD, melee the vent near the stairs and the zipline of Core Foundry, drive onto the boat across and open the Group 935 Genetic Lab. The numbers of the corridor show which head jars, A to E, go into the machine; the Necrospike of the crab arm then picks the lock of the cell.
Call a Glocke Drop and shoot at least 20 zombies while they float. The Glocke drops the uranium when it leaves.
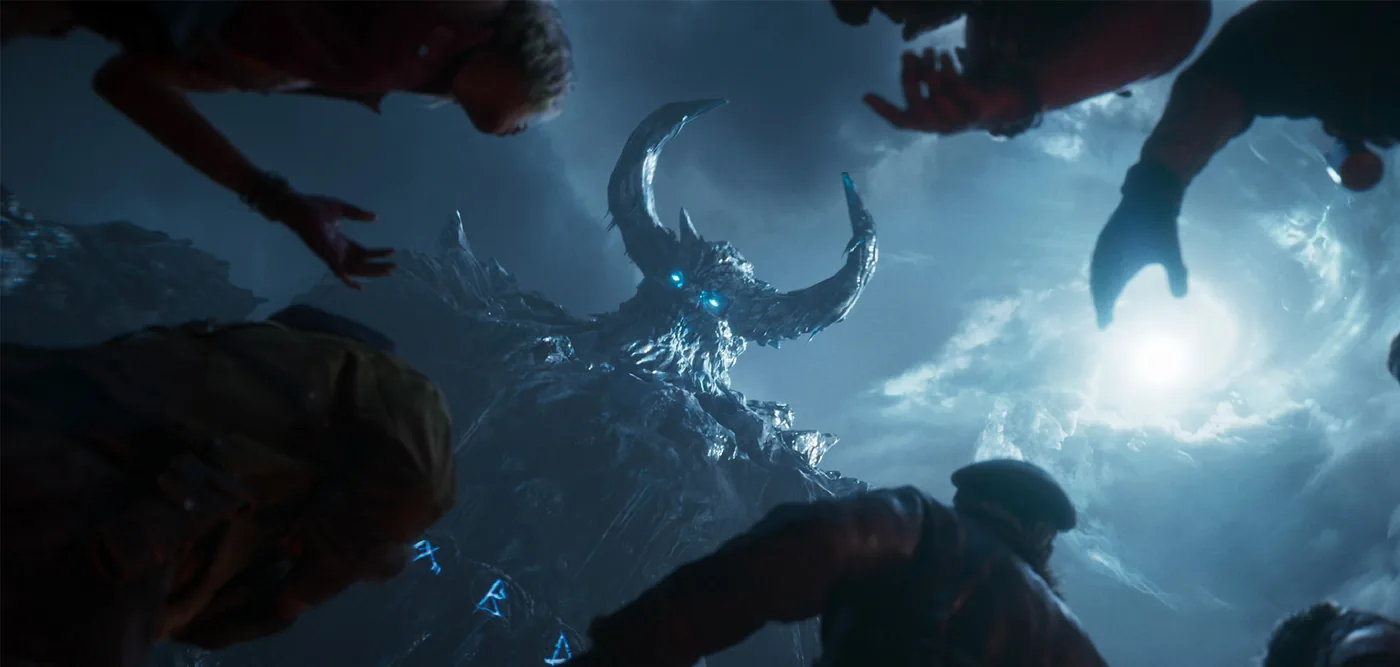
Dravakar wrestles Tyr. Red weak spots glow on the giant: breaking them lets Tyr fire a Wunderbarrage, then a Glocke Drop full of scorestreaks. A spot left whole means a Winter Storm on the part of the arena where most players stand. Three Flammenfalle Traps land around the arena.
Dravakar puts Tyr out of the fight, and three Gjallarfrost Heads take his place. A grenade or a Flame Strike in the mouth stuns each one. Dravakar comes back with moving weak spots, freezes parts of the arena and throws ice shards in the shape of runes, H, S, V or lines. The traps keep the players warm.
When his face glows red, Dravakar pulls the players to the middle of the arena and walls them in. His weak spot stays open, the runes come faster and the zombies never stop, until Tyr pierces him with its arm.
A player who has finished the main quest of Astra Malorum gets Caltheris’s Blessing once in this fight, a power-up that revives the player who picks it up if every player is down. After the ending, the team can go on from Eidskallen Landing with every perk and a pile of loot.
| Reward | How |
|---|---|
| Totenreich Early Completion calling card | Before Directed Mode came out, on June 4, 2026 |
| Totenreich Standard Completion calling card, the Ambition skin of Richtofen and 10,000 XP | Standard mode |
| Totenreich Directed Mode Completion calling card, the Dead Man’s Drip skin of Weaver and 5,000 XP | Directed Mode |
| Three Pack-a-Punch camouflages | Cursed, Tiers I, II and III |
| Toten Meister calling card | Cursed, Tier III |
| Dravakar’s Blessing in the fight against Nyxara on Kowakujō | Any mode |