


 English
 Français
 Italiano
 Español
 Deutsch
 Rankings
 Outils

On Return to Das Herrenhaus the Pack-a-Punch is not behind a door: it waits in a bunker that only the teleporter reaches, once the power is on and the panel of the teleporter is complete. Tinhorn compares the process to Kino der Toten and Der Riese. These steps come from Sassy Asi, Flapix, Ascended Zombie, WGWWilidquaje and the Workshop guide of Randomd3Face, which agree.
~/hub / custom-maps / return-to-das-herrenhaus
Return to Das Herrenhaus:
Perks and Pack-a-Punch
How to turn on the power of Return to Das Herrenhaus, use the levers of the teleporter, find the bunker fuse and the missing lever to open the Pack-a-Punch, and where its eight perk machines stand.
- 4 min de lecture
- 4 chapitres
- mis à jour
The power
- From the spawn, take the door on the left of the main stairs. It costs 750 points in a video Pankake101 published on February 8, 2019, the day after version 1.04 raised the cost of some doors; no source says whether that price is the one before or after the patch. The next door down costs 2,000 points in Pankake101’s video and in Sassy Asi’s guide of May 2021.
- Go all the way down into the Boiler Room. The power switch is on the left at the bottom.
- The power opens the door of the kitchen and the dining hall on its own. Go back up, through the kitchen, to the teleporter at the back of the dining hall.
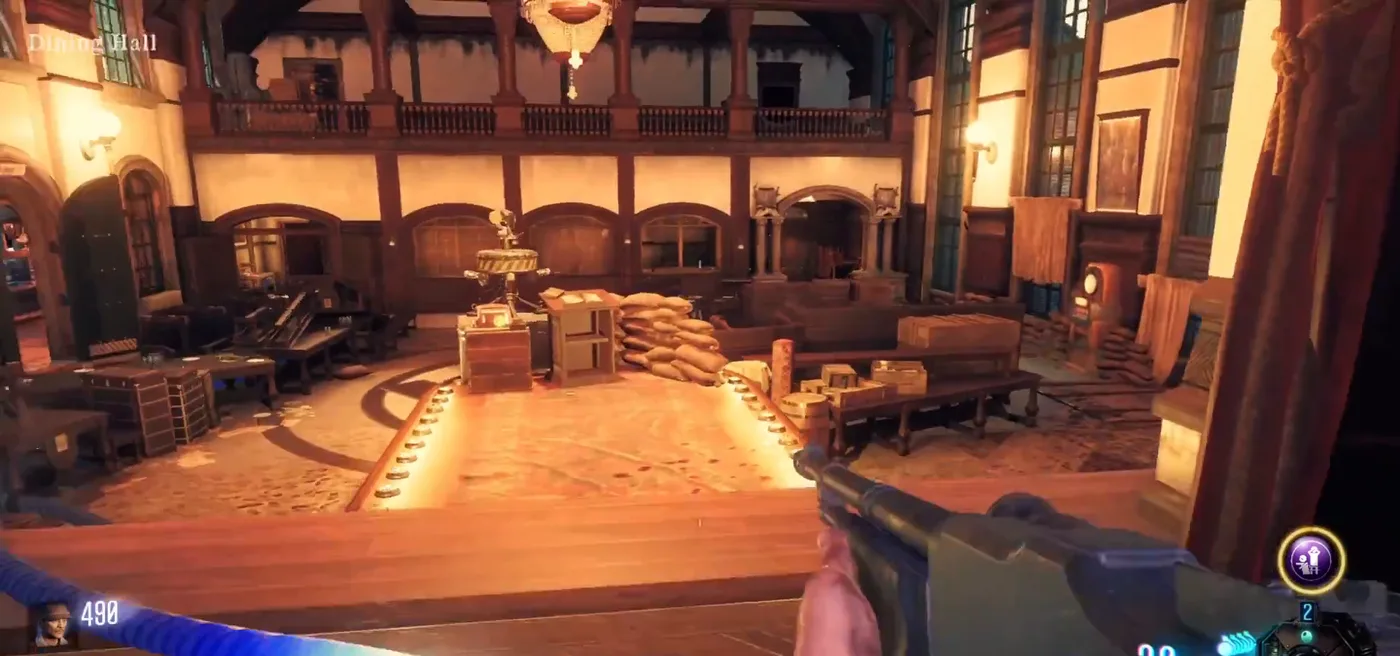
The dining hall
The hall of the teleporter, opened by the power.
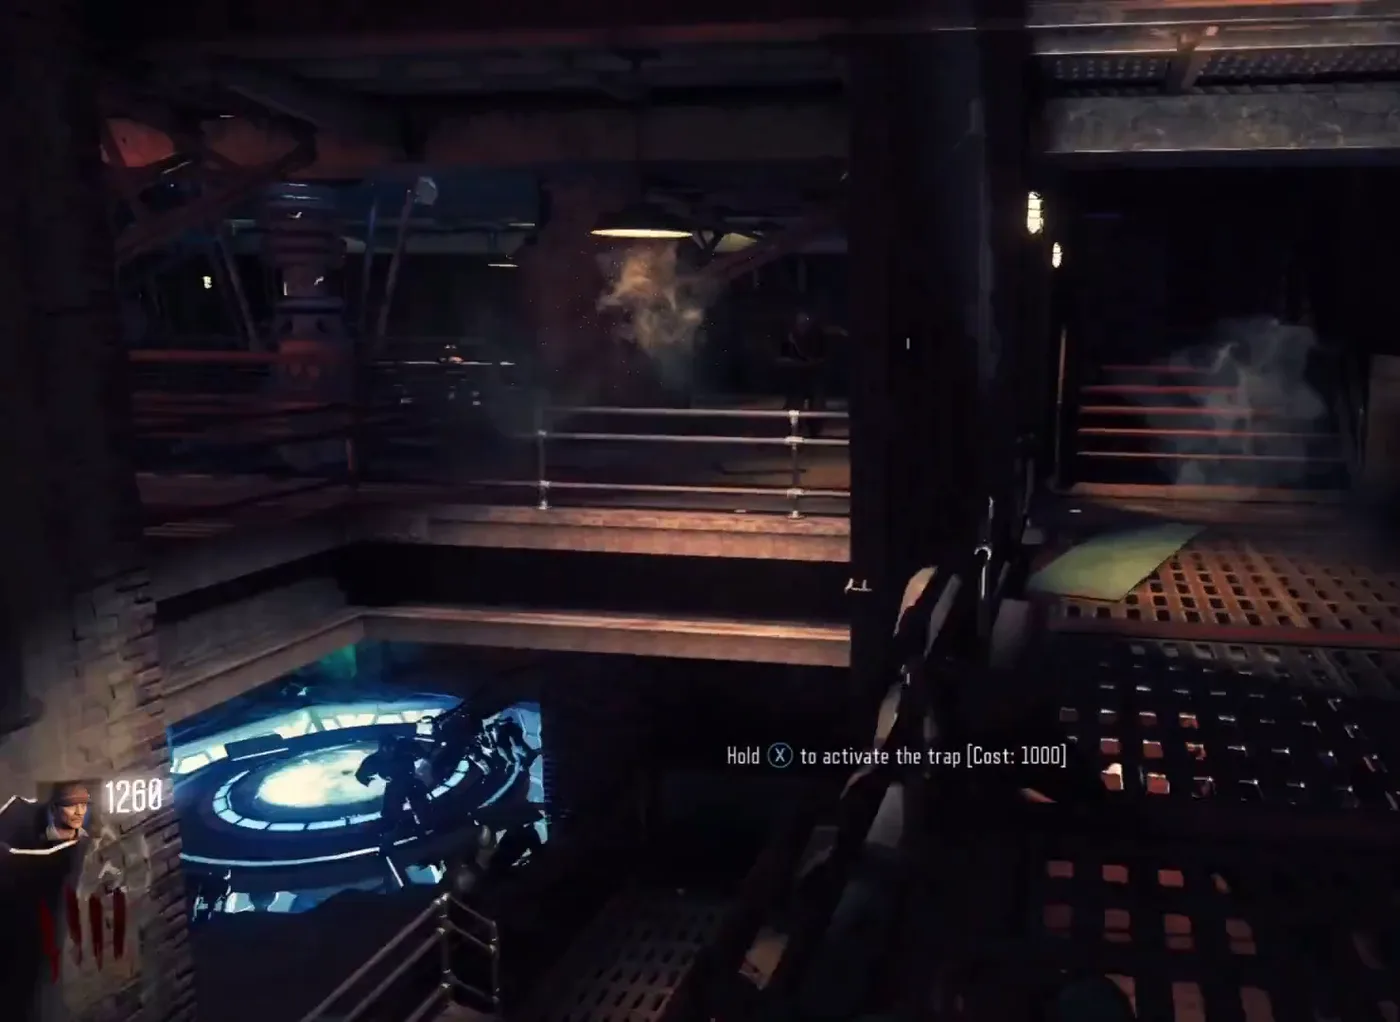
The mainframe pad
In the Boiler Room, where every trip of the teleporter is linked; a trap next to it costs 1,000 points.
The teleporter and its levers
The teleporter of the dining hall has to be linked to the mainframe pad in the Boiler Room before every trip. On its left, a panel with a screen and levers chooses the destination. After each trip the players come back to the map, sometimes through one of two small rooms, a lit one and a blood-red one, as on Kino der Toten.
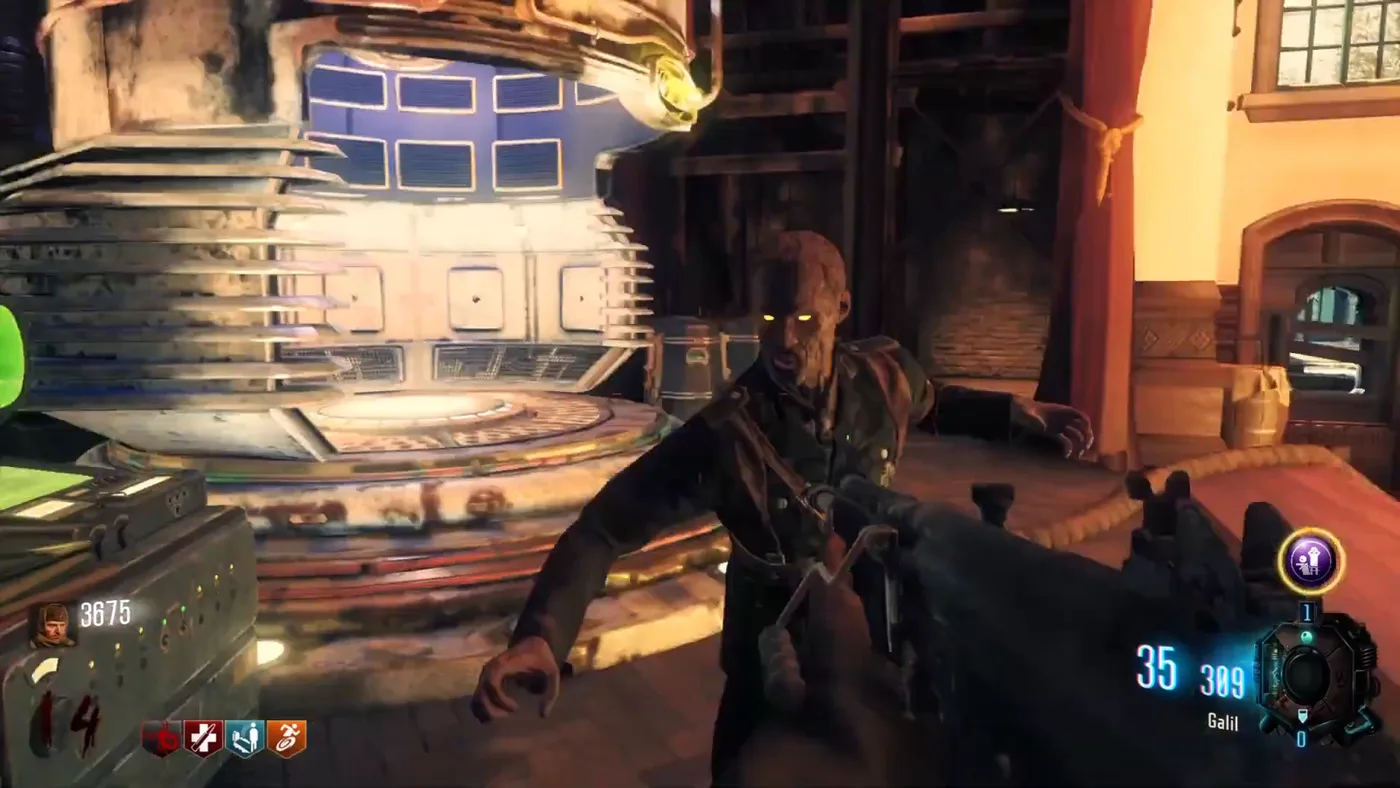
The teleporter
At the back of the dining hall, a great machine with a pad, linked to the mainframe pad below.
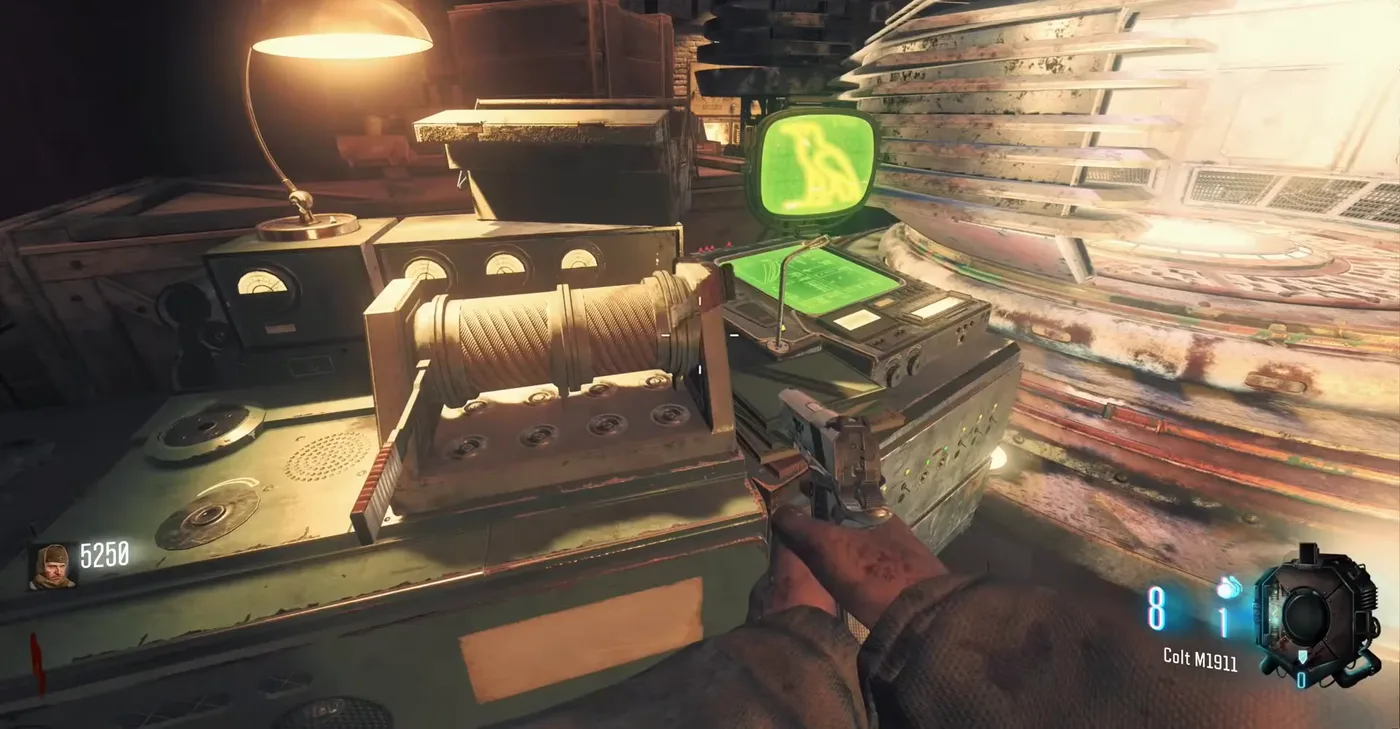
The bird
The default symbol, shown when the power comes on. It sends the players to a tower room; standing against the white light of a hole in its wall takes them to Samantha’s room. The screen turns red, but it does not kill.
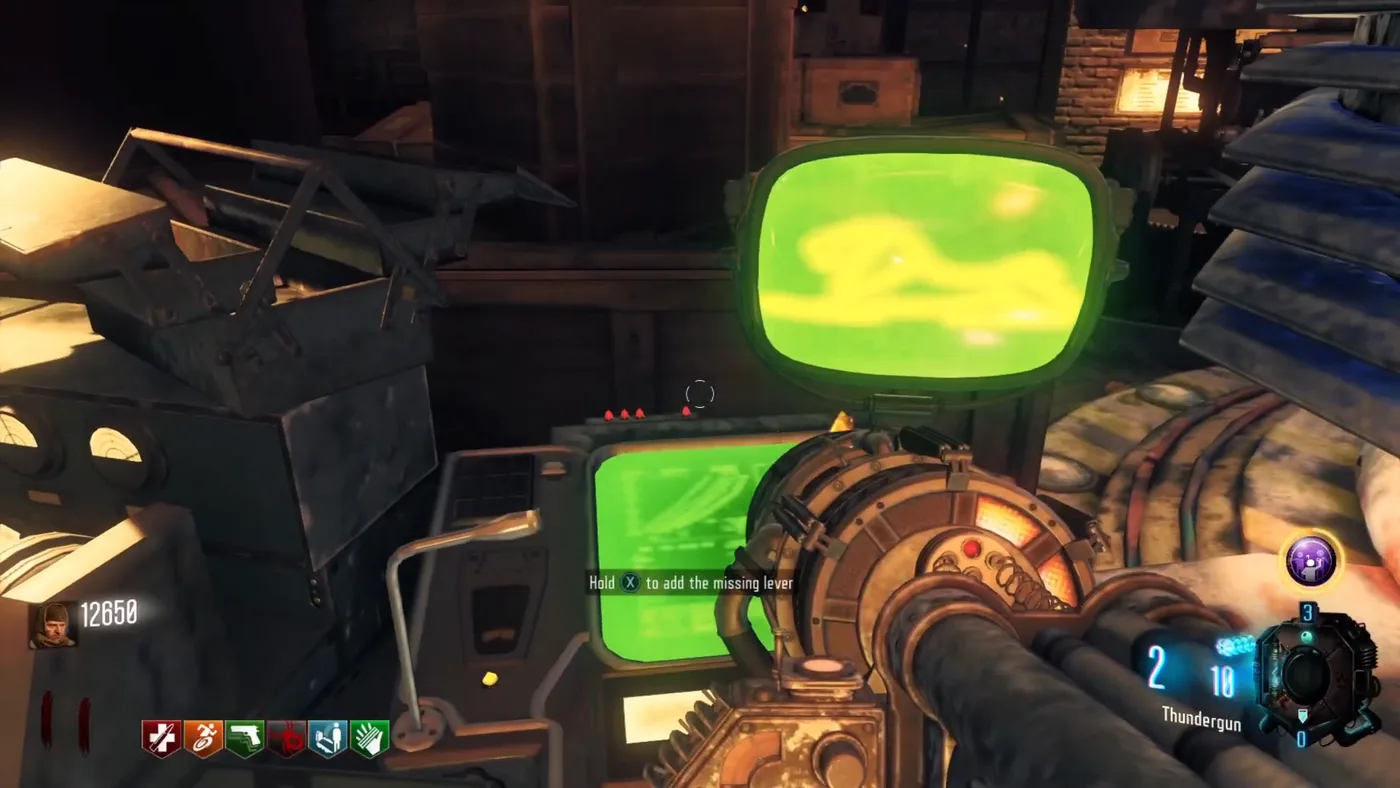
The lion
Left lever up, right lever down: the teleporter goes to the bunker. Some guides call the symbol a sphinx. The panel asks to “add the missing lever” once it is found.
The looped cross
Only the middle lever up, once the third lever is fitted: the teleporter goes to the Pack-a-Punch room. Sassy Asi and Tinhorn call it an ankh, Flapix and Ascended Zombie a cross.
Unlocking the Pack-a-Punch
- Turn on the power and link the teleporter to the mainframe.
- The bunker fuse: teleport with the bird. On the way back, the teleporter can drop the players for a few seconds in the lit room or the red room; one of the two holds the fuse. Flapix finds it on a cabinet against the wall in the lit room and on a round table in the red room; Ascended Zombie picks it up from a bed in the red one. If the first room is empty, teleport again in the same round.
- The bunker: set the lion and teleport. Place the fuse in the generator in the dark room at the end of the corridor.
- The missing lever: in the same trip, find the lever in the bunker. Flapix gives three spots: on a bench in the main corridor, on a computer at the back, or on a cabinet in the medical room.
- Back on the map, fit the lever on the panel to the left of the teleporter.
- Link the teleporter again, set only the middle lever up for the looped cross, and teleport.
- Buy the door for 250 points: the Pack-a-Punch is behind it, and the rest of the bunker opens from there.
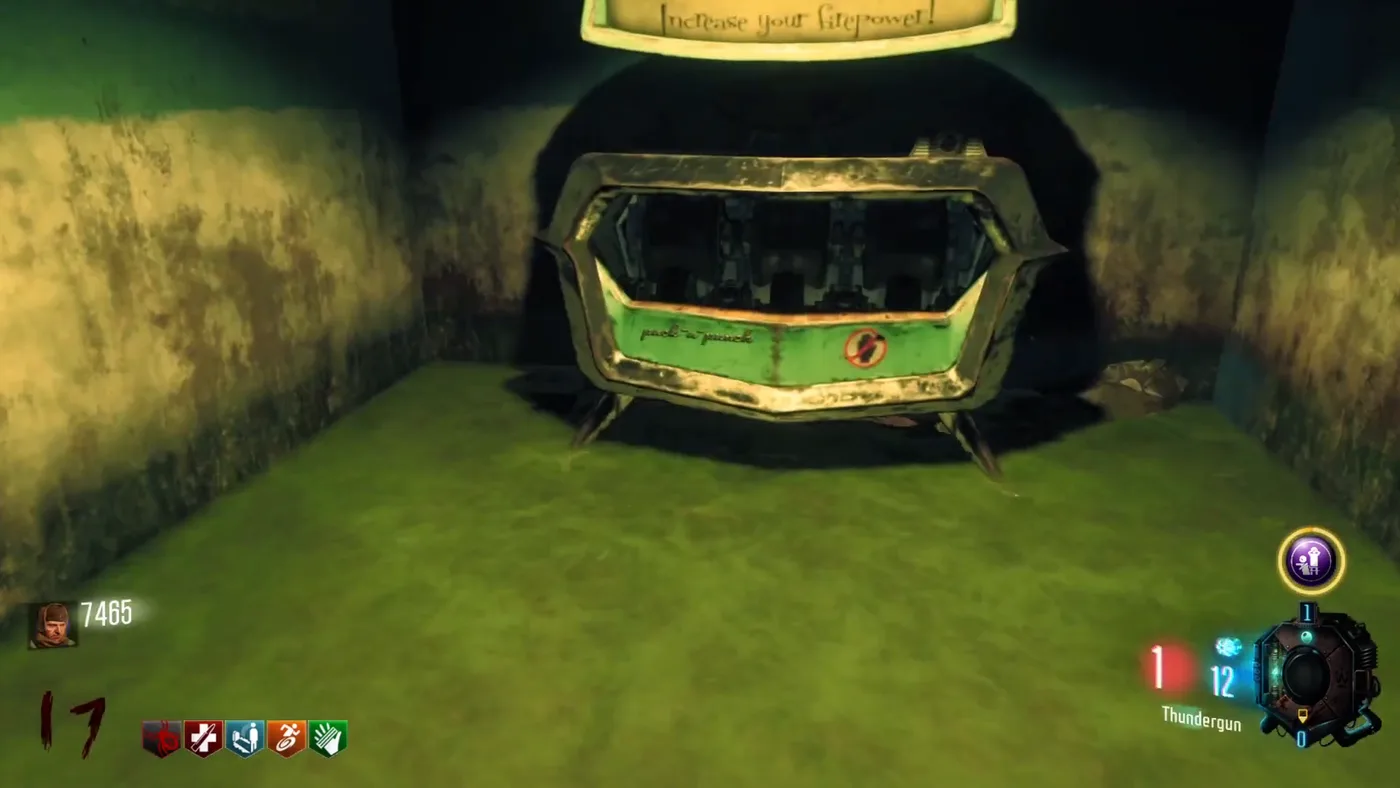
The Pack-a-Punch
In a room of the bunker that the earlier trips cannot reach.
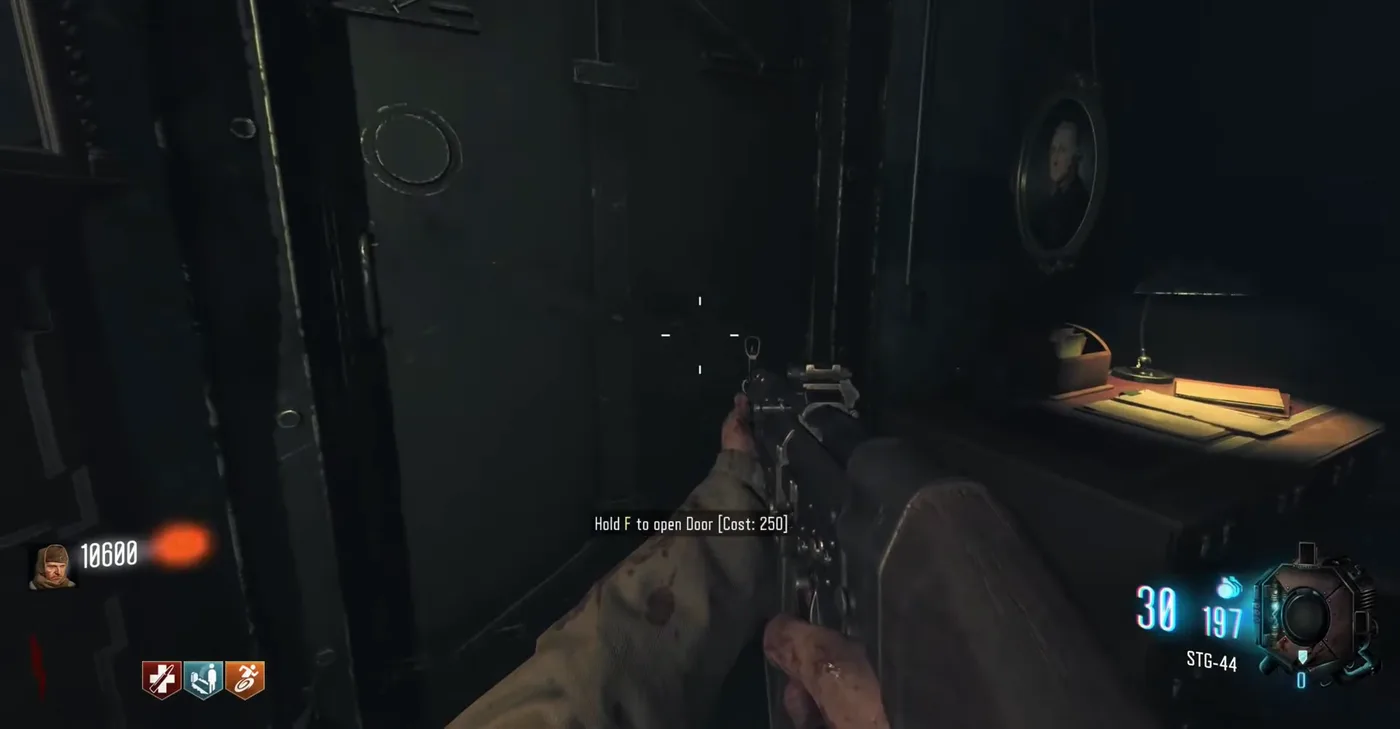
The 250 door
“Hold F to open Door [Cost: 250]”, in the bunker.
Tinhorn regrets one thing: the fuse is random, “a 50/50 shot” on the room, for an item needed so early. A ZFRR First Room game never gets this far, since the doors stay closed.
Perks
The guides name eight machines. A player can hold four perks; the green key of the secrets raises the limit to six. Perkaholic, given at the end of the main quest, grants every perk. Flapix and a Workshop comment warn that perk GobbleGums such as Perkaholic do not work in normal play, because of the limit.
| Perk | Where |
|---|---|
| Quick Revive | Not shown by the guides: the HUD of a record run shows Quick Revive, and Sassy Asi names “the door to the left of Quick Revive” from the spawn |
| Double Tap Root Beer | Corridor between the spawn and the library |
| Juggernog | A room of the library, with the glass case of the Blundergat |
| Speed Cola | Cloister, between the courtyard and the dormitories |
| Stamin-Up | Dining hall, by the teleporter |
| Widow’s Wine | Student’s Residence, the dormitories |
| Mule Kick | Boiler Room |
| Deadshot Daiquiri | Basement, at the top of a staircase |
No source gives their prices on this map. Randomd3Face also notes a PhD Flopper machine lying in burnt rubble, which cannot be used.