How Five works floor by floor in Black Ops Zombies: the two elevators and their prices, the power switch in the labs, the random teleporters, the four DEFCON switches, the Pack-a-Punch room and its countdown, the Bonfire Sale and the two electric traps, and what remains out of reach in the First Room.
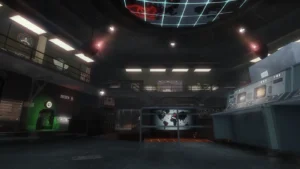
Five is built on three floors of the Pentagon, from the conference room on top down to the labs. Getting to the Pack-a-Punch means going all the way down to turn the power on, then back up to the War Room.
Hallways, animal testing lab, weapons testing lab, small lab, power switch
None
cat 02-elevators.log§ 2/8
Elevators
First elevator
In the hallway next to the conference room, behind a pile of debris that costs 1000 to clear. It goes down to the upper level of the War Room. It is narrow, and a few zombies inside are enough to trap a player.
Cargo elevator
A larger lift between the lower War Room and the labs, with a window on each level, facing a different way on each floor.
The price
250 points a trip, up or down, for both elevators.
Floors left empty
Before the power is on, zombies left on a floor that every player has left vanish in a ball of electricity and come back on the players’ floor.
cat 03-the-power.log§ 3/8
The power
The power switch stands in the central room of the labs. Throwing it changes the whole map:
Perks
All five machines work, Quick Revive included in co-op.
Teleporters
The pads on every floor come to life.
DEFCON switches
The four switches of the War Room can be used.
Pentagon Thief
His rounds begin one to three rounds later.
Lights
The top floor goes dark, with dimmed or flickering lights, and the spawn points of the conference room change.
cat 04-teleporters-2.log§ 4/8
Teleporters
Each floor has teleporter pads, the conference room included. Once the power is on, a pad sends the player to another pad drawn at random, never the Pack-a-Punch room and never a part of the map that is still closed. The pad next to the power switch only leads to the War Room or the conference room. A player who has just arrived on a pad cannot use it again for about 20 seconds.
cat 05-defcon.log§ 5/8
DEFCON
The Pentagon starts at DEFCON 1. Four switches stand around the War Room, and each one raises the level by one, announced over the speakers and shown on the DEFCON signs.
Turn the power on in the labs.
Flip the four DEFCON switches of the War Room, in any order.
At DEFCON 5, every teleporter on the map leads to the Pack-a-Punch room.
Step on any pad to get there.
cat 06-the-pack-a-punch-room.log§ 6/8
The Pack-a-Punch room
The Pack-a-Punch hides in a closed room off the War Room, which the game calls the 115 clearance room. Trying its door before DEFCON 5 shows “115 Clearance Required”.
The machine
When the first player arrives, a section of wall turns around to reveal the Pack-a-Punch. An upgrade costs 5000 points.
The countdown
The DEFCON level drops back by one every 7.5 seconds, 30 seconds in all. At DEFCON 1 the doors to the War Room open.
The window
The machine stays out about 40 seconds, longer if someone is still using it, then turns back into the wall. A weapon left in it is lost.
The reset
Once everyone has left, the doors close and the switches must be flipped again.
Zombies
None come out of the teleporter, so the room is quiet while the doors are shut.
The other way in is the Bonfire Sale, dropped by the Pentagon Thief when he dies before stealing anything. For about 60 seconds every teleporter leads to the room whatever the DEFCON level, and an upgrade costs 1000. Switches already flipped are reset when it ends.
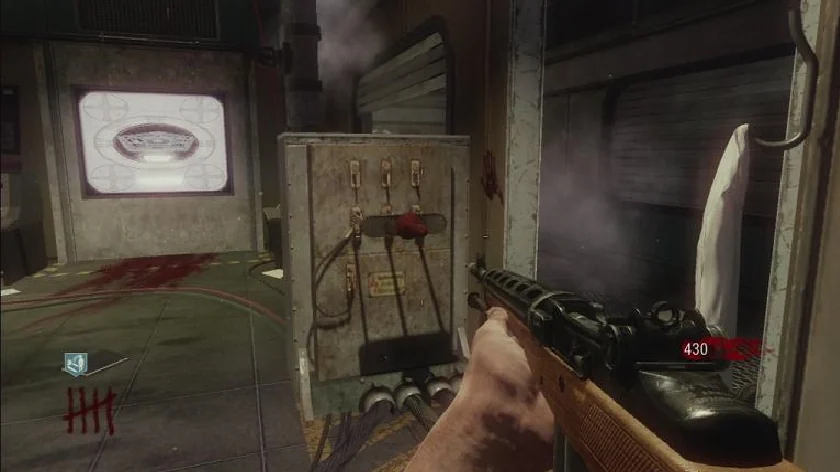
Two metal detectors on the top floor are electric traps, one by Quick Revive and one in the hallway near the first elevator. Each one is missing a part, a red switch handle hidden on the floors below.
Find a part: one is in a locker of the weapons testing lab, where the Bowie Knife is; the other is in the War Room. A player can carry only one at a time.
Bring it back up and hold the use button on a metal detector. A panel flies off through the ceiling.
The trap now works for 1000 points, like the electric traps of Der Riese and Kino der Toten.
cat 08-first-room.log§ 8/8
First Room
None of this works in a First Room game. The conference room has a teleporter pad and a metal detector, but the power switch and both trap parts are on the floors below, behind closed doors: the pad stays dead, the trap stays off, and the Pack-a-Punch is out of reach.


 Rankings
 Tools
Tools