


 English
 Français
 Italiano
 Español
 Deutsch
 Rankings
 Tools

On The Final Reich, the bunker under the village has no power when the game starts, and neither the Command Room nor the Ubersprengen can be reached without it. Everything starts in the Village Square, past the 750-Jolt barrier of the spawn.
~/hub / map-wiki / the-final-reich
The Final Reich:
Power and Ubersprengen
How to turn on the power of The Final Reich: the three gas valves, the Well Trap, the generator under the Village Square, the two switches of the bunker, then the Disposal Tubes that open the Ubersprengen.
- 3 min read
- 5 chapters
- updated
The gas valves
A pump in the Village Square feeds the Well Trap, a gas burner over the well in the middle of the square. Three valves along the floor cables must each be held open until the dial is full:
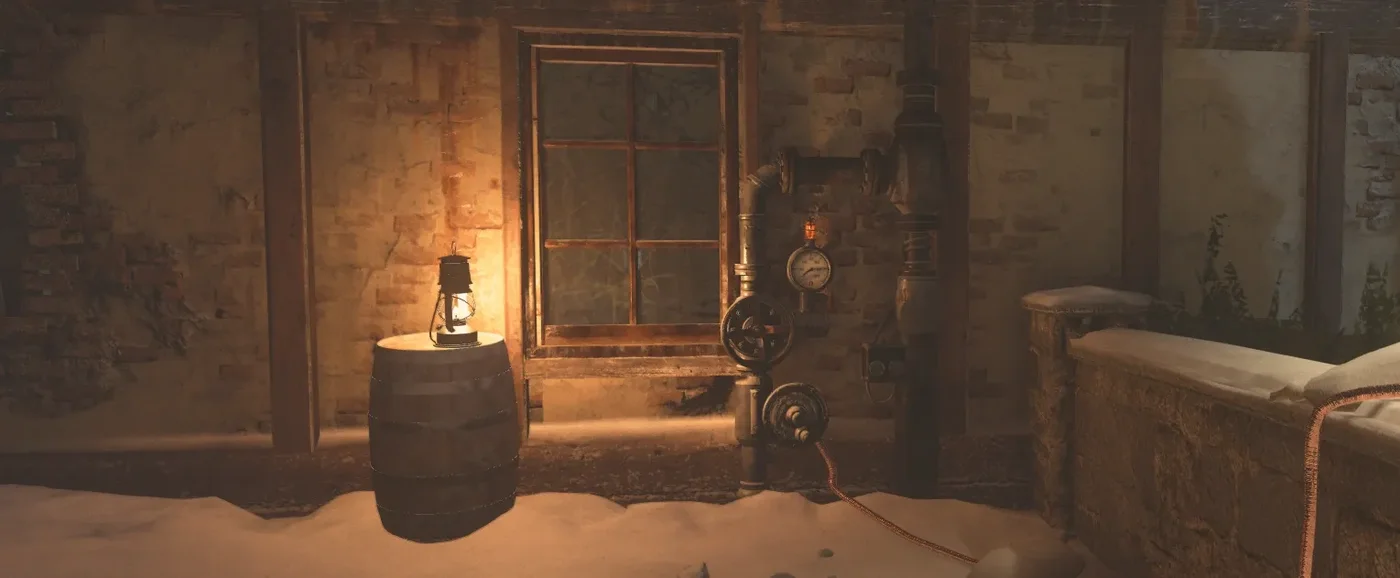
Village Square valve
Behind the Geistschild machine of the Village Square.
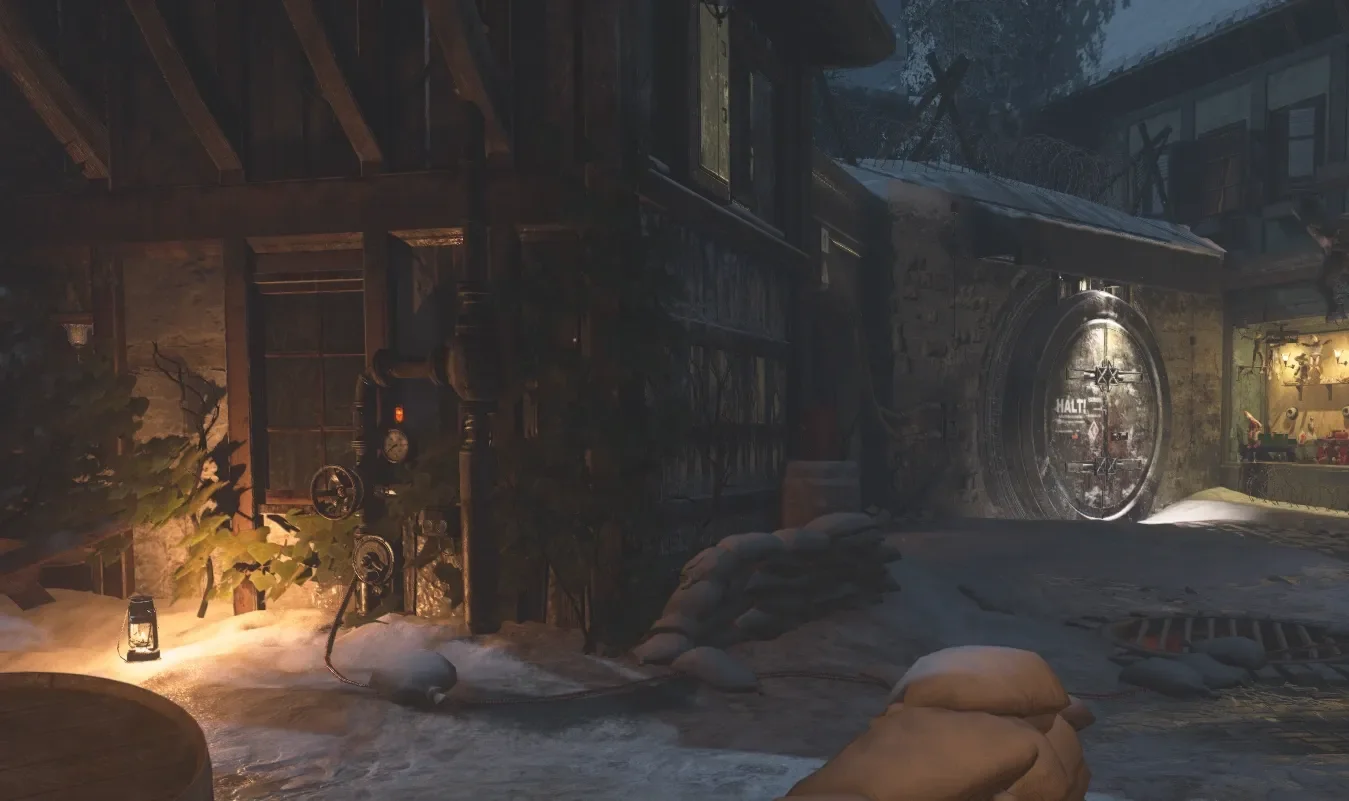
Bunker door valve
To the left of the round bunker door, in the same square.

Riverside valve
Past the door to the Riverside, on the way to the Pub.
The generator
- With the three valves open, light the pilot of the Well Trap. The flames blow away the barricades and the grating over the well.
- Six burning Pests climb out of the hole. Kill them.
- Drop into the tunnel under the square and hold the button of the generator, near the exit. Turning it on gives 100 Jolts.
- Every door with power cables on its lock can now be bought, starting with the round bunker door for 1,250 Jolts.
Well Trap
Once lit, the burner works as a trap for 500 Jolts: a fireball fills the tunnel and flames burst out of the barred pipes of the square. A player in the tunnel is thrown to the nearest exit.
The tunnel also holds Laufenblitz and a 1,250-Jolt door to the Sewers.
The bunker
Behind the bunker door, the hallway with the M1 Garand leads to the Command Room. Three doors of 1,500 Jolts leave it: to the Laboratory, to the Morgue and to the Salt Mine Tunnels. The last one says it lacks power.
- Open the Laboratory and the Morgue.
- Find the two power switches, one in the Morgue behind the STG44 locker, the other on the upper floor of the Laboratory, next to its Geistschild machine. Each one shows the time left on its display.
- Turn them on one after the other, quickly: if the first one runs out before the second is on, start again.
- The Salt Mine Tunnels door can then be bought. Opening it brings three or four Bombers into the tunnel.
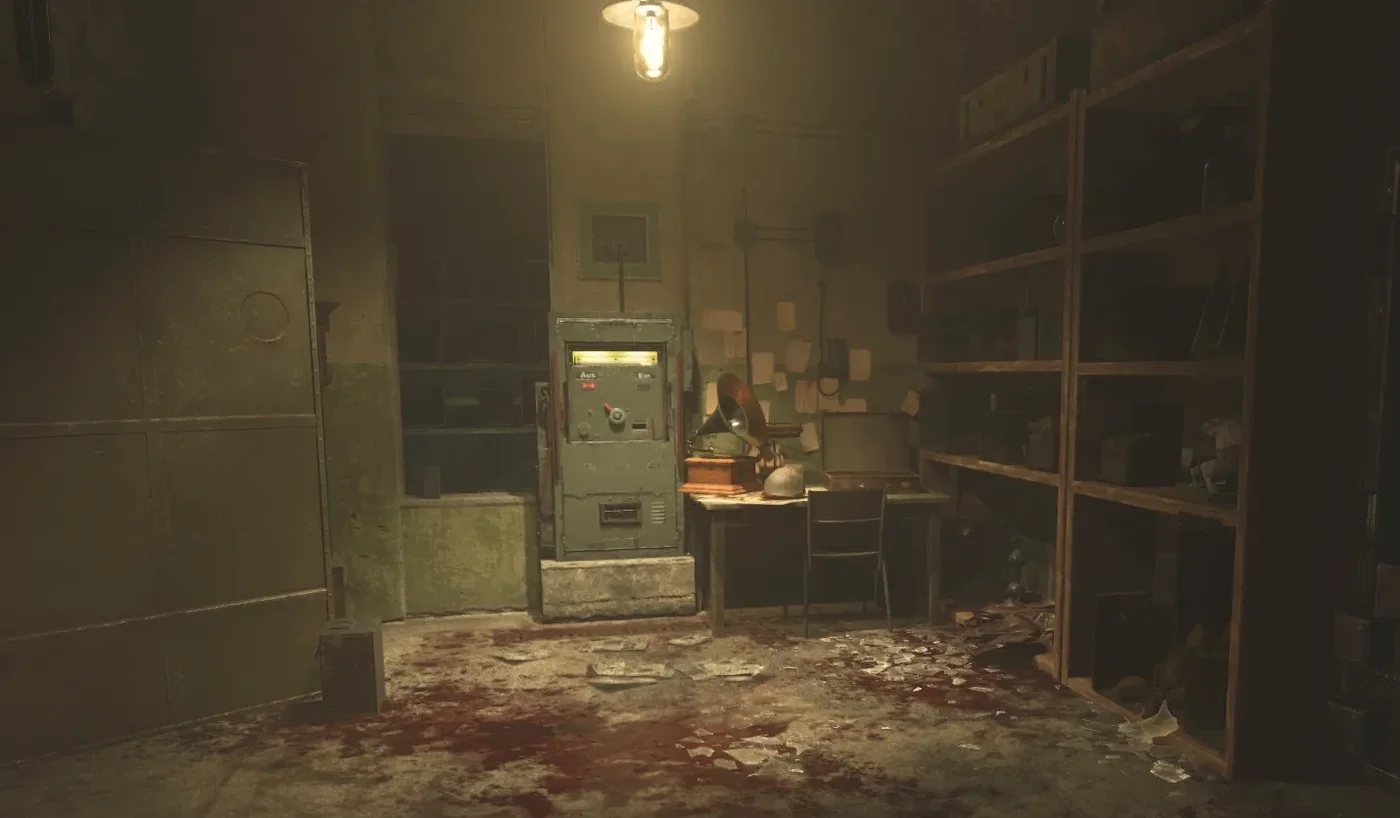
Morgue switch
Behind the STG44 weapon locker.
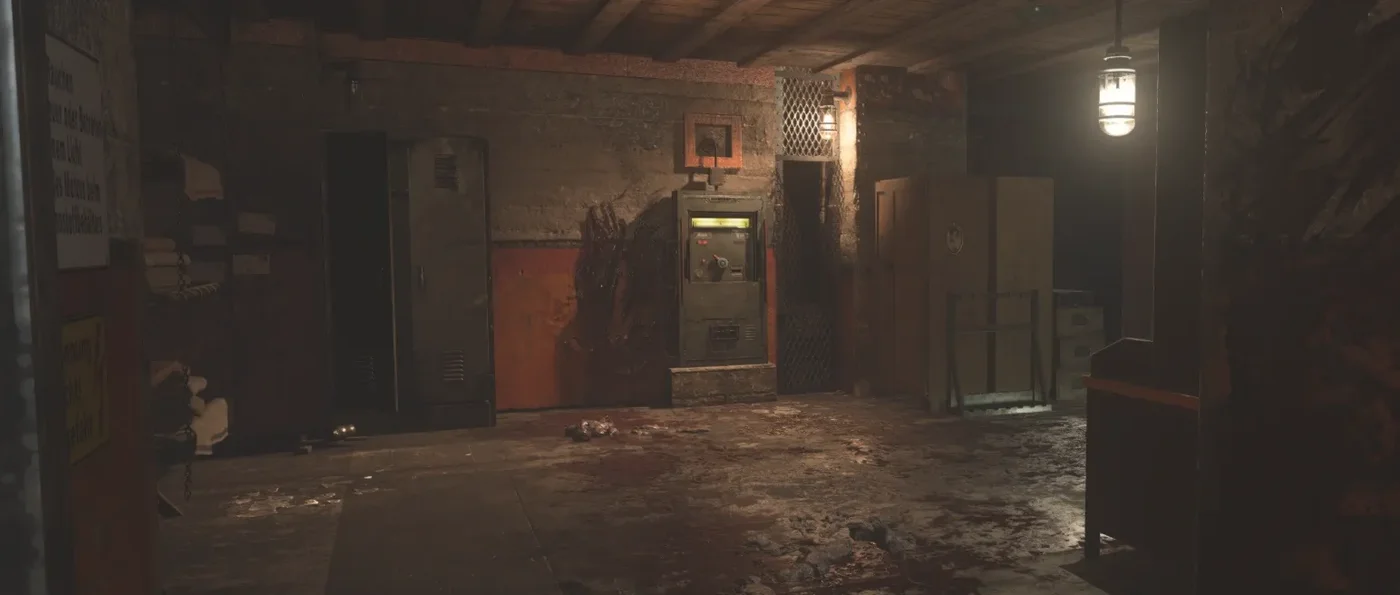
Laboratory switch
On the upper floor of the Laboratory.
The Ubersprengen
The Ubersprengen is the Pack-a-Punch of WWII. On The Final Reich it sits in the heart of the Sewers, inside a cage of bones.
- In the Sewers, press the red button in front of the MP-40 weapon locker. The cage rises a little and the three Disposal Tubes of the map open.
- Ride each tube, for 250 Jolts a trip. Each one drops the player in a cell of the Sewers that rises on landing.
- Press the button in each cell. The cage rises a step every time. Sometimes the button fails and red fog fills the room with Pests: kill them and the cage rises anyway.
- After the third button, the Ubersprengen stays open for the rest of the game.
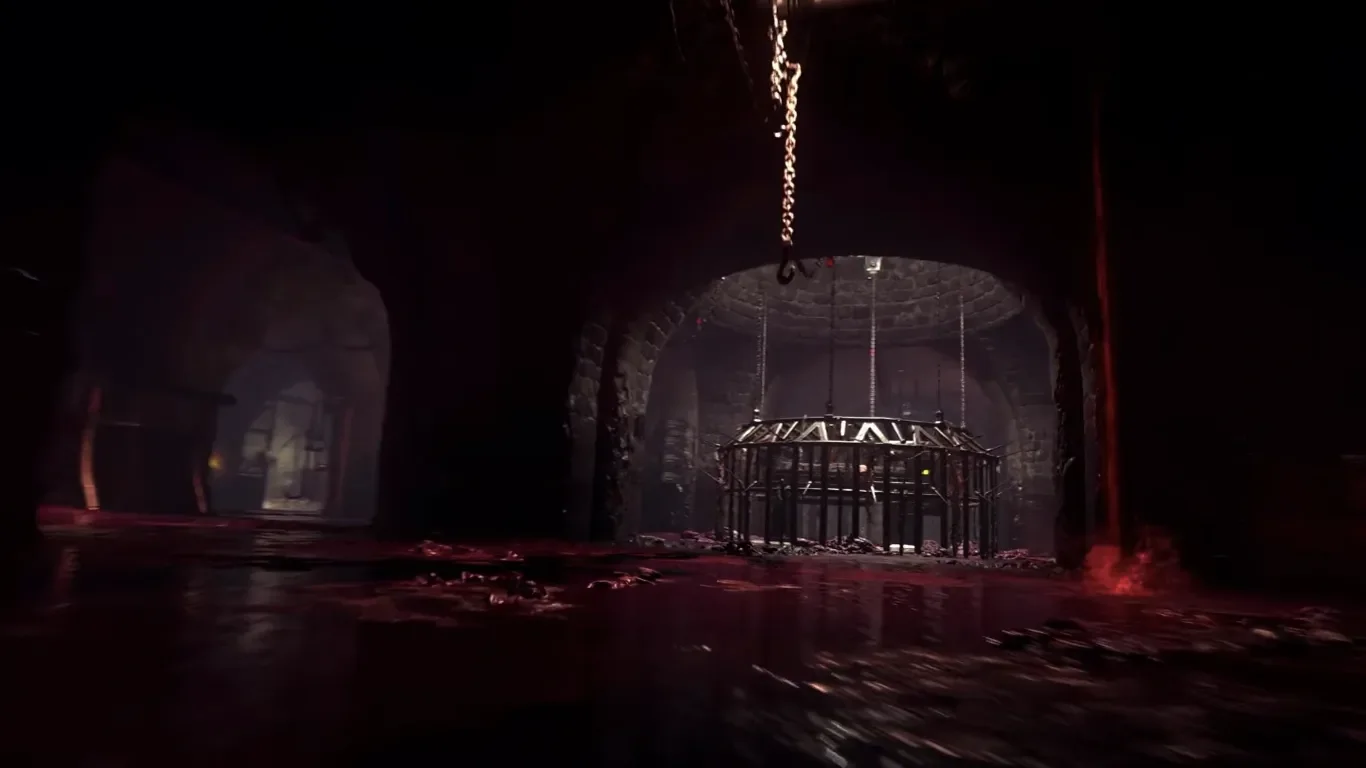
The Sewers
The cage of the Ubersprengen stands in the middle of the flooded room, under a red light.
Disposal Tubes
In the Command Room, to the right of the Grease Gun; in the Laboratory, near Schildblitz; and at the Tower, to the left of the Waffe 28.
Upgrade
5,000 Jolts. The weapon gets a camouflage of flowing blue and orange, or can keep its own.
Ammo
4,000 Jolts at the machine for any upgraded weapon, Box weapons included. An upgraded wall weapon can also be refilled at its locker.
In the First Room
Doors closed, none of this is reachable. The valves, the well and the generator are all in the Village Square, behind the 750-Jolt barrier of the spawn, so a First Room game is played without power, without the bunker and without upgraded weapons. The Survivalist challenge “In the Dark”, wave 30 without generator power, is met on the way.