~/hub / custom-maps / vae-victis

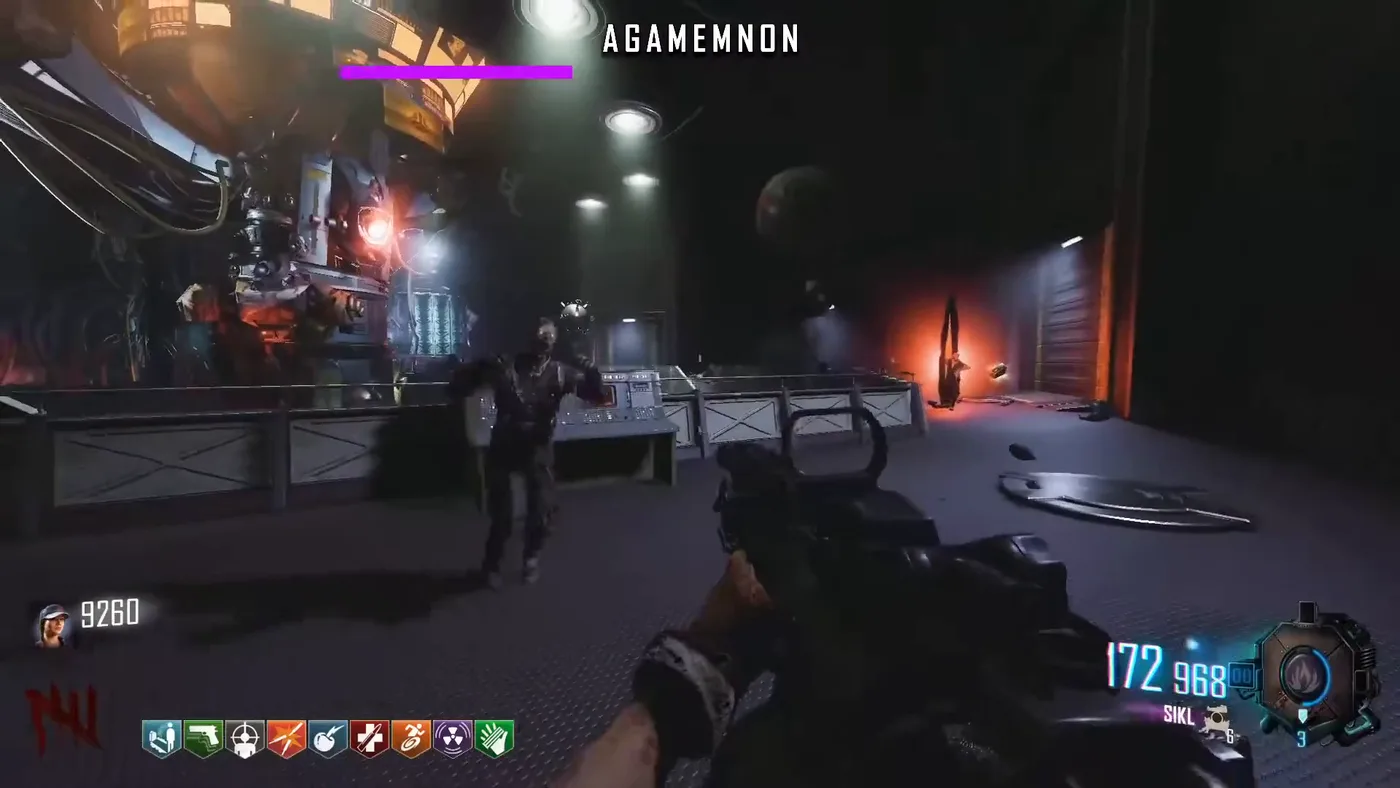
The arena of the boss fight, metal floors and railings, a zombie running in, the health bar of AGAMEMNON at the top, Vae Victis, Call of Duty Black Ops III Zombies

Vae Victis:
Easter Egg

The main quest of Vae Victis step by step: the artifacts of the diner and Nuketown, the railgun and the MPD, the head of T.E.D.D., the lighthouse, the navcards and the fight against Agamemnon.

  • 6 min read
  • 8 chapters
  • updated

Before starting

The main quest of Vae Victis follows the official walkthrough that the team posted on the discussion page of the Workshop on January 29, 2024, checked against the guides of Watchful Wolf and YaBoyBadger, which give the same order. It ends the game: the credits roll once the last step is done.

Players

Solo or co-op. Some steps need every player: the railgun, the scan of the MPD, the ascent from the lighthouse and the terminal of the second phase of the boss.

The spear

Step 7 needs Longinus’ Legacy, built in the side quest Archon’s Awakening. It takes a weapon slot: YaBoyBadger keeps the Jet Gun and the Scavenger and drops the third weapon for it, and advises Mule Kick.

Keys

At least one key is needed, for the locked room of the Bus Depot. The side quest Alphabet Adrift gives a stack of them.

Weapons for the boss

YaBoyBadger beats the boss with the Scavenger and the spear, both upgraded twice, plus Gersch Devices; Watchful Wolf adds Monkey Bombs.
Steps 1 and 2: the two artifacts

  1. Complete three objectives. YaBoyBadger and Watchful Wolf both stress it: finish the third objective but do not board the bus yet.
  2. The Librarian contacts the crew, and the light of the lighthouse turns green and points at the diner. The first artifact lies on a table inside.
  3. The light then turns toward Nuketown. The second artifact is in the shack behind the yellow house, at the back right of Nuketown for Watchful Wolf.
  4. With both artifacts in hand, go to the bus and travel to the next objective.

The diner

The inside of the diner, where the first artifact waits on a table. The Librarian finds it “obviously human crafted”.

Steps 3 to 6: the MPD and T.E.D.D.

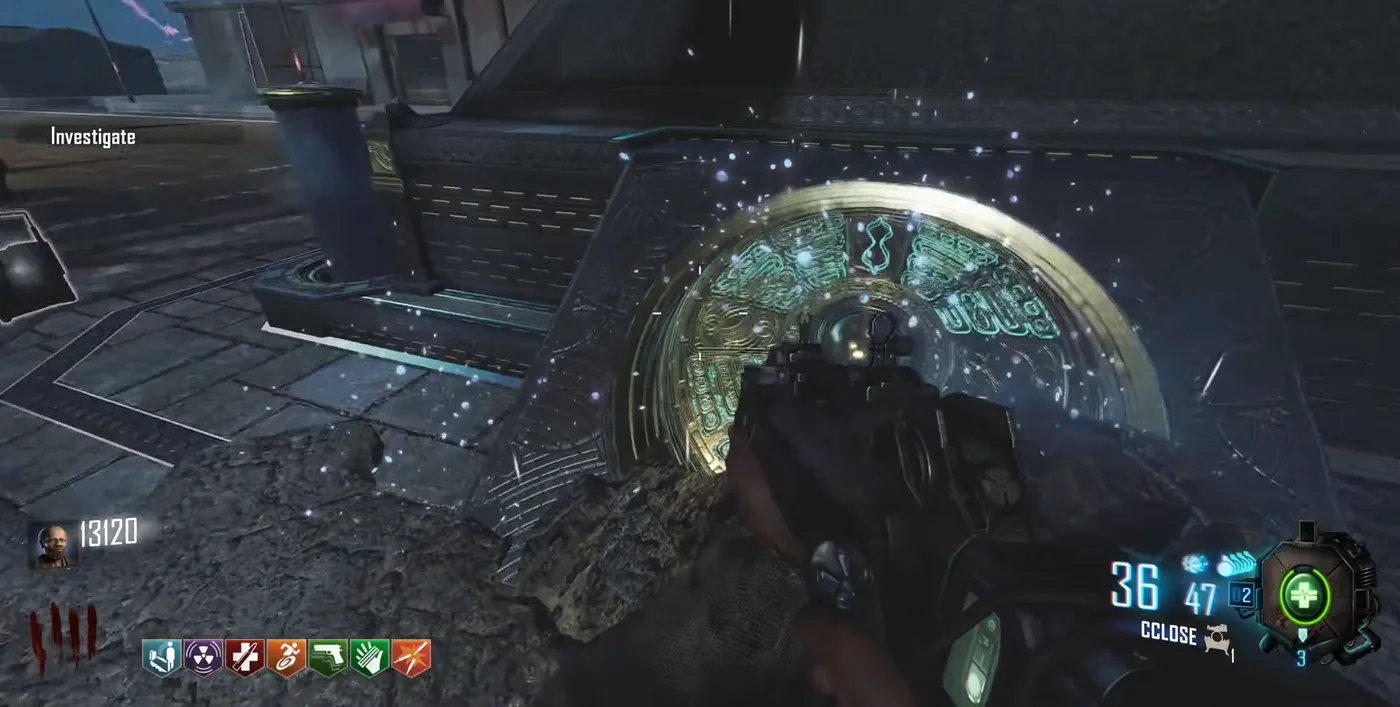
  1. On the next wave, the crew is told to shoot down a meteorite. At Area 51, at the far right end of the base, use the giant railgun, with every player nearby. It shoots down the artifact above Town: the MPD of Moon falls into the center of Town.
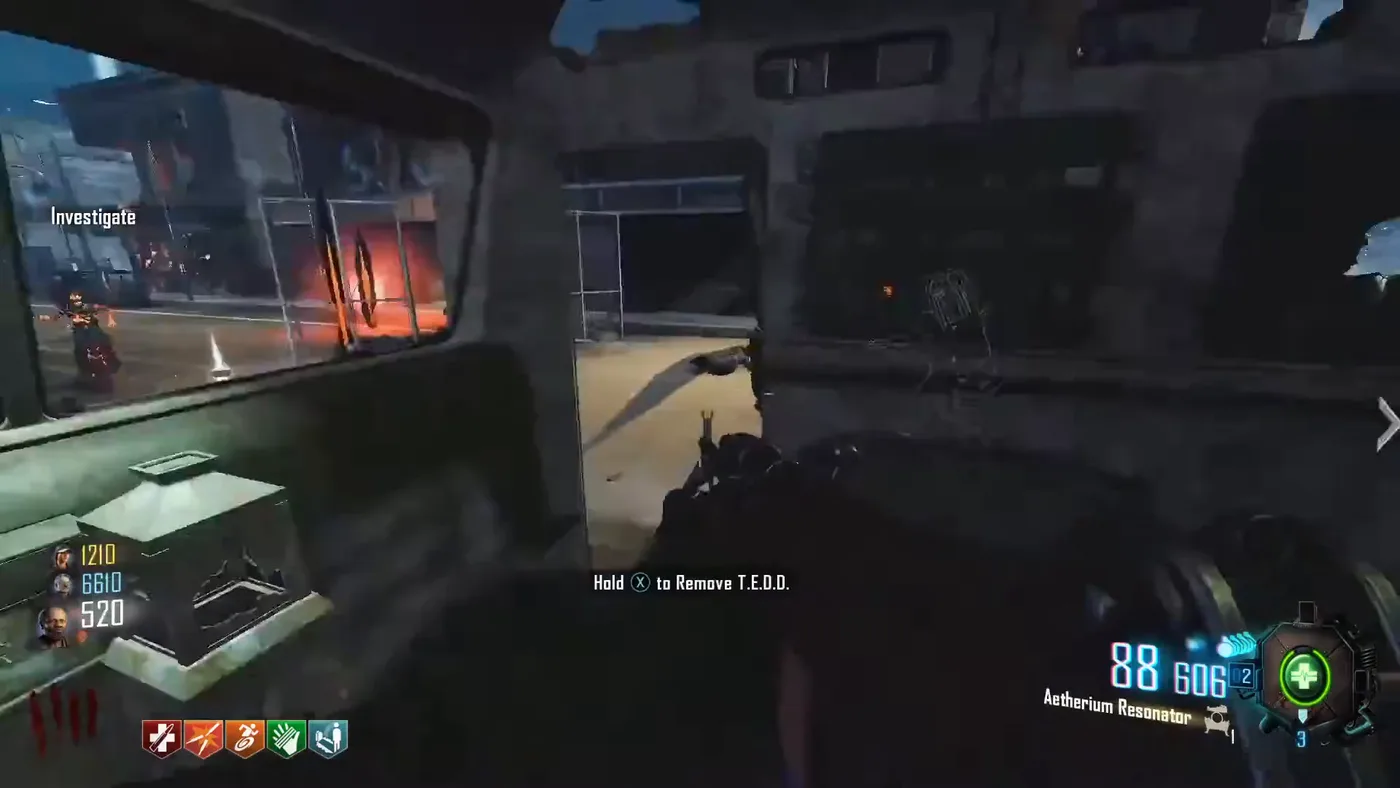
  2. Just outside the center of Town, enter the bus and remove the head of T.E.D.D.
  3. Place the head on the circular part of the MPD. It starts a scan, and every player is locked in the center of Town for a holdout of a few minutes. YaBoyBadger faces a Panzer and a Mangler there.
  4. Board the bus again to travel to the next objective.
Inside a bus, the prompt Hold to Remove T.E.D.D. at the bottom of the screen, Vae Victis, Call of Duty Black Ops III Zombies

The head of T.E.D.D.

Inside the bus, with the prompt to remove it.

Close view of the golden, glowing round top of the MPD of Moon resting in the street, with the order Investigate, Vae Victis, Call of Duty Black Ops III Zombies

The MPD

The MPD of Moon fallen in Town, with the order “Investigate”.

Steps 7 to 12: the lighthouse

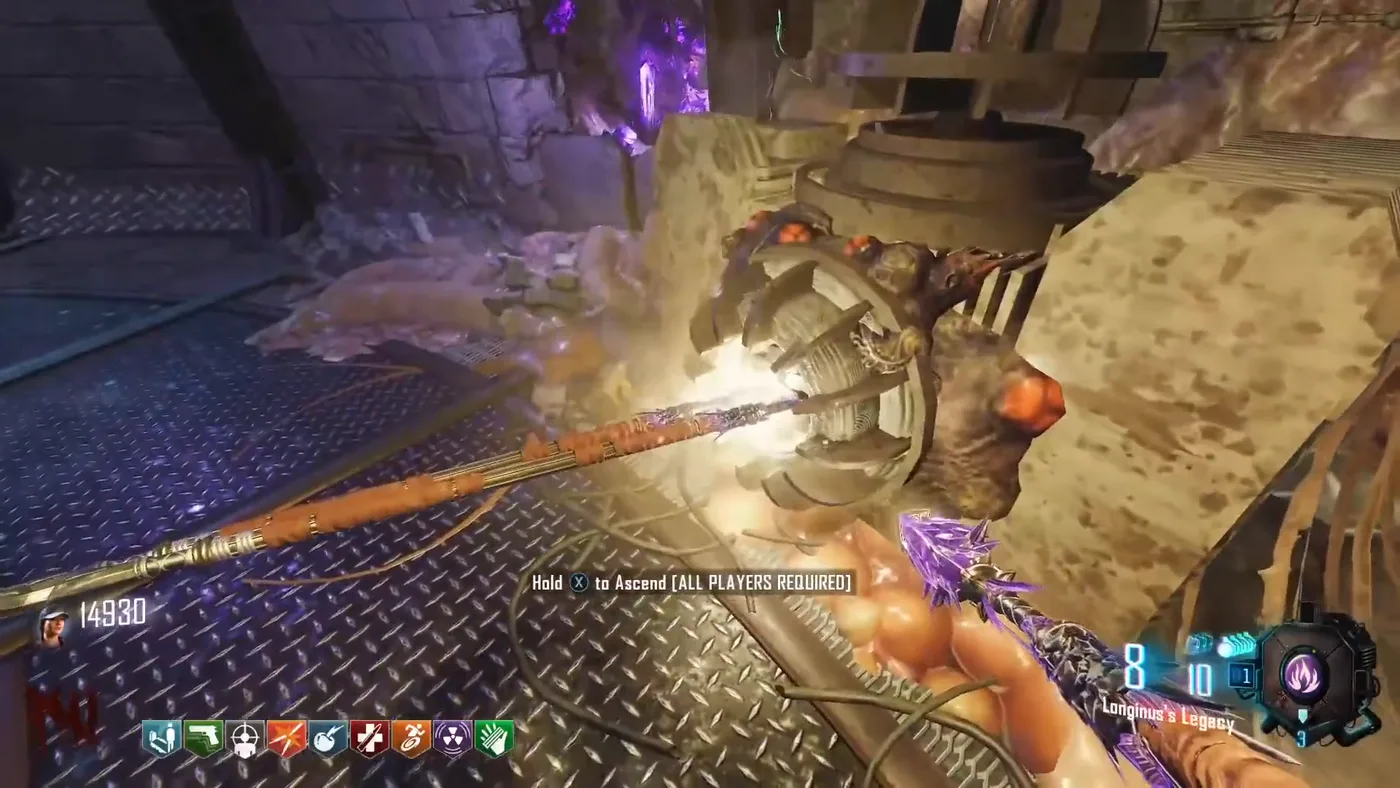
  1. With the spear in hand, go to the bottom floor of the lighthouse and throw the spear at the generator, in the center of its circle. It may take a few tries; when it is right, a sound plays. Interact with the spear to ascend (all players are required).
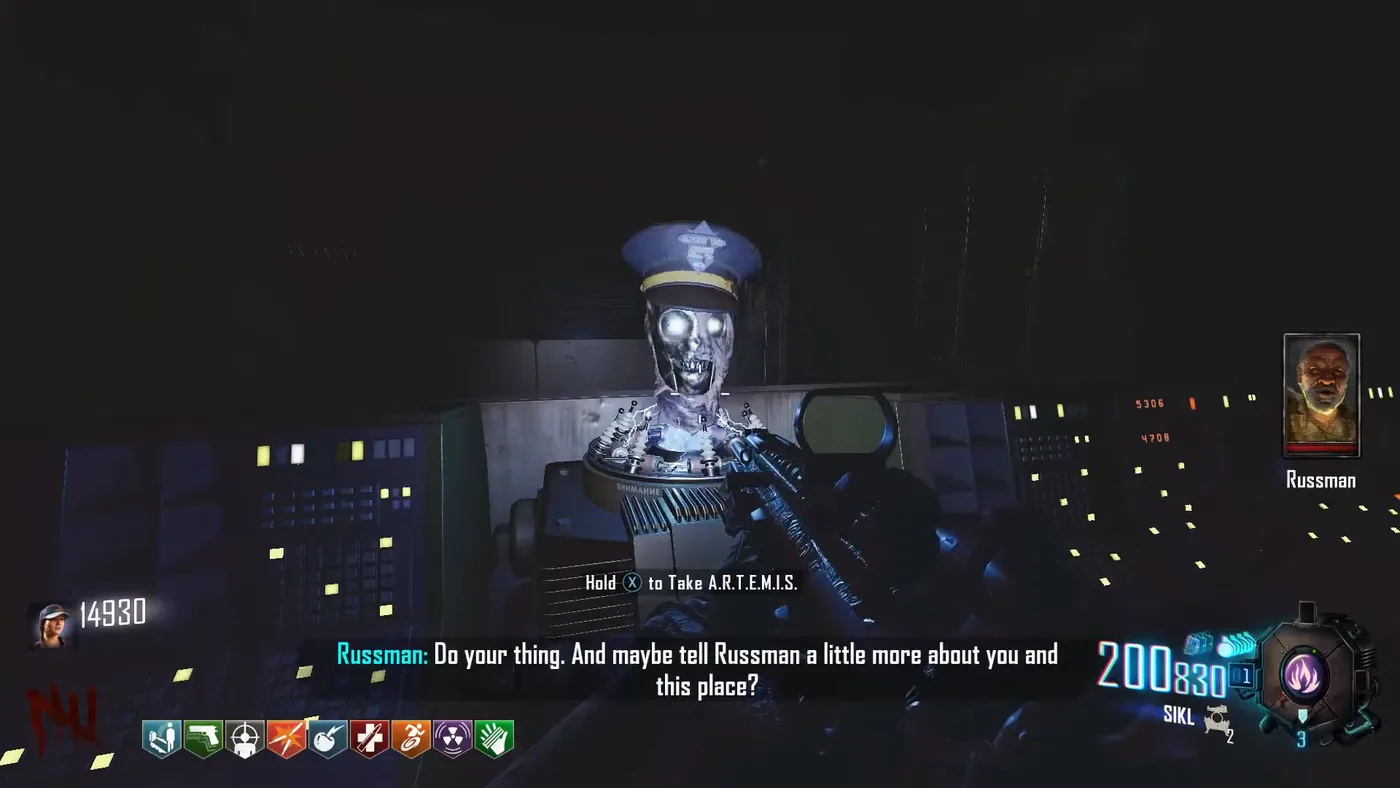
  2. In the new area, place the head of T.E.D.D. on one console, wait, take it back and place it on the console on the other side. A cutscene follows.
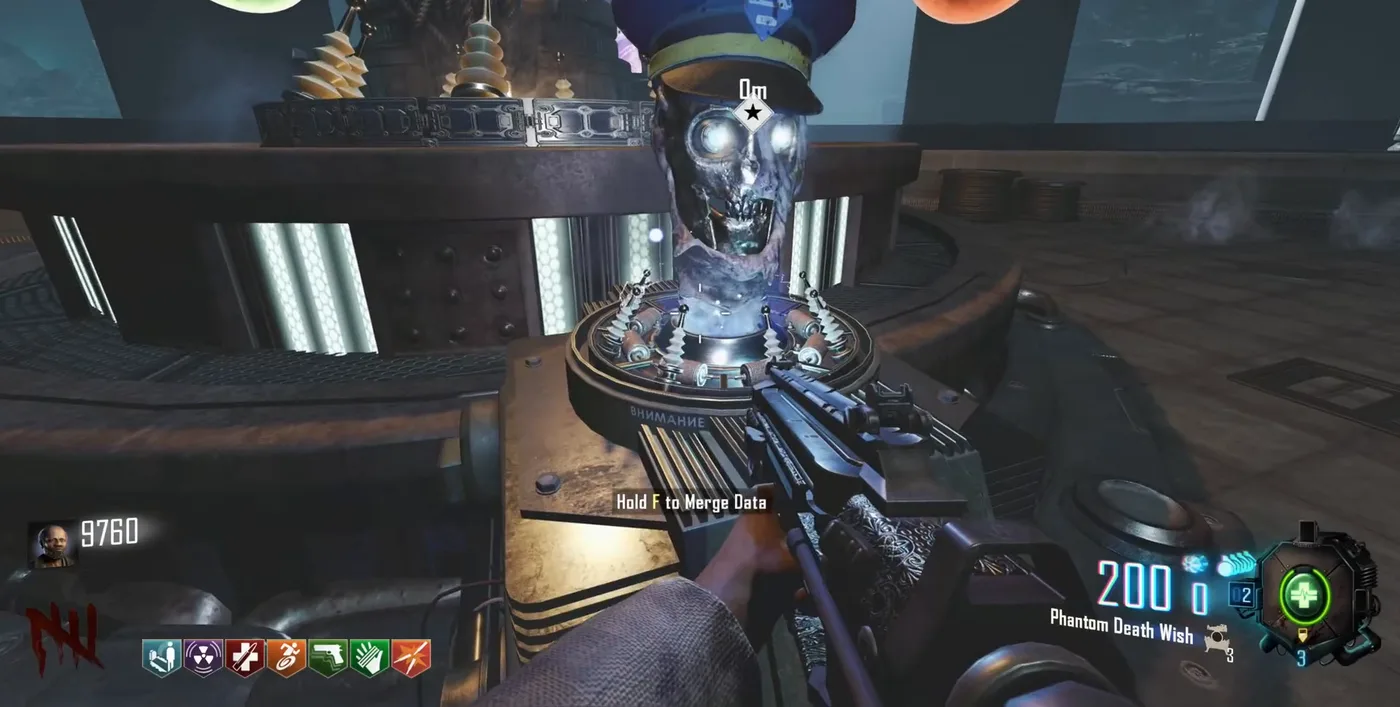
  3. When the door opens, place the head in the center of the auditorium.
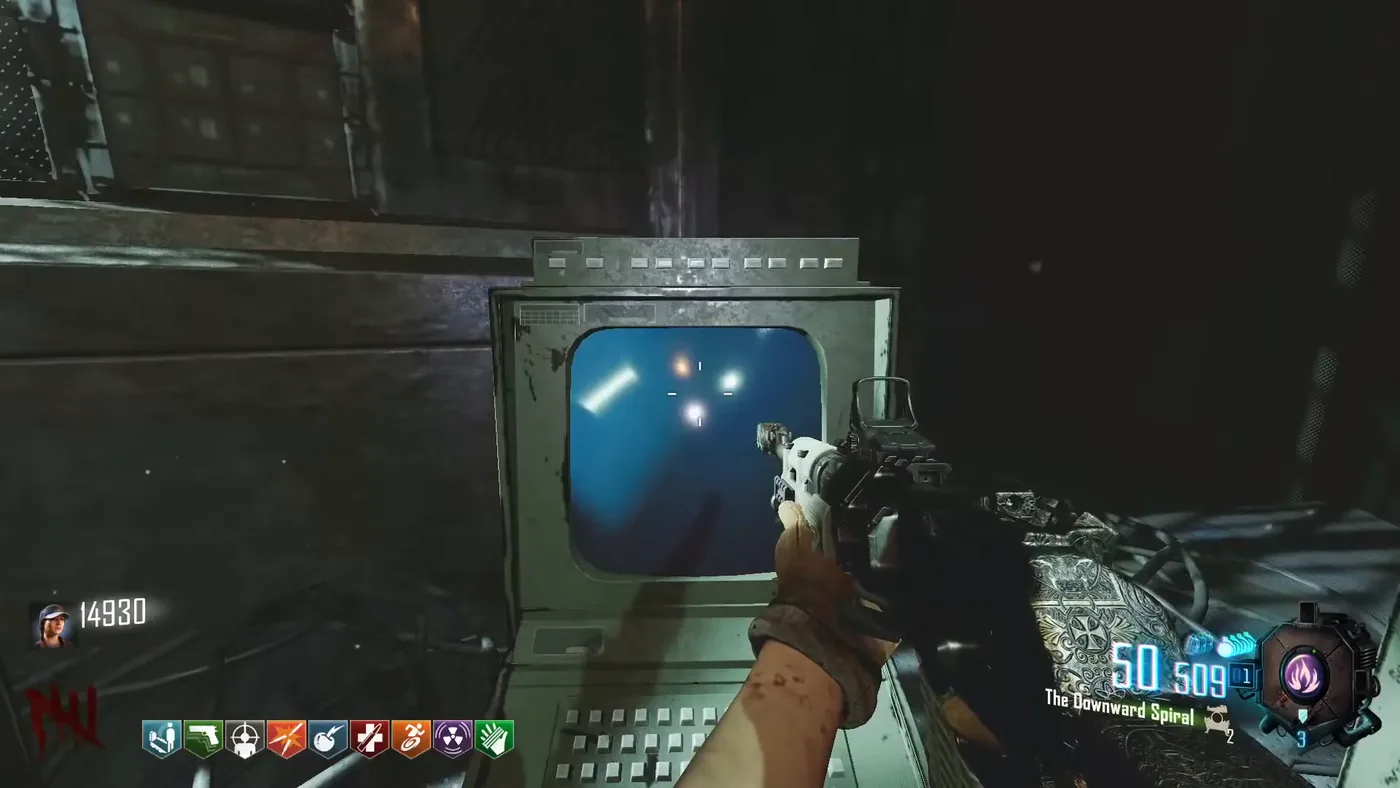
  4. Play Samantha Says on the computers on the left side of the room: repeat the colors they show, as in the game of Moon. YaBoyBadger’s sequence was red, green, blue, yellow; it may differ. Then interact with the head to merge the data and survive a wave of zombies.
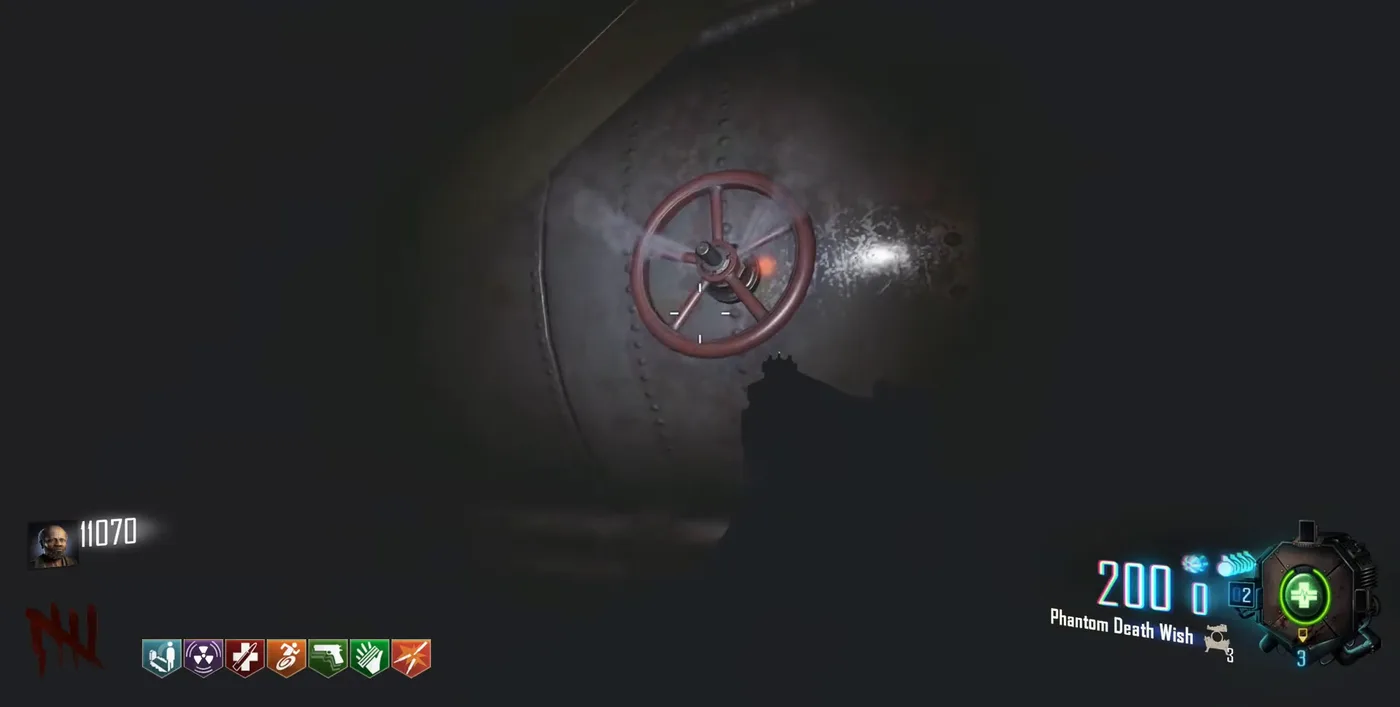
  5. Valves start to hiss around the room. On a timer, turn each valve until its light turns green. YaBoyBadger shows them along the back wall, on a tube and on the walls around the entrance; learning their places before starting helps, says Watchful Wolf. Interact with the head again and survive another wave.
  6. A Tempest appears: keep it alive. Follow the electricity along the pipes on the right side of the room and turn the dial of each generator until the charge moves on. When a generator glows with a blue orb, let the Tempest shoot it to push the charge forward. When the last data bank is reached, interact with the head a final time.
The spear Longinus' Legacy thrown into a glowing generator, with the prompt Hold to Ascend, all players required, Vae Victis, Call of Duty Black Ops III Zombies

The generator

The spear stuck in the generator of the lighthouse, with the prompt to ascend.

The robotic head of T.E.D.D. with a police cap on a console covered in lights, with the prompt Hold to Take A.R.T.E.M.I.S. and a line of Russman, Vae Victis, Call of Duty Black Ops III Zombies

The console

The head of A.R.T.E.M.I.S., the name of the head once taken, on a console of the new area.

The head of A.R.T.E.M.I.S. on a central device, with the prompt Hold to Merge Data, Vae Victis, Call of Duty Black Ops III Zombies

Merging the data

The head in the center of the auditorium, with the prompt to merge the data.

An old computer terminal with a blue screen showing colored dots, the player pointing a weapon at it, Vae Victis, Call of Duty Black Ops III Zombies

Samantha Says

One of the computers of the color game.

A red valve wheel on a round metal tank in the dark, Vae Victis, Call of Duty Black Ops III Zombies

A valve

One of the valves to turn until its light turns green.

Blue electricity running along a horizontal pipe between two metal generator cabinets, Vae Victis, Call of Duty Black Ops III Zombies

The pipes

A generator on the pipes of the right side, with the electricity moving on.

Steps 13 to 15: the escape and the new body

  1. After the story scene, take the head and run back to the teleporter where the team first appeared. YaBoyBadger hears the Librarian get overtaken and a voice order its “minions” to destroy the crew. The teleporter sends the team to Area 51.
  2. When ready, remove the head from the bus once more. This breaks the loop of objectives and starts the finale. Before that, the game lets the team keep playing for points.
  3. In the workshop across from the Bus Depot, place the head on the buildable table. ARTEMIS builds a new body and follows the team around the map.

Step 16: the three navcards

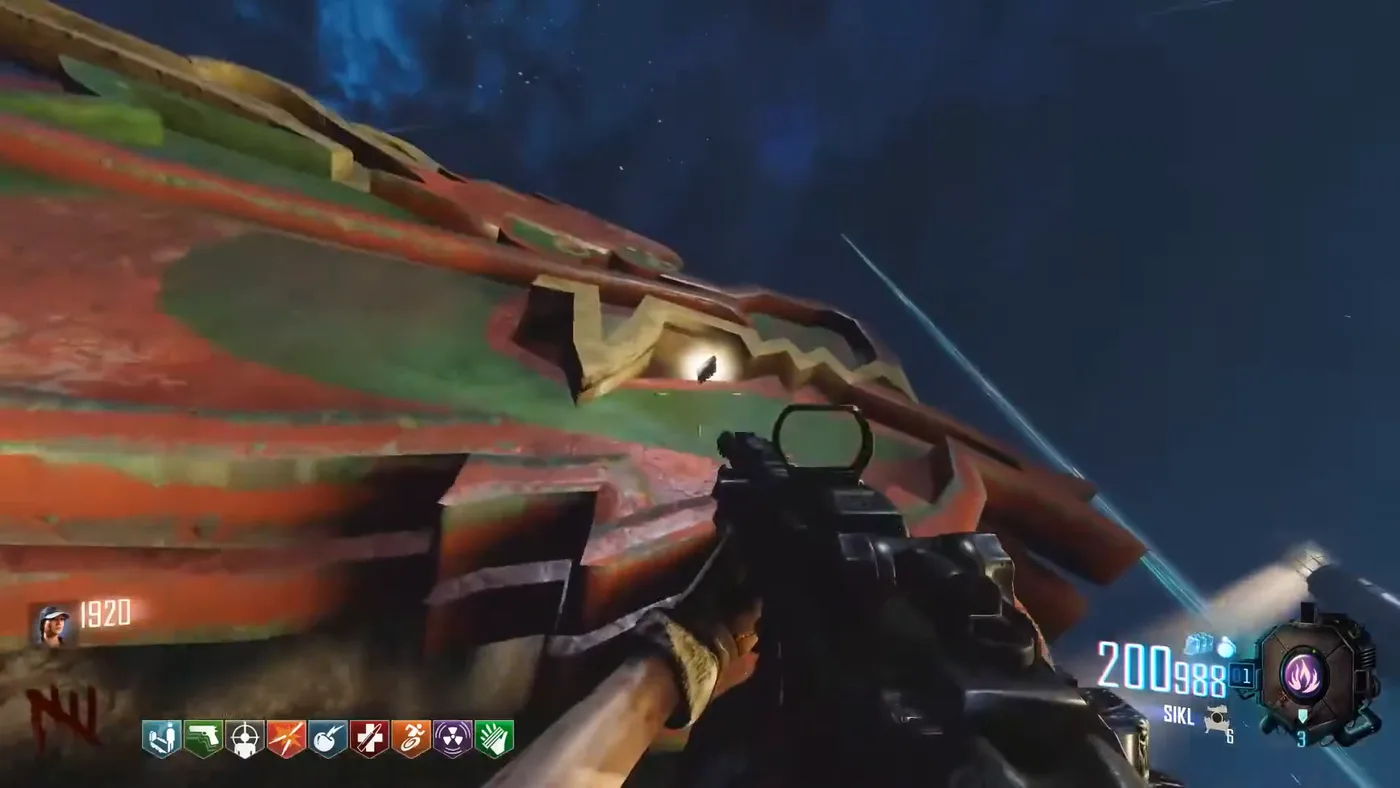
The huge painted head of the Die Rise dragon seen up close at night, Vae Victis, Call of Duty Black Ops III Zombies

Die Rise

In the mouth of the dragon near the lighthouse: climb the stairs in front of it.

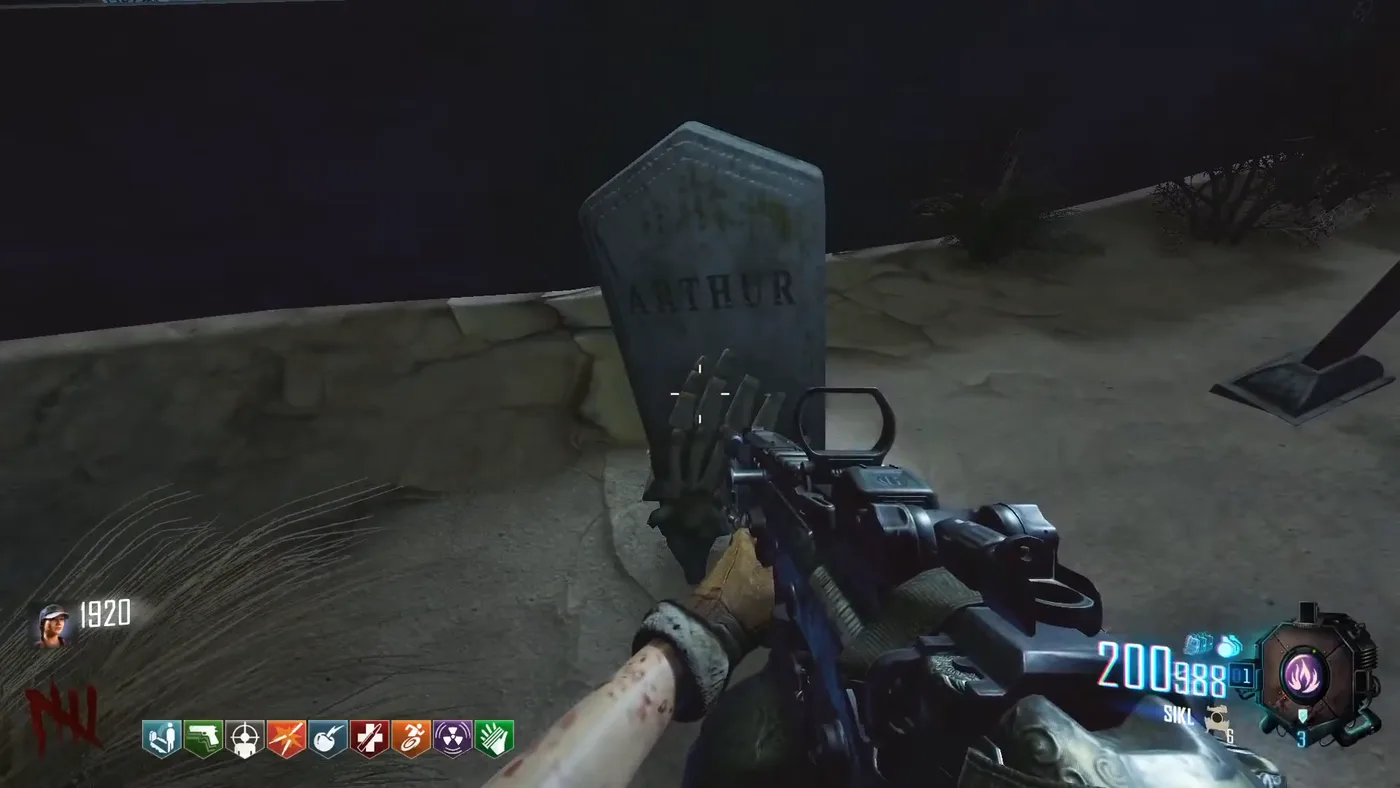
A gravestone carved with the name ARTHUR in the cemetery, a skeletal hand rising from the ground in front of it, Vae Victis, Call of Duty Black Ops III Zombies

Buried

In the hand of Arthur, in the cemetery outside the church.

TranZit

In its original spawn, next to the Bus Depot: behind the key door on the right side of the depot, on the wall above the stairs. Watchful Wolf has to jump to grab it in mid-air.

Step 17: Agamemnon

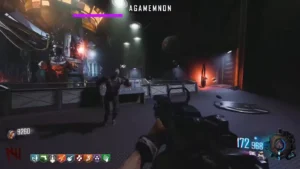
With the three navcards, go to Zero Base and enter the boss fight through its portal. The boss is Agamemnon, named on his health bar. The official walkthrough lists four attacks: a laser that sweeps the top floor (drop to the bottom floor), an electric shock on the bottom floor (climb back up), mines that make spots of the floor glow red (avoid them) and a laser that follows a player (keep moving). YaBoyBadger notes a Carpenter and a Max Ammo at the end of each phase.

Phase 1: the skulls

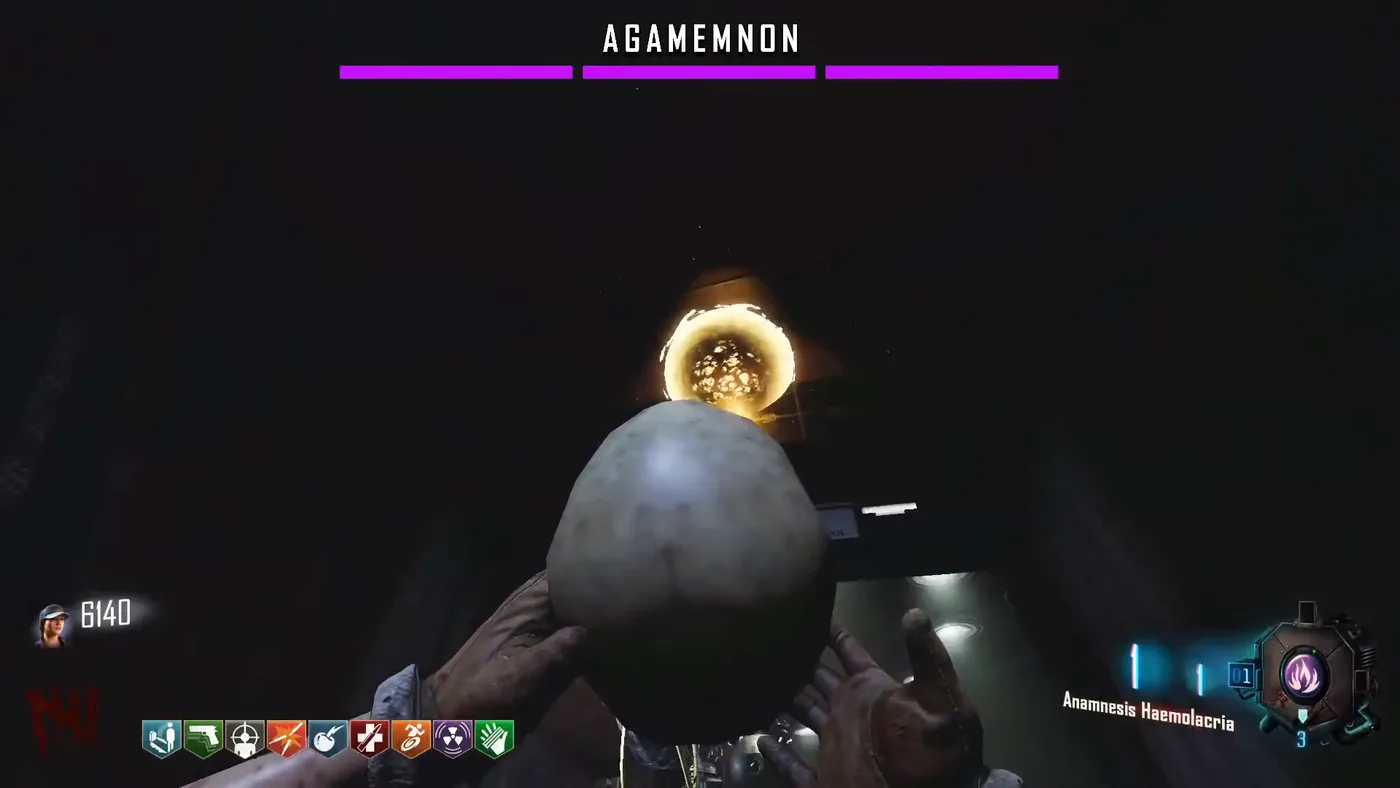
Survive the zombies and the attacks until the left door of the arena opens. Inside are four skulls. Take them one at a time and throw each one into a yellow orb; only one orb shows at a time. The walkthrough places them above the exit of the skull room, behind the boss in front of the player, beside the stairs to the lower floor and behind the boss on the far side of the arena. Then his head opens: shoot it to end the phase.

Phase 2: the Mangler cannon

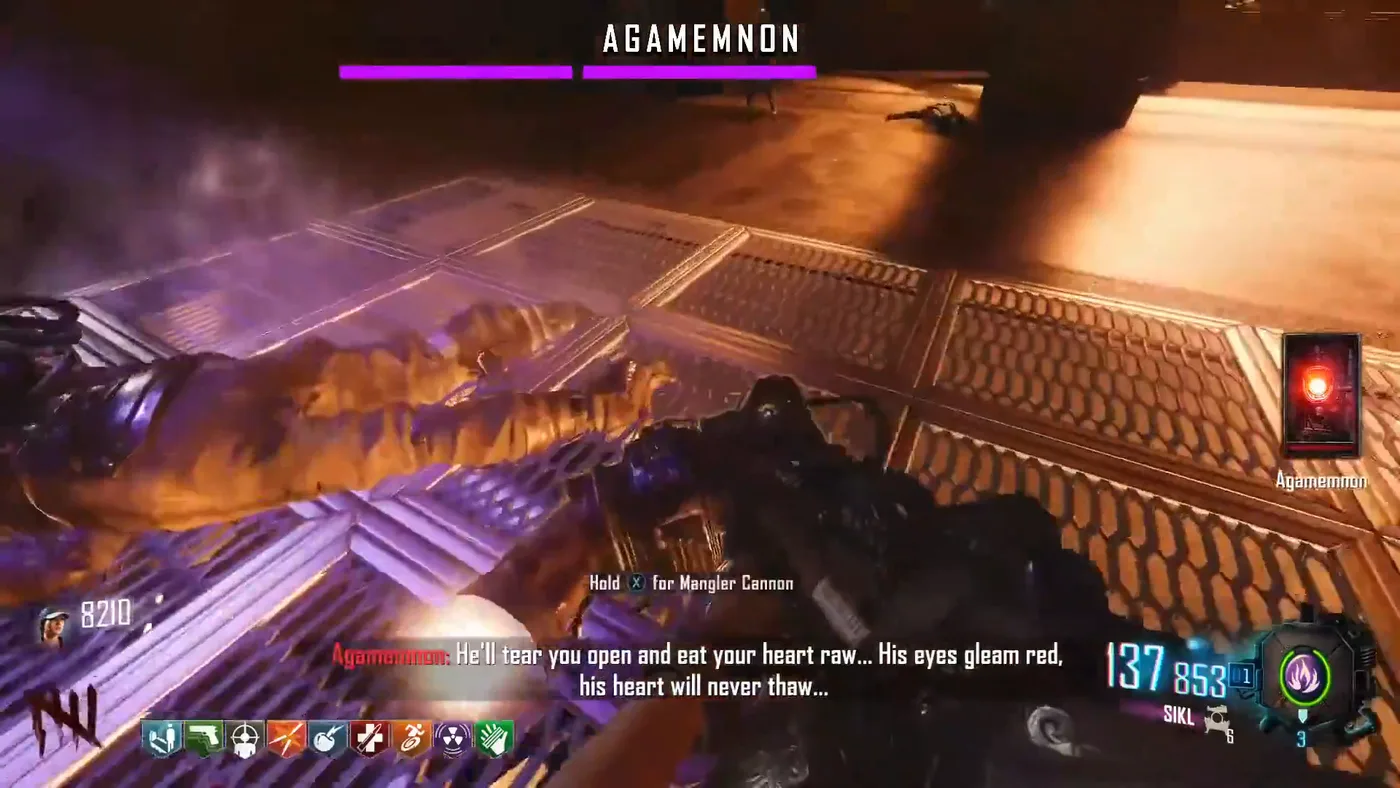
When the right door opens, interact with the terminal inside, with every player. The door locks and a giant cyborg Mangler appears. Kill it, take its cannon, and once the door opens, fire the cannon at the second energy tube to drop the shields of the boss. Shoot him again to end the phase.

Phase 3: the hallway

The door behind the entrance opens and the boss electrifies the whole floor. In the hallway, Watchful Wolf and YaBoyBadger kill two boss zombies, a Tempest and a Mangler for YaBoyBadger. Then stay in cover and bait the attacks of the boss: running in and out of cover, he ends up lasering his own heart.

The arena of the boss fight, metal floors and railings, a zombie running in, the health bar of AGAMEMNON at the top, Vae Victis, Call of Duty Black Ops III Zombies

The arena

The boss arena, with the health bar of Agamemnon at the top of the screen.

A skull held in front of the screen, below a glowing yellow orb in the dark, the health bar of AGAMEMNON at the top, Vae Victis, Call of Duty Black Ops III Zombies

A skull

A skull held up toward a yellow orb.

Fire and purple smoke in the arena, with the prompt Hold for Mangler Cannon and a threat of Agamemnon, Vae Victis, Call of Duty Black Ops III Zombies

The Mangler cannon

The cannon of the cyborg Mangler, ready to pick up.

The ending

Step outside after the dialogue and press the red button of the console. The crew decides to destroy the portal, their only way back to the real world, to keep the boss from escaping through it. The players get infinite ammo: shoot the energy orb until the screen turns white. A last cutscene plays and the game ends. Its narration says the champions of humanity gave up “the very last thing they owned” to save everyone.