~/hub / map-wiki / call-of-the-dead

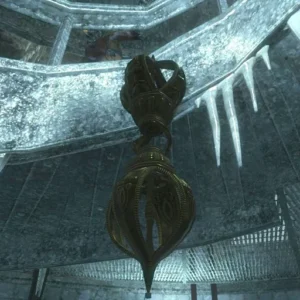
The Golden Rod, the Vril Device, floating in the green light at the foot of the lighthouse, in Call of the Dead, Call of Duty Black Ops Zombies

Call of the Dead:
Easter egg

The Call of the Dead main quest step by step: Stand-in in solo and Ensemble Cast in co-op, the locked door under PhD Flopper, the fuse and the four generators, the submarine, the vodka, radios, foghorns and dials, the Golden Rod and the Wunderwaffe DG-2 reward.

  • 5 min read
  • 5 chapters
  • updated

Stand-in and Ensemble Cast

The main quest of Call of the Dead. Behind a locked door under PhD Flopper, Dempsey, Nikolai, Takeo and Richtofen are trapped in the dark: a teleporter sent them too far in time, and Dempsey blames Gersh. Richtofen needs the Golden Rod, the Vril Device, to go on to “Paradise”, Shangri-La, and the actors fetch it for him. The quest has two versions with their own achievement:

Stand-in achievement icon, the silhouette of a soldier, Call of Duty Black Ops Zombies

Stand-in

The short version, which can be done alone or in co-op. “In Call of the Dead, send the crew to Paradise in solo or co-op”, 35G, Bronze.

Ensemble Cast achievement icon, the silhouettes of two soldiers, Call of Duty Black Ops Zombies

Ensemble Cast

The long version, co-op only, with the vodka, the radios, the foghorns and the dials. “In Call of the Dead, send the crew to Paradise in co-op”, 45G, Silver.

Both need the power on and the V-R11, so neither can be done in a First Room game. Explosives are needed for the generators: Semtex, sold at the far end of the ship, sticks to them.
Stand-in, step by step

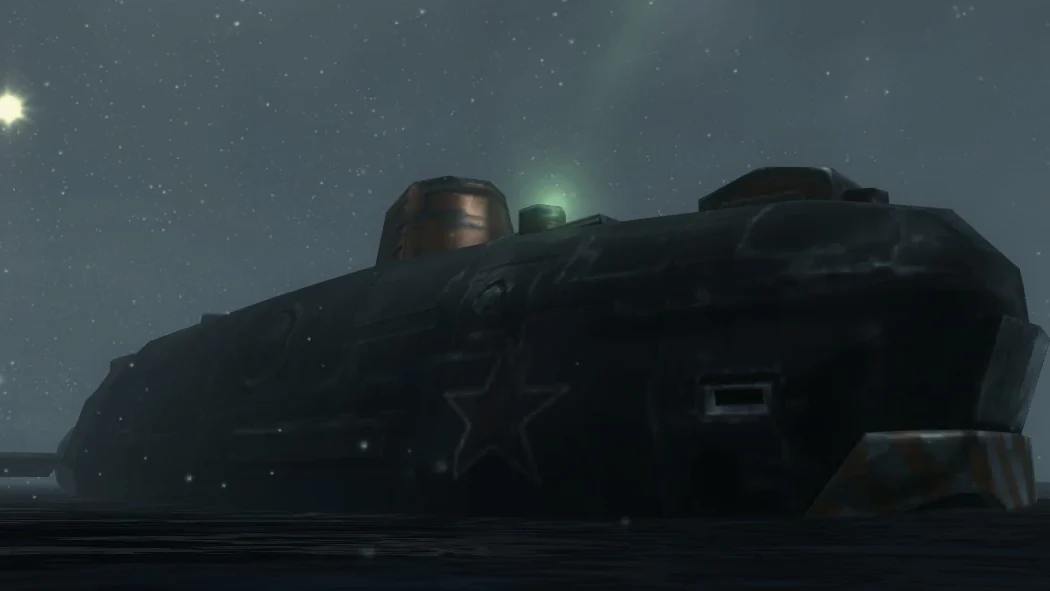
The submarine surfacing off the coast during the Easter egg, in Call of the Dead, Call of Duty Black Ops Zombies
  1. The door: with the power on, go down the stairs under PhD Flopper to the locked door and knife it until Nikolai answers. Wait for Richtofen to finish.
  2. The fuse: go up to the PhD Flopper room and find the fuse, on one of a few spots: the table next to PhD Flopper, the table on the opposite wall, or the corner between a cabinet and the wall. Place it in the fuse box to the right of the door.
  3. The four generators: light comes on behind the door, and Nikolai sets off the security system. Destroy the four generators marked by glowing red orbs with explosives, then knife the door again.
  4. The submarine: in the power room, turn the ship’s wheel until its brown handle points to 5 o’clock, pull the first lever once and the third lever three times, from left to right. A foghorn sounds, a submarine surfaces and shines a green light into the lighthouse.
  5. The Golden Rod: shoot a zombie near the lighthouse with the V-R11. Instead of running to the water, the human runs into the green light at the bottom of the lighthouse and floats up. Kill him before he reaches the top; the Golden Rod then appears at the bottom of the lighthouse.
  6. The end: put the rod in the tube next to the door, wait for the dialogue, then knife the fuse box to repair it.

Generator 1

Across from the locked door, probably to show the players what one looks like.

Generator 2

Outside the left window of the Stamin-Up building; it can also be seen from the Box spot at the top of the lighthouse.

Generator 3

Over the left railing of the ship, near Double Tap.

Generator 4

Between the second ship and the starting area, on the right, between two ice shelves.

The Box is weighted towards the Scavenger during the generators step and towards the V-R11 during the Golden Rod step. The Ray Gun, the Scavenger and the Matryoshka Dolls all work to kill the floating zombie, which takes a lot of damage inside the light. A crawler works for this step too.

Ensemble Cast, step by step

  1. The door and the fuse: as in Stand-in. In the co-op version, the fuse is on the ground by a locker, behind batteries next to the 115 meteorite, or on the table beside PhD Flopper.
  2. The four generators: as in Stand-in, then knife the door.
  3. The vodka: Nikolai asks for vodka. A bottle sits stuck in ice on a railing: above the stairs to PhD Flopper, above the stairs towards the AK-74u, near the M16 on the ship, or on the ledge between the two ships near the MP40. One player stands below it, another knifes it, and the first catches it; if it falls, a new one appears elsewhere. Put it in the tube on the other side of the door from the fuse box, then knife the door.
  4. The Morse radios: activate four radios in this order: under the power room, on a cabinet on the right; next to Stamin-Up, on a barrel; in the train car at the back of the second ship, where the Semtex is; under the steps to the locked door, on a cabinet. Morse code plays when it works.
  5. The submarine: set the wheel and the levers of the power room as in Stand-in. The submarine can be seen off the left side of the part of the ship with Juggernog.
  6. The foghorns: with fog on the map, hold the use button on four foghorns in this order: at the base of the lighthouse by the pool; after the Ice Slide, around the right corner in the water; at the base of the lighthouse, on the left next to the building; after the Ice Slide, behind the big rock in the middle. The submarine shines its green light at the top of the lighthouse.
  7. The dials: set the four security dials of the lighthouse, one per level, to 2746 from top to bottom.
  8. The Golden Rod: as in Stand-in, with the V-R11 and the green light.
  9. The end: put the rod in the tube and knife the fuse box once Richtofen has spoken.

Steps 4 to 7 can be done in any order, but the submarine must surface before the foghorns. The radios count every press in sequence: a radio pressed before the right moment shifts the order, and pressing the first radio twice at the start fixes it. If the foghorns go wrong, the next round resets them.

The dials

The dials are yellow, orange, blue and purple from top to bottom, and always start at the same numbers. Turning one also turns its neighbours, so the order of the turns matters:

  1. Turn purple until it shows 6.
  2. Turn orange until blue shows 4.
  3. Turn yellow until orange shows 7.
  4. Turn yellow until it shows 2, counting the turns.
  5. Turn purple as many times as yellow in step 4.
  6. Turn blue until it shows 4 again: all four dials now read 2, 7, 4, 6.

The code is written on four slips of paper around the map, each in the colour of its dial, and the paintings around PhD Flopper hint at where they are: the 2 in front of the barrier next to Juggernog, the 7 in front of the closed window behind Stamin-Up, the 4 on the second floor of the lighthouse by the blue dial, and the 6 in a life preserver by the radio near Double Tap.

The reward

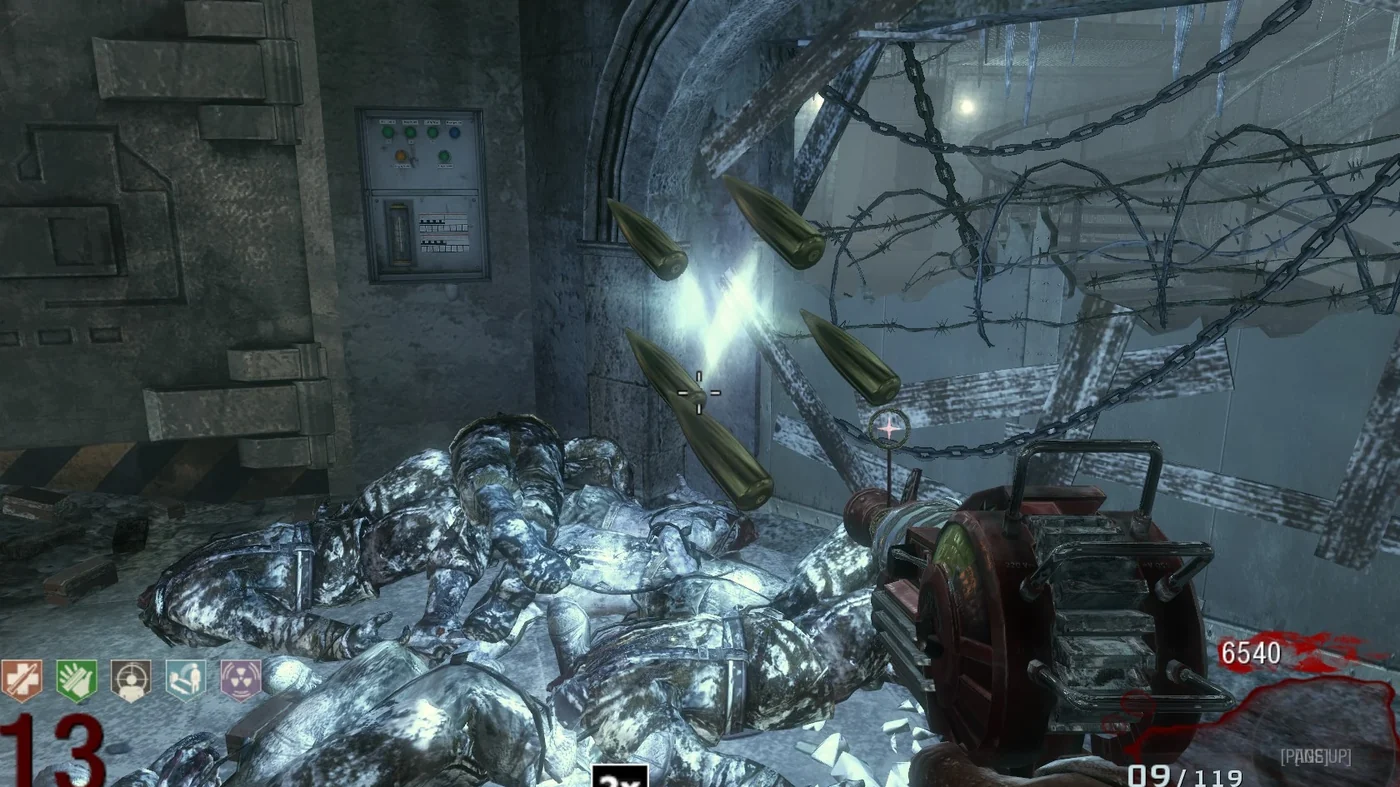
The Wunderwaffe DG-2 of the Lightning Bolt in the player's hands, frozen zombies on the floor, in Call of the Dead, Call of Duty Black Ops Zombies

The Lightning Bolt

A power-up that looks like a Death Machine appears outside the door and gives the Wunderwaffe DG-2. It cannot be upgraded and lasts until its ammunition runs out; Max Ammo refills it.

George’s drop

From then on, beating George A. Romero gives a Lightning Bolt instead of a Death Machine, in later games too, for the player who owns the achievement.

The Golden Rod

A player who owns the achievement and plays Richtofen starts Shangri-La and Moon with the rod. Ensemble Cast, with Time Travel Will Tell on Shangri-La, is one of the steps of Richtofen’s Grand Scheme on Moon.