~/hub / custom-maps / europa-bo3-custom

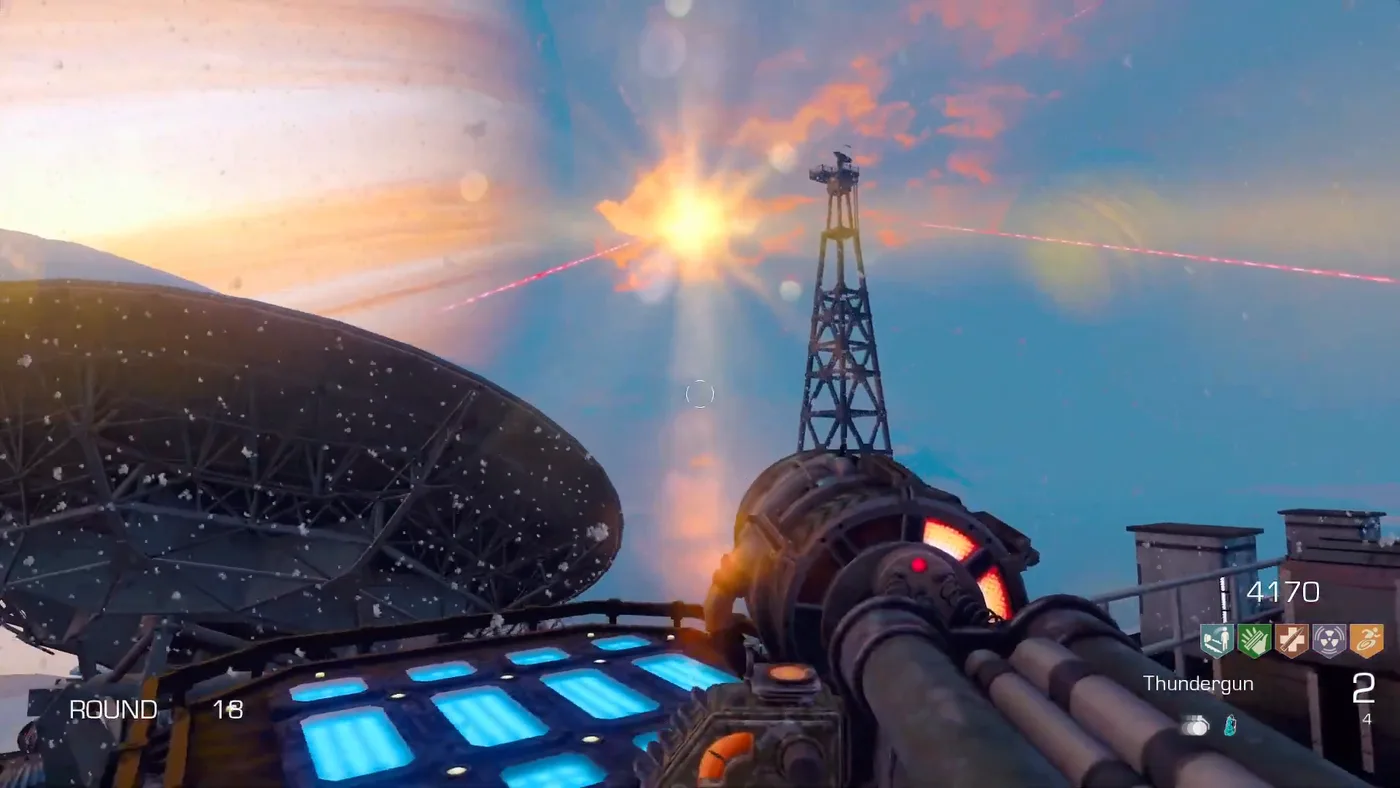
A satellite dish turned to the sun, its beam crossing the sky next to a radio tower, Europa, Call of Duty Black Ops III Zombies

Europa BO3 Custom:
Easter Egg

The Europa main quest step by step: the power, the jump pads, the Scavenger, the key card and the code, the frozen door, Epsilon Space Station 2, the jet, the satellite dishes and the Avogadro.

  • 8 min read
  • 12 chapters
  • updated

Before starting

The main quest of Europa revolves around the Scavenger, the explosive sniper rifle of Call of the Dead. It turns on the power of the Jupiter 2 Research Facility, builds and upgrades the Scavenger into its elemental versions, sends the players to a space station, shoots down a jet and turns three satellite dishes towards the sun. It ends with a boss fight against an Avogadro on the pyramid, a Perkaholic and a buyable ending of 75,000 points.

The order below is the one of the guide of Sassy Asi, the most complete of the guides read for this book; Mania, Pankake101 and the 60 Second Guide of Kunjora on the main quest give the same steps. The quest can be played solo: llStevell posted a solo speedrun of it, and Mania covers both solo and co-op. Outside, the players need the P.E.S., the space suit of the map: Pankake101 keeps it on at all times, and Mania warns that a player who swaps it for the shield cannot breathe outside.

What it needs

The power, the jump pads, the three parts of the Scavenger, the key card, the elemental Scavengers, the dynamite and the valve. The perks and the shield are advised for the boss fight.

The reward

A Perkaholic, given after the Avogadro falls; FPSpsycho receives every perk of the map with it. The 75,000 points ending can be bought after it.

Round 10

The astronaut that drops the last part of the Scavenger only appears from round 10.
Step 1: the power

  1. Open the Power Relay Station, the room of Juggernog. Pankake101 opens its door for 2,000 points.
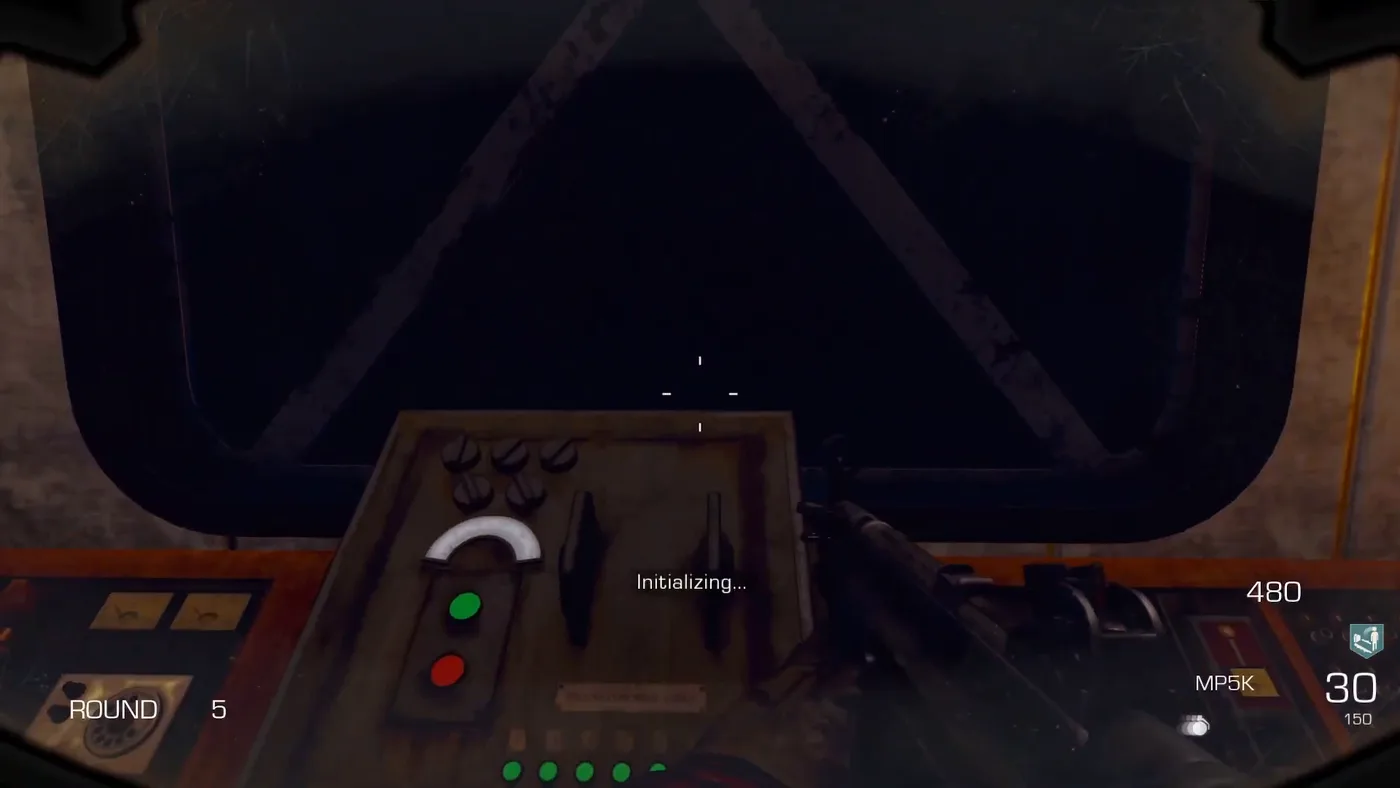
  2. Interact with the console in the middle of the room to initialize the power generators, and wait until it is done.
  3. Interact again to start the fluid transfusion sequence: the room locks down. Pankake101 says the lockdown lasts a set time, not a set number of zombies.
  4. When the lockdown is over, interact a third time: the power is on.
  5. Interact a fourth time to lower the water. The doors of the Pack-a-Punch room open once the water is gone, and the first part of the Scavenger lies in front of the Pack-a-Punch Machine.
The power console of the Power Relay Station, with the prompt Initializing on the HUD, Europa, Call of Duty Black Ops III Zombies

The power console

The console of the Power Relay Station during the first step, when the prompt reads “Initializing…”.

Step 2: the jump pads

Three fuses, each of its own color, power the three jump pads of the outside. Each fuse goes into the fuse box of a jump pad; then a large panel of the Power Relay Station, across from the build table of the Scavenger, turns them on.

FuseWhere it liesWhere it goes
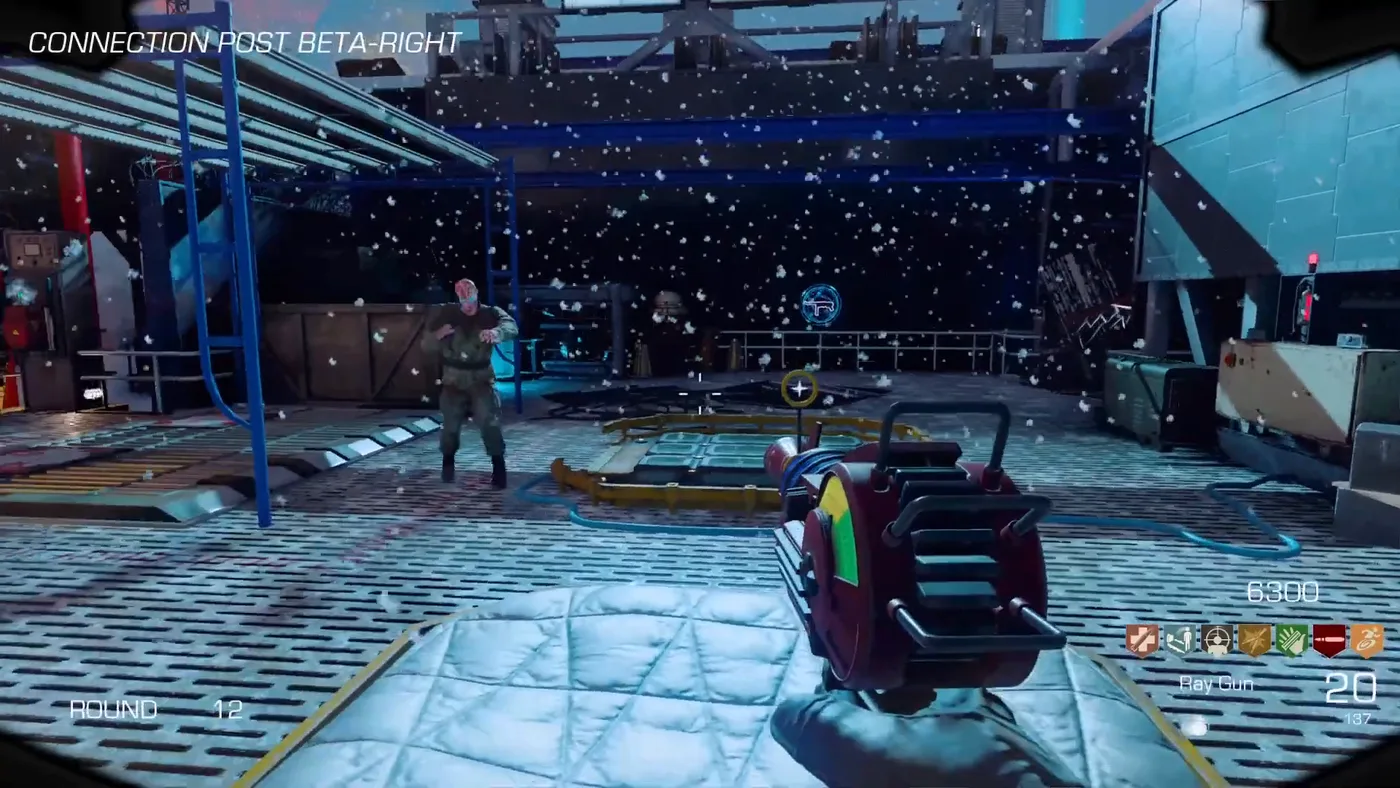
RedSpawn room, on the table in front of Quick ReviveConnection Post Beta Right, by the jump pad outside the Power Relay Station
BlueWeapons Testing room, at the window by Double TapConnection Post Beta Left, the area of Vigor Rush
GreenBio Lab, on the sinkThe jump pad outside the spawn room, on the Command Center Catwalk
Connection Post Beta Right, an outdoor platform under the snow with a jump pad, named on the HUD, Europa, Call of Duty Black Ops III Zombies

Connection Post Beta Right

The outdoor area where the red fuse goes, by a jump pad, under the snow.

Step 3: the Scavenger

  1. Part 1: In the Pack-a-Punch room, once the water is lowered.
  2. Part 2: A key floats in the sky above the jump pads. Take it in flight, while a jump pad throws the player across. Pankake101 says it appears at random on one side or the other. The key opens a safe at Connection Post Alpha Right, next to Electric Cherry, and the part is inside.
  3. Part 3: From round 10, an astronaut can appear in the spawn room. Killed, it drops the last part. Pankake101 saw it between rounds 10 and 15, and warns that it can despawn far from the players and drop its part in the spawn room anyway.
  4. Build the Scavenger on the table of the Power Relay Station, behind the Pack-a-Punch.
The open safe of Connection Post Alpha Right, outside by the railings, Europa, Call of Duty Black Ops III Zombies

The safe

The open safe of Connection Post Alpha Right, outside by the railings, after the key from the sky.

Step 4: the key card

  1. Kill zombies with the Scavenger until one of them drops a key card. Sassy Asi and Mania both advise to Pack-a-Punch the Scavenger first: it takes many kills. Pankake101 advises PhD Flopper, so that the blasts do not hurt the player.
  2. Place the card in the four scanners, in this order. Each time, wait until the light above the scanner turns from green to red, then take the card back.
ScannerPlace
1Spawn room, next to the door to Electric Cherry and to the M14 on the wall
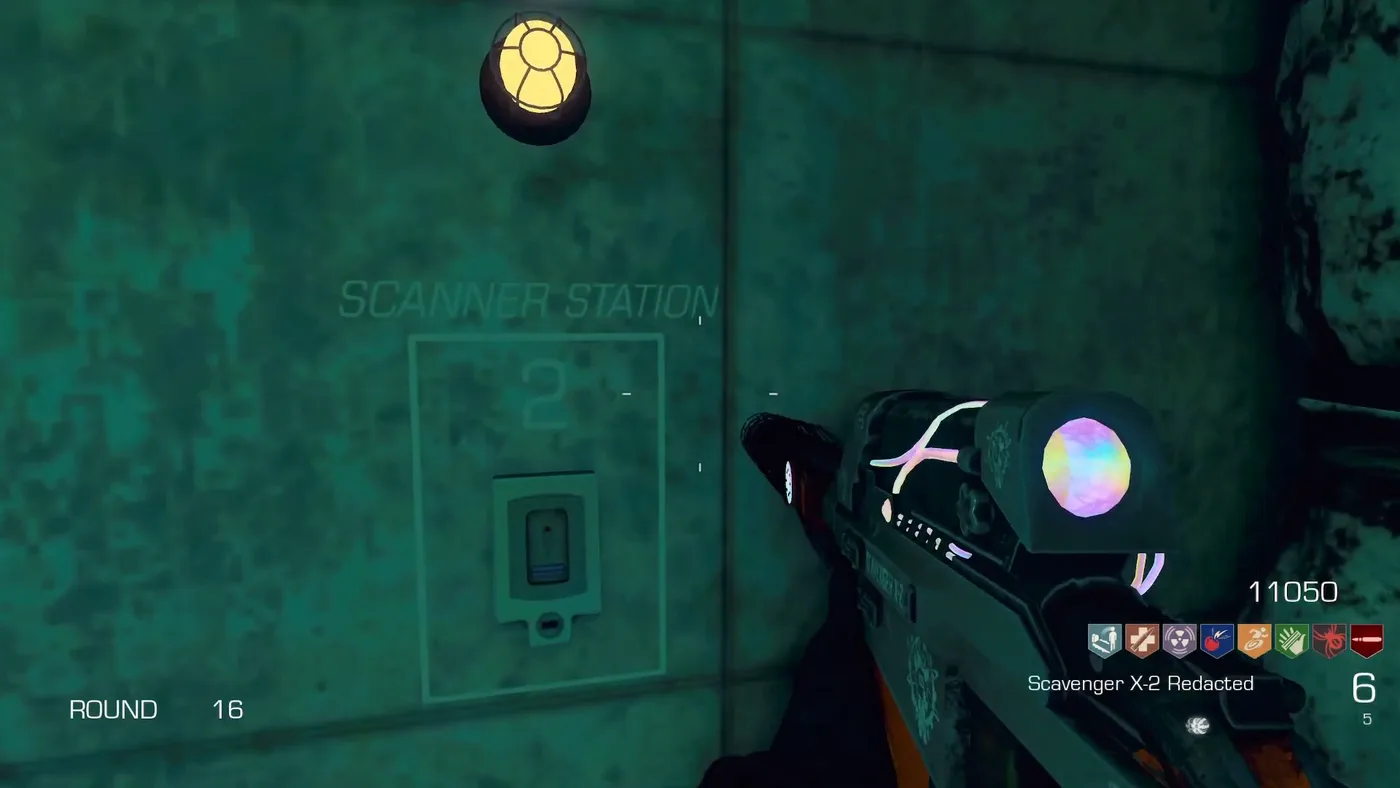
2Bio Lab, next to the door to Speed Cola
3Power Relay Station, next to Juggernog
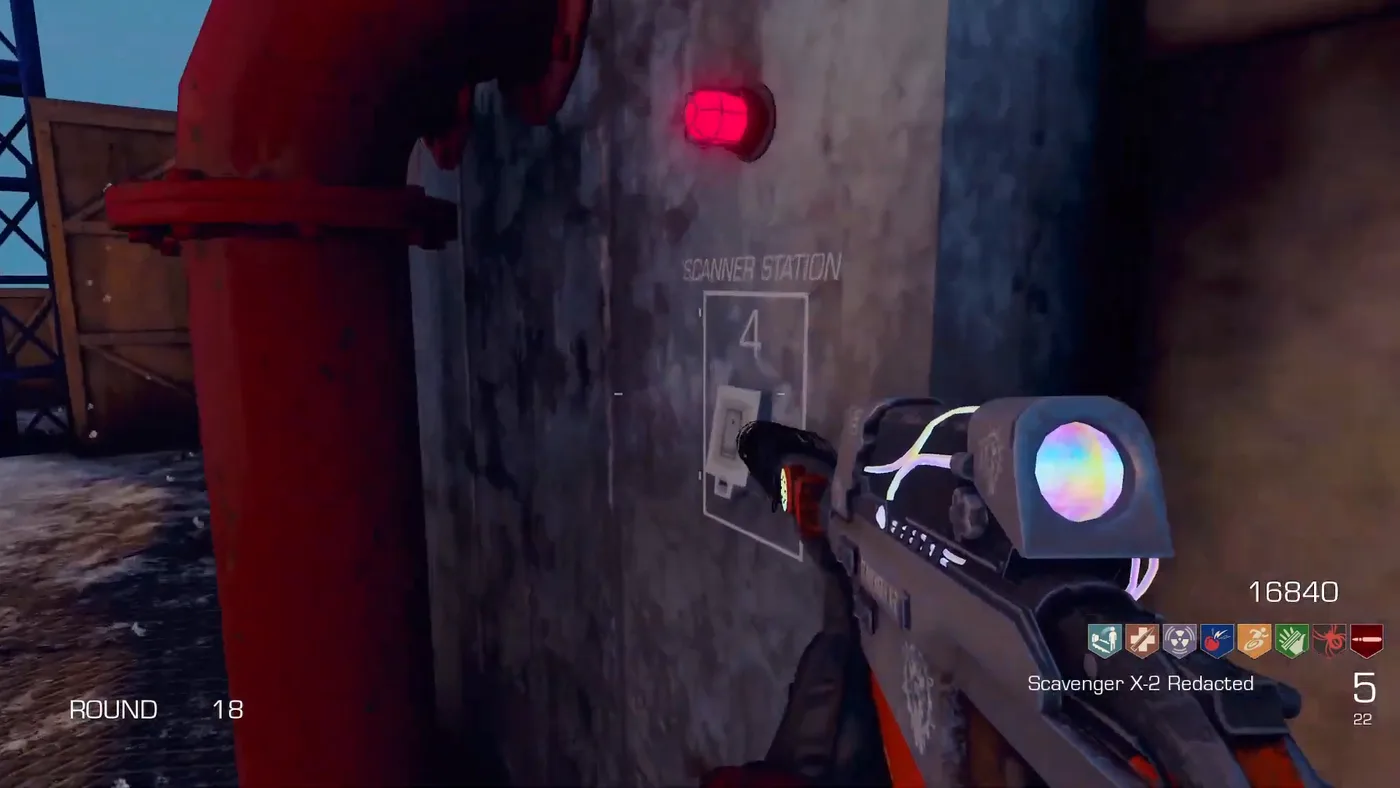
4Top of the Lookout Post, near PhD Flopper, next to two red pipes
Scanner Station 2 in the Bio Lab, its number painted on the wall under a yellow light, Europa, Call of Duty Black Ops III Zombies

Scanner Station 2

The scanner of the Bio Lab, with the number painted on the wall and its light above.

Scanner Station 4 on the Lookout Post, next to a red pipe, its light turned red, Europa, Call of Duty Black Ops III Zombies

Scanner Station 4

The last scanner, on top of the Lookout Post next to a red pipe, its light turned red once the scan is done.

Step 5: the code of the cabinet

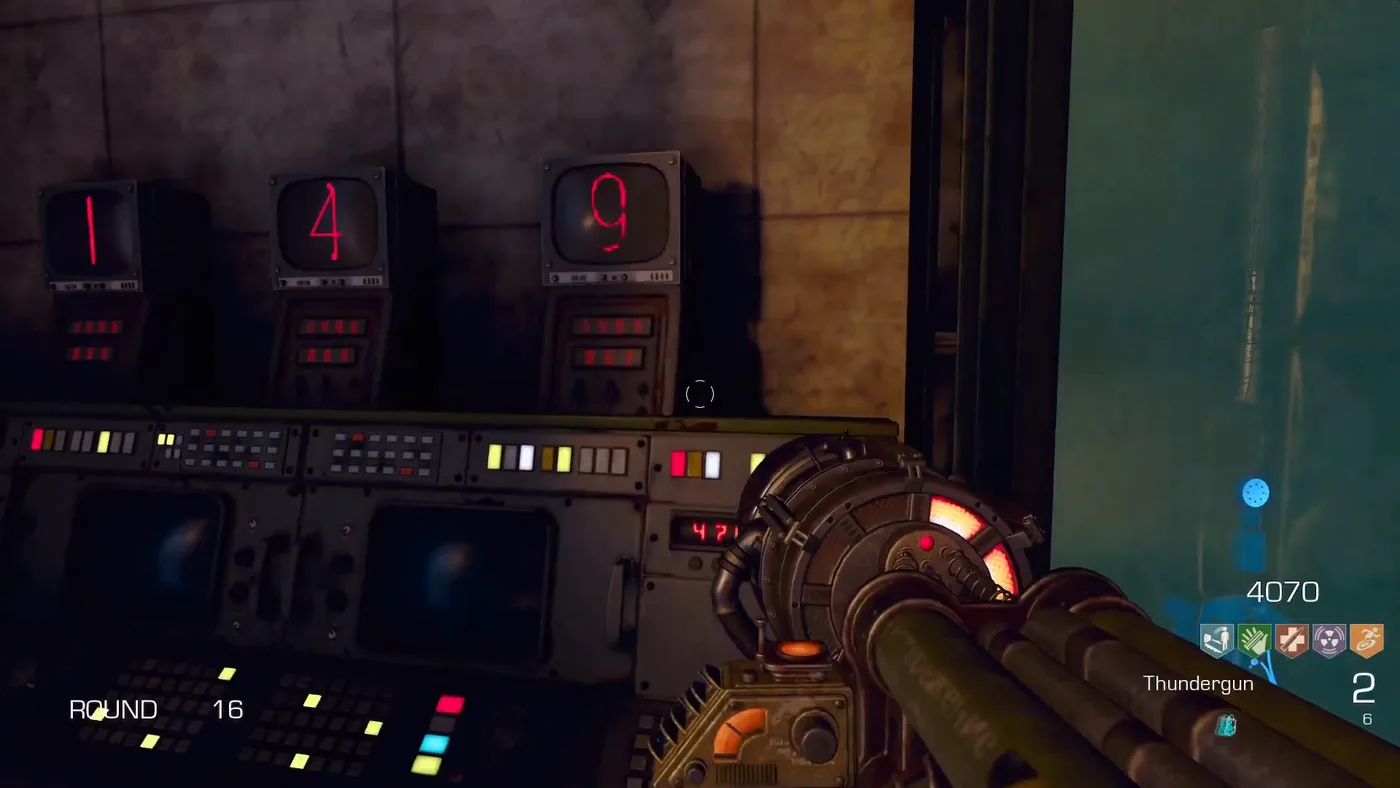
  1. In the Weapons Testing room, use the key card on the computer to the left of the glass cabinet. Three screens light up above it, and three televisions around the map now show a number each.
  2. Find the three numbers. The numbers change from game to game: Pankake101 found 4, 2 and 3, FPSpsycho 0, 4 and 9, Sassy Asi 1, 4 and 9.
  3. Enter them on the computer. Sassy Asi gives the order from left to right: the Bio Lab, then Electric Cherry, then the Power Relay Station. FPSpsycho enters them in the same order. A sound confirms the code, and the cabinet of the elemental Scavengers opens.
DigitTelevision
FirstBio Lab, to the left of Stamin-Up; Mania places it near the teddy bear behind the desk
SecondOutside, at Electric Cherry, behind the safe
ThirdPower Relay Station, inside the window to the left of the Mystery Box
The three screens of the code above the computer of the Weapons Testing room, set to 1, 4 and 9, Europa, Call of Duty Black Ops III Zombies

The code

The three screens above the computer of the Weapons Testing room, set to 1, 4 and 9 in the game of Sassy Asi.

Step 6: the frozen door and the teleporter

  1. Take the fire Scavenger from the cabinet. Taking one swaps it with the weapon in hand: Pankake101 warns not to take both versions with the same player, or a gun is lost.
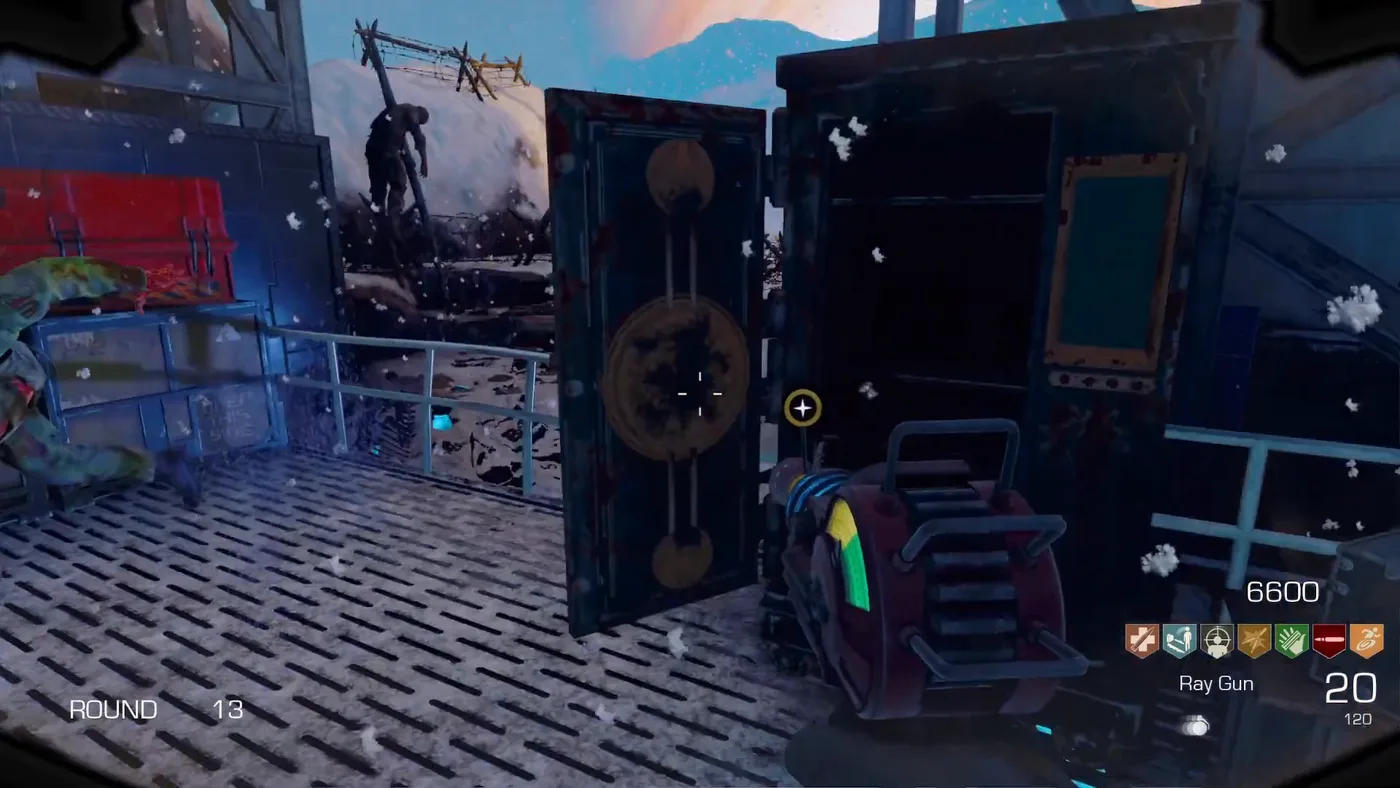
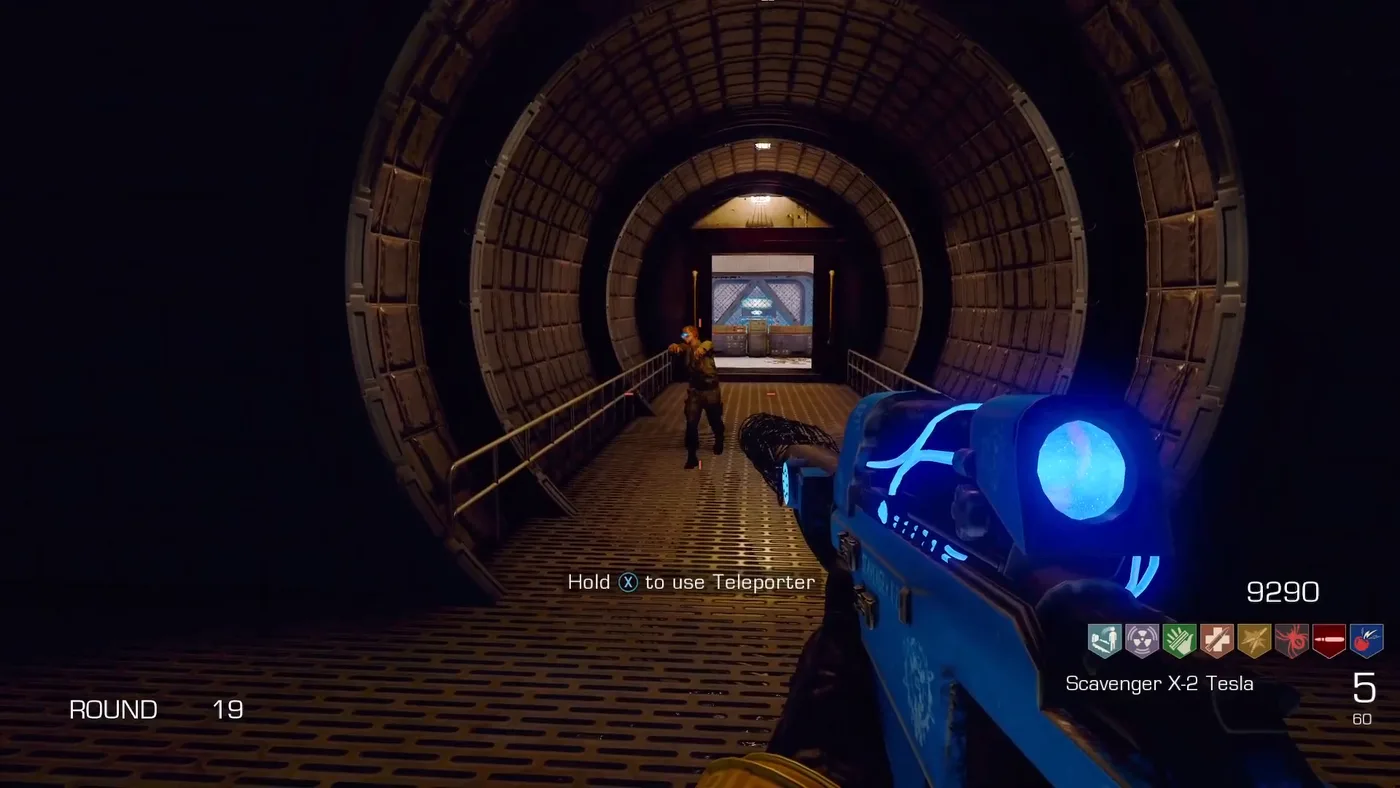
  2. In the Power Relay Station, shoot the frozen door across from the power console. The fire opens a secret room with a teleporter.
  3. Take the electric Scavenger and shoot the teleporter to charge it.
The round tunnel of the secret room behind the frozen door, with the prompt to use the teleporter, Europa, Call of Duty Black Ops III Zombies

The secret room

A round tunnel behind the frozen door, where the HUD offers to use the teleporter once it is charged.

Step 7: the dynamite and the space station

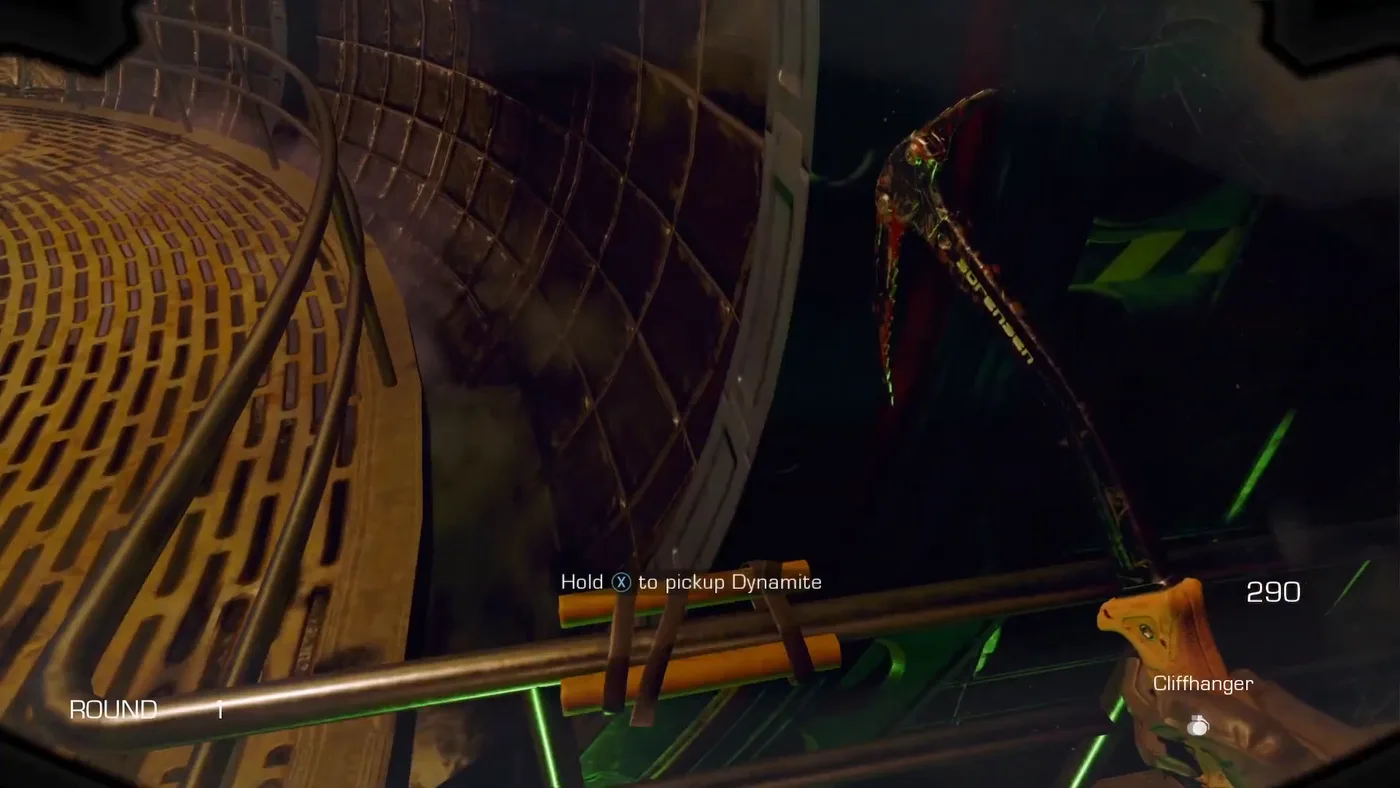
A stick of dynamite appears on a railing somewhere outside. Every guide gives its own list of spots, and none claims to have them all:

The sticks of dynamite tied on a railing, with the prompt to pick them up and the Cliffhanger in hand in round 1, Europa, Call of Duty Black Ops III Zombies

The pick-up

The sticks of dynamite tied on a railing, here in round 1 of the game of Sassy Asi, with the Cliffhanger in hand.

Command Center Catwalk

By the jump pad outside the spawn room. Sassy Asi and Mania.

Near Speed Cola

On the railing across from Speed Cola, on the way between the Bio Lab and the spawn room. Sassy Asi, Mania and Kunjora.

Connection Post Beta Left

To the left of the stairs for Sassy Asi; on the railings to the right on the way down to the Bio Lab for Mania.

Connection Post Beta Right

Near the door to the Weapons Testing room. Sassy Asi; Kunjora places one on the path between the Weapons Testing room and the power facility.

Electric Cherry

On the railings, by the electric equipment. Sassy Asi and Kunjora.

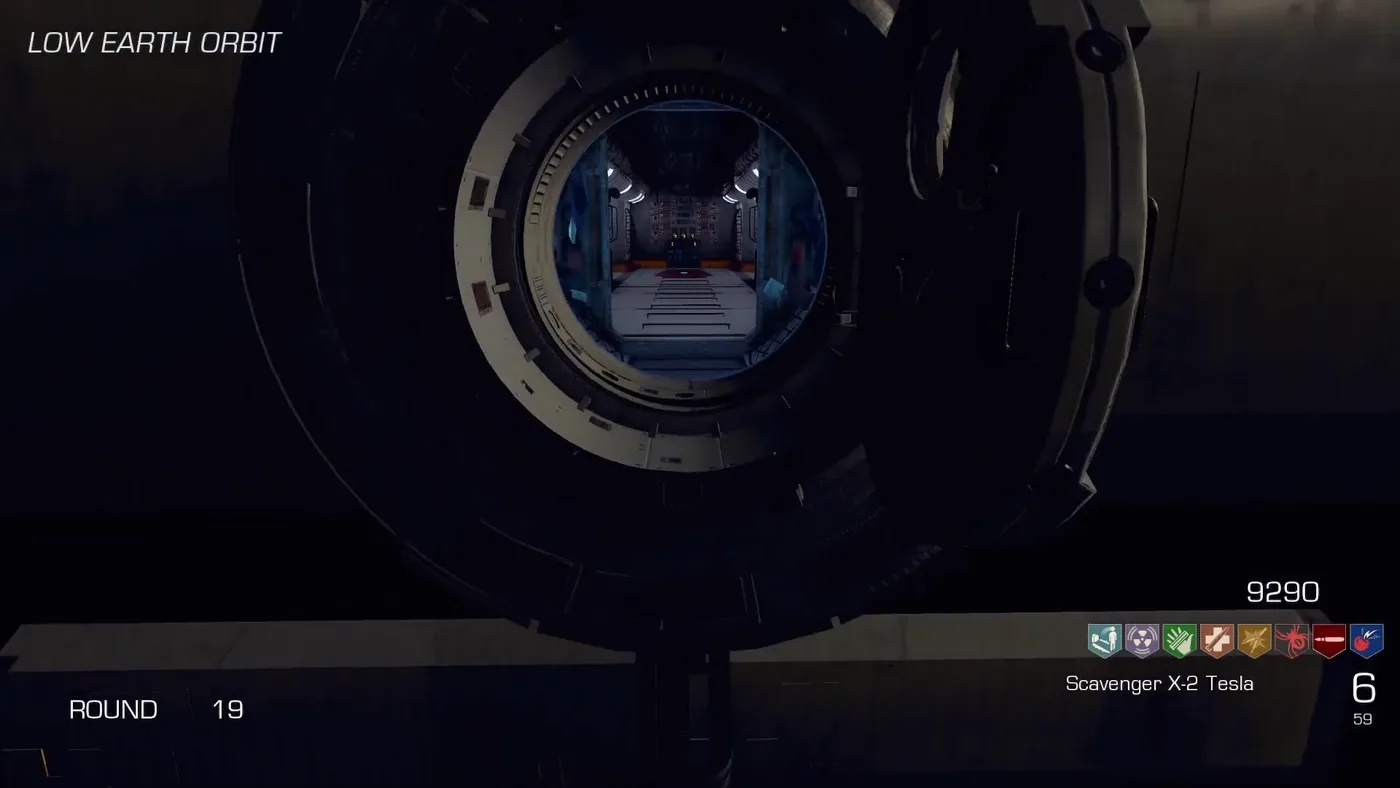
  1. With the dynamite, take the teleporter of the secret room. It sends the players to a space station.
  2. Walk straight to the large door and place the dynamite on it.
  3. Turn around and press the button of the computer at the back of the room. The door blows up, the players are thrown out into space and fall back to Europa.
The door of Epsilon Space Station 2, named on the HUD, with the orange outline where the dynamite goes, Europa, Call of Duty Black Ops III Zombies

Epsilon Space Station 2

The name the HUD gives to the station. The orange outline on its door shows where the dynamite goes.

The fall from the space station, named Low Earth Orbit on the HUD, seen through a round hatch, Europa, Call of Duty Black Ops III Zombies

Low Earth Orbit

The HUD name of the fall, as the station drifts away behind its hatch.

Step 8: the jet and the valve

  1. Back on Europa, watch the sky: a black jet flies over the map. Sassy Asi shoots it from the Lookout Post; Pankake101 says it comes by at random times.
  2. Shot down, it drops a valve on one of the grey landing pads where the jump pads set the players down. Sassy Asi found it on the landing pad of Vigor Rush; Kunjora and Mania say it can be on any of them.
  3. Take the valve up to the Lookout Post and put it on the pipe that misses one.

The jet

Sassy Asi shoots it down from the Lookout Post with the upgraded HK21, the H115 Oscillator.

Step 9: the satellite dishes

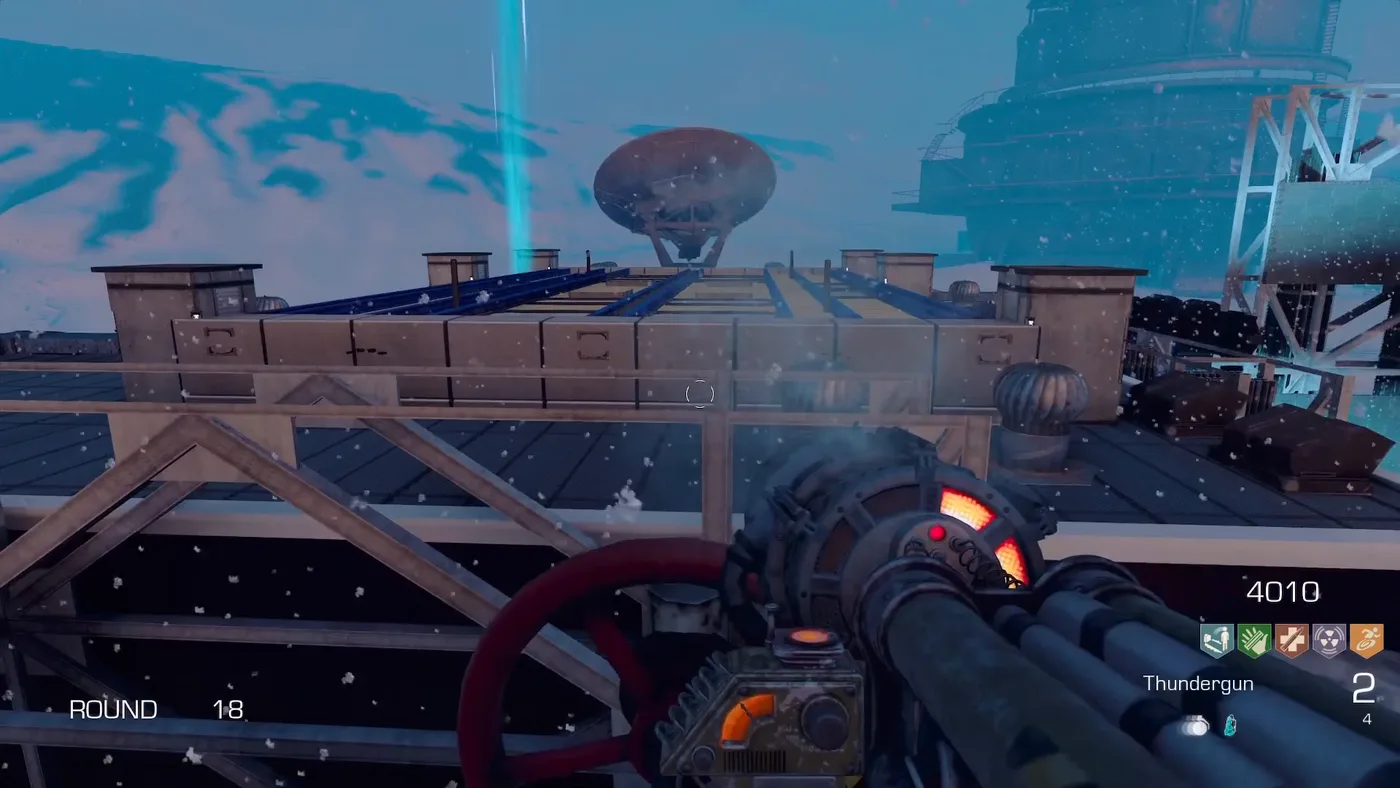
Three valves on the Lookout Post each turn one of the three satellite dishes a little. Turn them until all three dishes face the sun. Pankake101 warns that a dish can look aligned from one angle and still be off: when all three are right, each dish shoots a beam of light at the sun, and the quest is ready for the boss.

A satellite dish sending its beam to the sky, with a red valve wheel of the Lookout Post in front, Europa, Call of Duty Black Ops III Zombies

A dish aligned

A satellite dish on its roof sends its beam to the sky, with a valve of the Lookout Post in front.

A satellite dish turned to the sun, its beam crossing the sky next to a radio tower, Europa, Call of Duty Black Ops III Zombies

Facing the sun

A dish turned to the sun, its beam drawn across the sky next to the radio tower.

Step 10: the Avogadro

  1. Get ready. The guides advise every perk the players can get, the shield, a weapon with a lot of ammo (Mathis Brillon, Mania and Pankake101 all name the HK21 of the Lookout Post), Monkey Bombs, and Double Tap and Vigor Rush for Sassy Asi.
  2. Take the teleporter of the secret room again. Its prompt reads “Press to end the NOELLE Sequence. Be Prepared!”. It brings the players to the pyramid.
  3. Interact with the pyramid in the middle to start the fight. The Avogadro stands on top of it while zombies keep coming.
  4. Shoot it until it dies, and kill the zombies around. Kunjora warns not to let the Avogadro stun a player in the middle of the horde; Pankake101 says that with PhD Flopper its shocks only slow the player down.
  5. When it falls, the players are sent back to Europa and given the Perkaholic.
The charged teleporter with the prompt to end the NOELLE Sequence before the boss fight, Europa, Call of Duty Black Ops III Zombies

The NOELLE Sequence

The teleporter of the secret room, charged, with the prompt that sends the players to the boss.

The change notes of the Workshop page show how the fight was tuned in the first two days. Version 2 lowered the health of the boss by 100,000 and changed the damage of some weapons against it, down by 20% for some and up by 10% for others. Version 3 then raised it from 250,000 to 750,000, after Logical saw “Noah, MrTLexify & Chop destroy the boss in 30 seconds”.

The ending

After the boss, the teleporter of the Power Relay Station offers a way out for 75,000 points. Buying it ends the game. Pankake101 and FPSpsycho both buy it; FPSpsycho reaches the sum around round 30.