~/hub / map-wiki / mob-of-the-dead

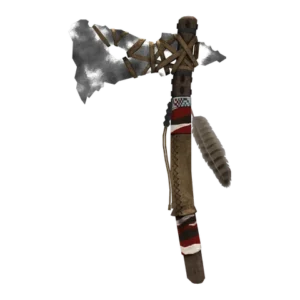
Hell's Retriever model in Mob of the Dead, Call of Duty Black Ops II Zombies

Mob of the Dead:
Hell’s Retriever

Hell's Retriever in Mob of the Dead: where the three Cerberus heads are, how to feed them, and every step of the upgrade to the Hell's Redeemer.

  • 3 Min. Lesezeit
  • 5 Kapitel
  • aktualisiert

Overview

The Hell’s Retriever is the tomahawk of Mob of the Dead. It costs no points: you earn it by feeding zombies to three Cerberus heads hidden around Alcatraz. It sits in the tactical slot, it comes back to you after every throw, and it is classed as a wonder weapon. Its upgrade, the Hell’s Redeemer, is one of the best tools on the map.
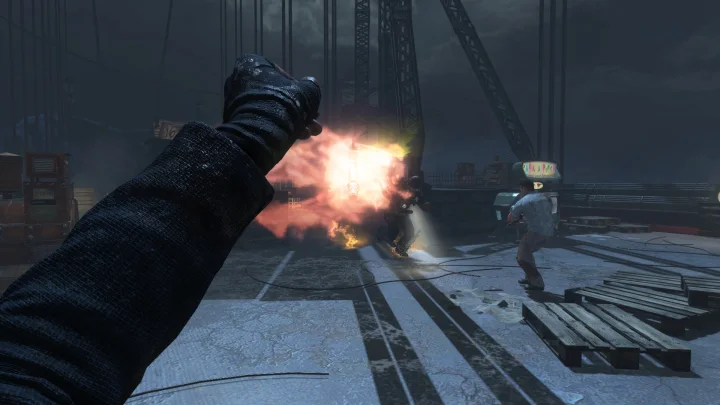
Throwing the Hell's Retriever in first person in Mob of the Dead, Call of Duty Black Ops II Zombies

Retriever throw

The tomahawk cuts through several zombies in one throw, then flies back to your hand. You wait a short cooldown before the next throw.
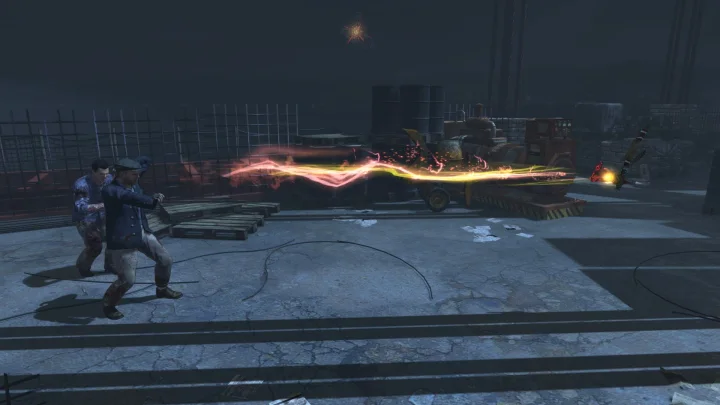
Weasel throwing the Hell's Retriever in Mob of the Dead, Call of Duty Black Ops II Zombies

Power-ups

Throw it at a power-up and it brings it back to you, even from behind a locked cell door.
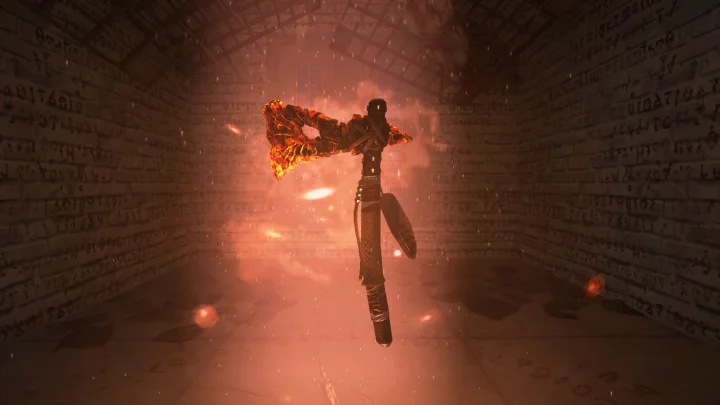
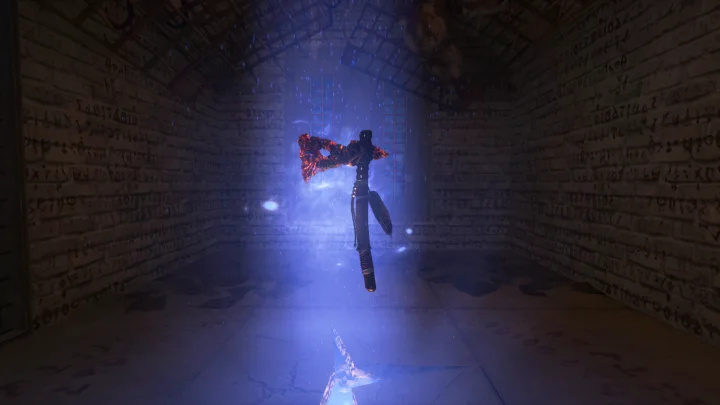
Hell's Retriever floating in its room in the Citadel Tunnels in Mob of the Dead, Call of Duty Black Ops II Zombies

Bleed out

The Retriever is lost if you bleed out. Go back to its room in the Citadel Tunnels to take it again.

Retriever charge

Hold the tactical button to charge it, up to two pulses. Charging adds damage and distance.
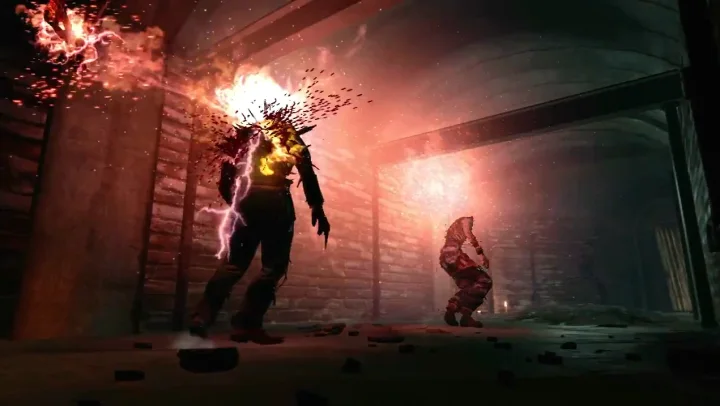
Feeding the three heads

Each shrine is a red dog emblem on a wall. Kill a zombie next to it and a Cerberus head comes out and drags the body in. Each head needs six zombies. Let it finish eating before you kill the next one, or the body will not count. Once full, the head sinks back into the wall and its emblem glows.

HeadLocationSouls
Cell blockBroadway, next to the B23R wall-buy6
InfirmaryThe room with the Uzi wall-buy6
DocksLower docks, by the workbench near the Generator Room door6

When all three heads are fed, go to the Citadel Tunnels. Just past Double Tap, the wall with three dog emblems opens up. The Hell’s Retriever waits inside. Picking it up unlocks the Feed the Beast achievement (10 Gamerscore, Bronze trophy).

Upgrade to the Hell’s Redeemer

The Redeemer glows blue instead of red. Each player does the quest for themselves: one player finishing it does not unlock it for the team, but several players can work through the steps at the same time.

  1. Hell's Retriever In Action in Mob of the Dead, Call of Duty Black Ops II ZombiesKill about 10 to 15 zombies with the Hell’s Retriever. The Afterlife sound and a short music cue confirm the step.
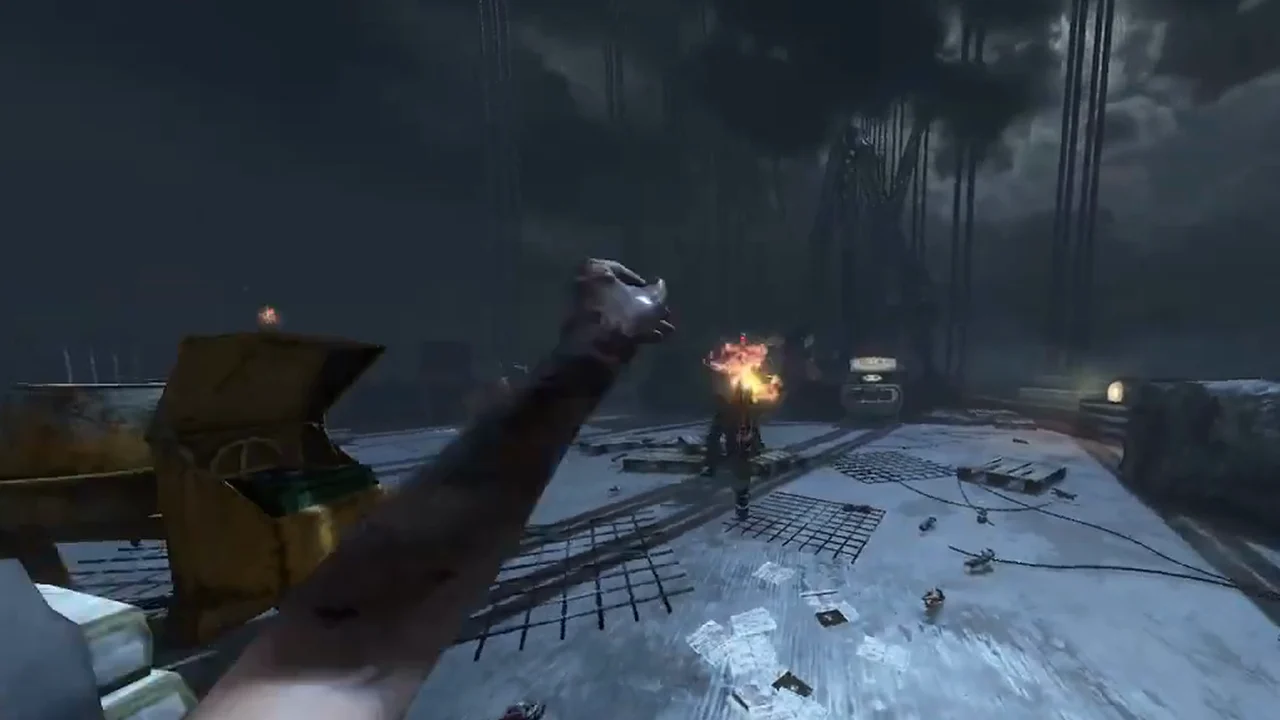
  2. Player throwing the flaming Hell's Retriever at a zombie on the Golden Gate Bridge in Mob of the Dead, Call of Duty Black Ops II ZombiesBuild the plane and fly to the Golden Gate Bridge. Play a full round there using only the Retriever, with at least 30 kills from it. Firing a gun resets the step; knifing the air does not. The Afterlife sound plays at the end of the round.
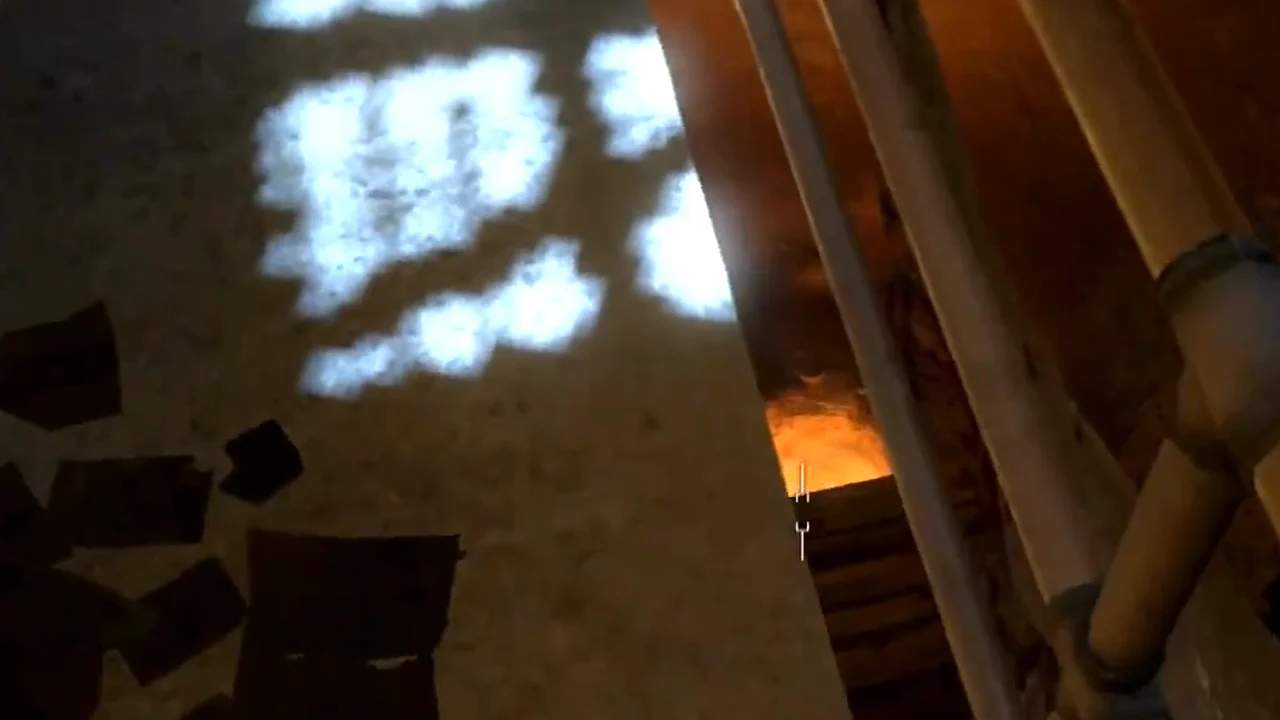
  3. Glowing lava pit below the cell block walkway railing where the Hell's Retriever is thrown in Mob of the Dead, Call of Duty Black Ops II ZombiesBack at Alcatraz, throw the Retriever into the lava pit under the Cerberus head near the B23R. It must not come back. The ramp leading up to the B23R gives an easy angle on the lava.
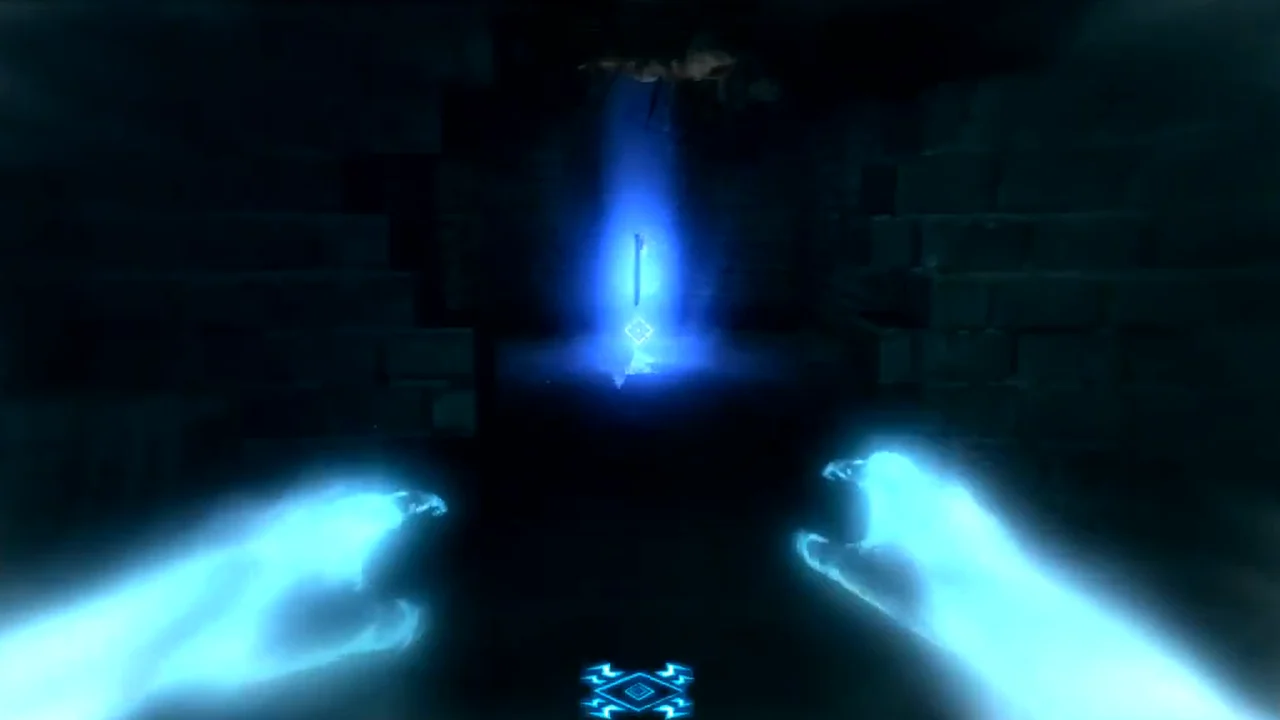
  4. Blue glowing Hell's Redeemer waiting in the Citadel Tunnels, seen in Afterlife in Mob of the Dead, Call of Duty Black Ops II ZombiesOn a later round, return to the Retriever room in the Citadel Tunnels. The glow is now blue. Enter Afterlife to pick up the Hell’s Redeemer.
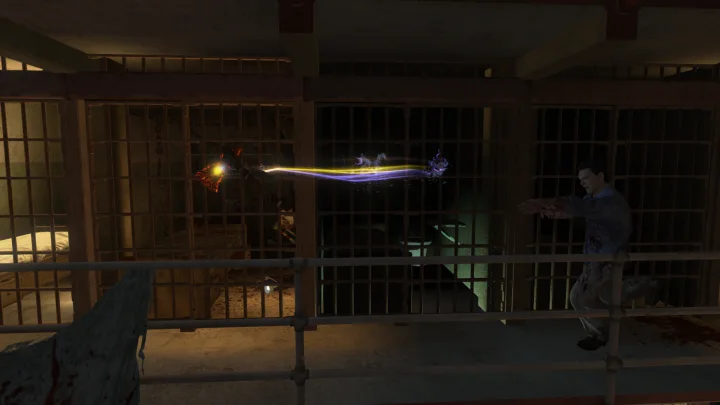
Hell's Redeemer thrown down a row of cells in Mob of the Dead, Call of Duty Black Ops II Zombies

Redeemer kills

Once charged, it kills a normal zombie in one hit at any round. It still stops after the same number of zombies per throw.

Hells Redeemer MoTD in Mob of the Dead, Call of Duty Black Ops II Zombies

Redeemer charge

It charges three times instead of two.

Sal DeLuca facing Brutus in Mob of the Dead, Call of Duty Black Ops II Zombies

Warden

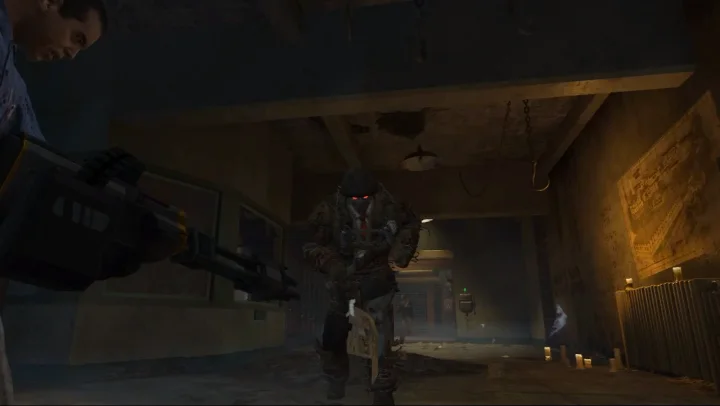
Brutus with his helmet on still takes more than one hit.

What it unlocks

The Retriever is a key for other quests. It collects the five blue skulls for the free Blundergat and it knocks down the poster and grabs the spoon in the Golden Spork quest. Kills with it count as grenade kills in your stats.

Tips for a First Room game

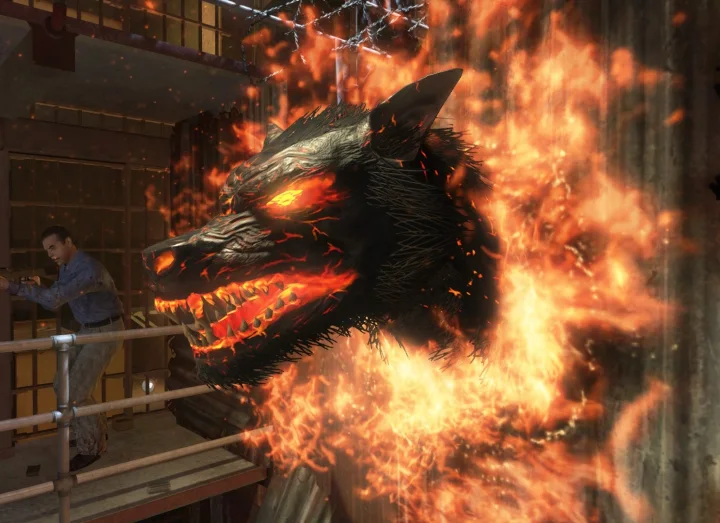
Hellhound head shrine in Mob of the Dead, Call of Duty Black Ops II Zombies

Out of reach

The Retriever room and the docks head are both far from the cell block. A First Room game cannot earn it without leaving the starting area.

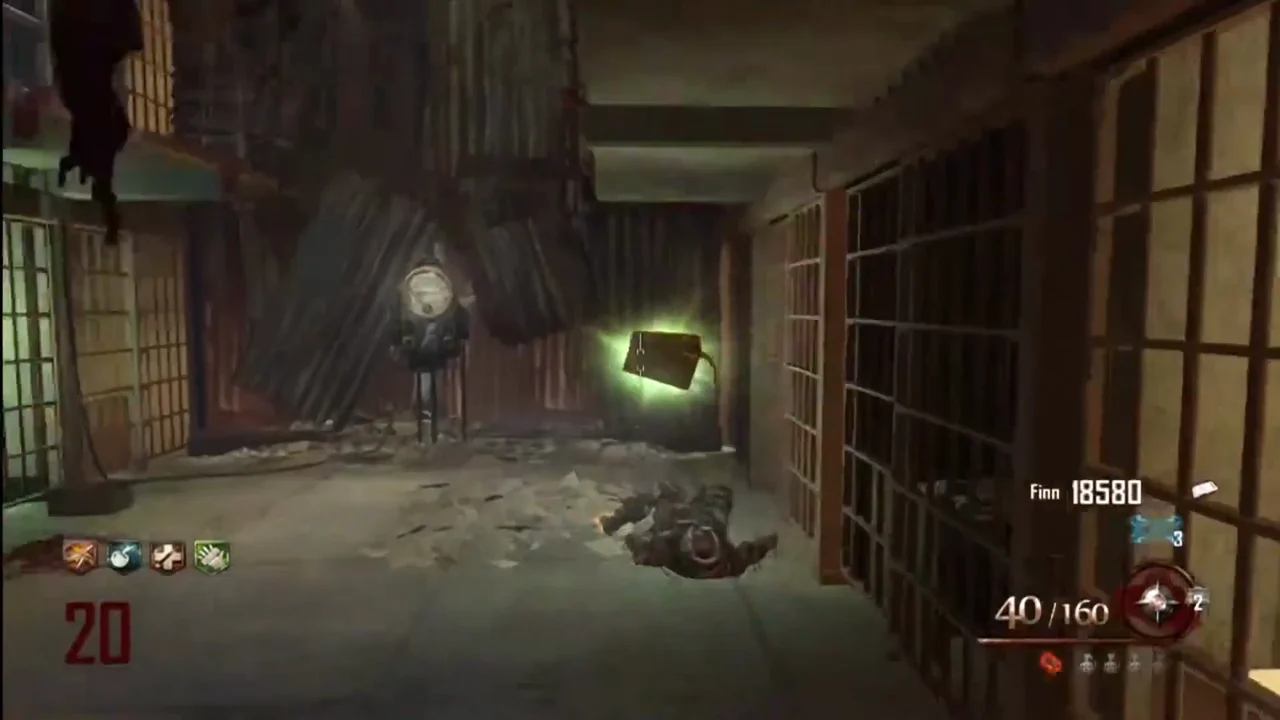
Max Ammo power-up being carried back along the cell block by the Hell's Retriever in Mob of the Dead, Call of Duty Black Ops II Zombies

Power-ups

In a game that does allow it, the Retriever pulls power-ups out of locked cells without spending a door.

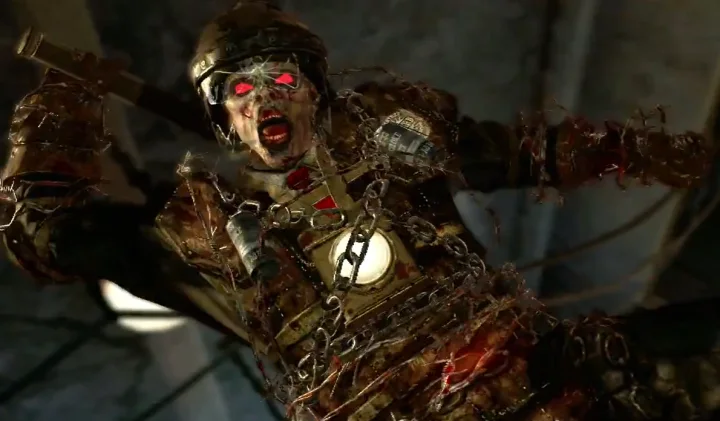
Brutus attacking in Mob of the Dead, Call of Duty Black Ops II Zombies

Warden

It hits Brutus hard, which matters most in narrow corridors where you cannot walk him around.

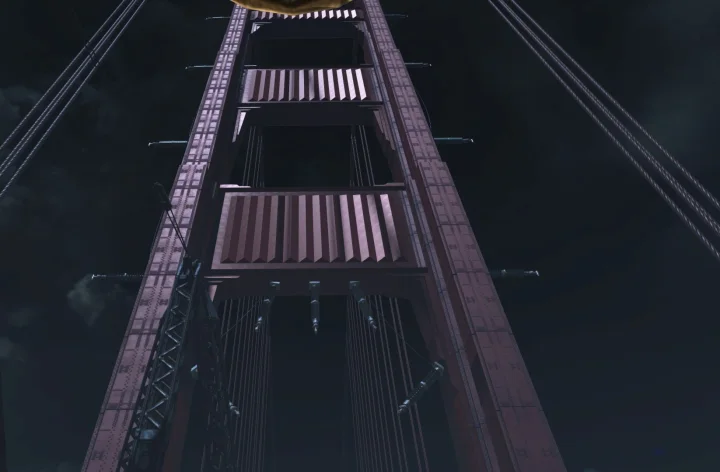
Golden Gate Bridge Mob Of The Dead in Mob of the Dead, Call of Duty Black Ops II Zombies

Redeemer timer

Plan the bridge step around your plane trips, since step 2 cannot be done anywhere else.

See every Mob of the Dead record on the leaderboard, and the full list of map weapons on the weapons page.