Der Eisendrache: Power, Pack-a-Punch and Wunderspheres
How Der Eisendrache works as a machine in Black Ops III Zombies: the power in the Armory, the three-spot Pack-a-Punch, the four Wunderspheres, the teleporters and Rocket Test, anti-gravity, the Tram and its fuses, and the Death Ray, Gate Trap and Electro-Shock traps.
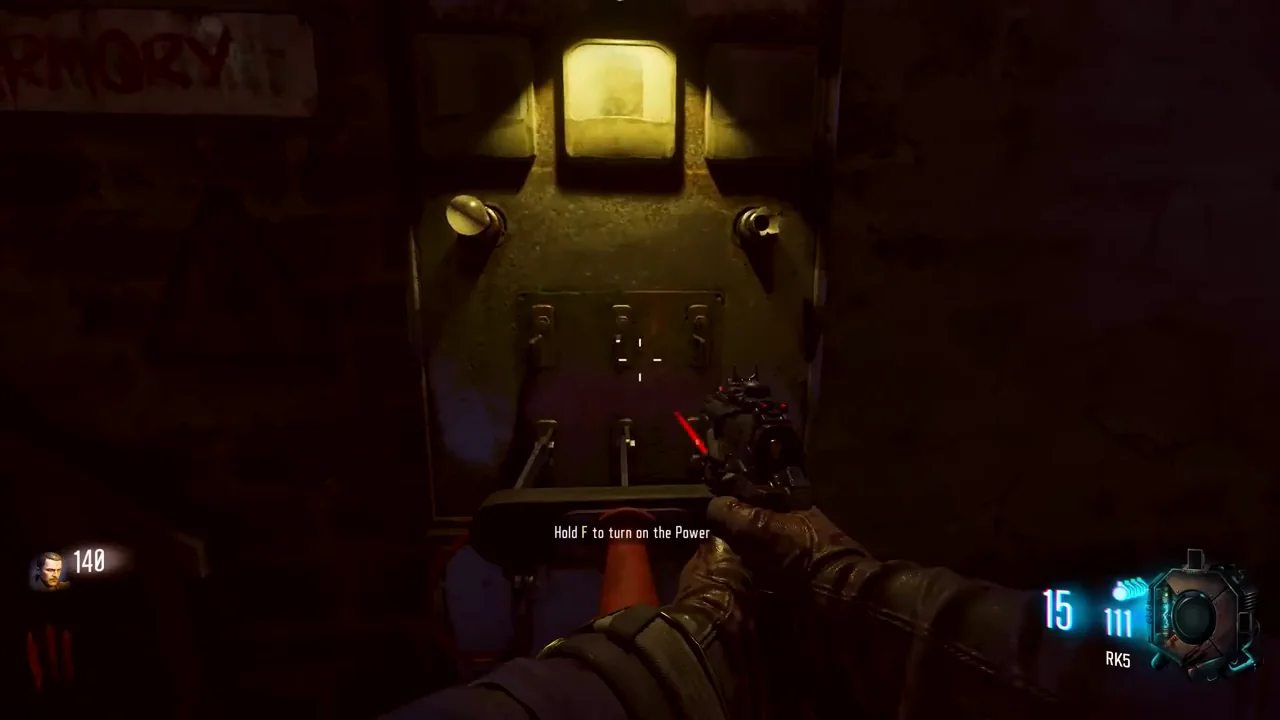
The power switch of Der Eisendrache is in the Armory, next to a row of generators, with Stamin-Up on its right and the Bowie Knife on the wall. Pulling it turns on the perk machines and opens the Undercroft, the underground lab below the castle. In a First Room game the switch is never reached, so the power stays off.
cat 02-pack-a-punch.log§ 2/7
Pack-a-Punch
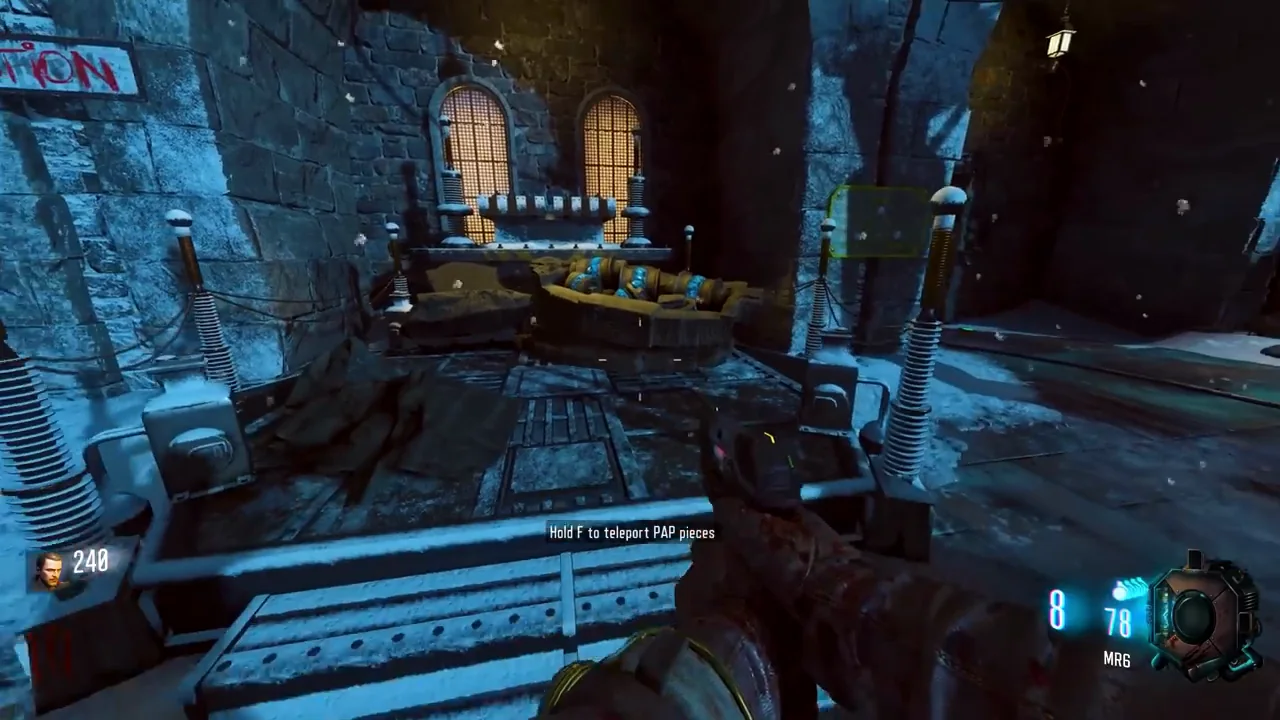
The Pack-a-Punch is in pieces, spread over three spots. Walk up to the pieces of a spot and they can be teleported away. Once two spots are emptied, the machine builds itself at the third and works at once. It then moves between the three spots during the game, and a board near each spot shows where it stands.
Bastion
Outside, behind the power switch, across from the Wundersphere.
Undercroft
Next to the large central pillar, on the side opposite the dragon statue. Open once the power is on.
Rocket launch pad
On the walkway next to the rocket, reached by the Undercroft teleporter or by the Bastion Wundersphere.
An upgrade costs 5000 points and gives the weapon a gemstone camouflage.
cat 03-wunderspheres.log§ 3/7
Wunderspheres
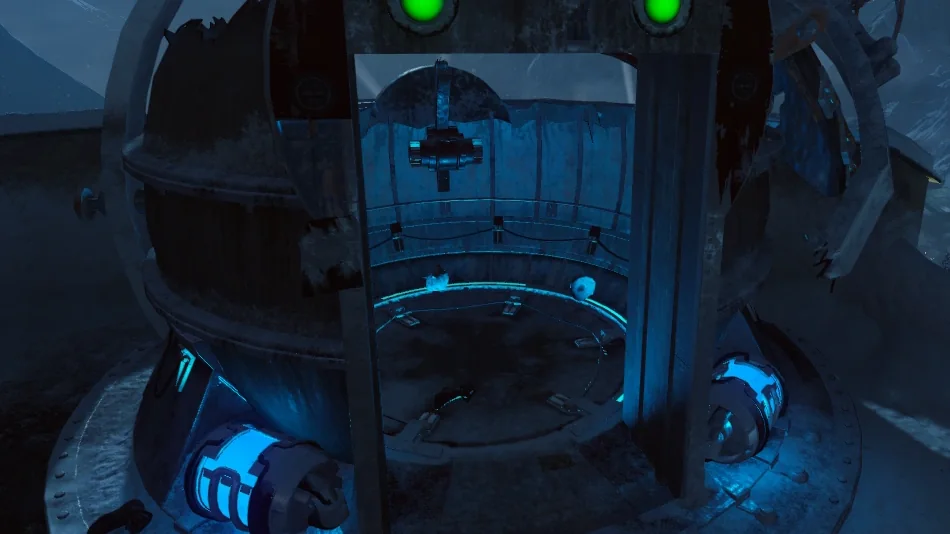
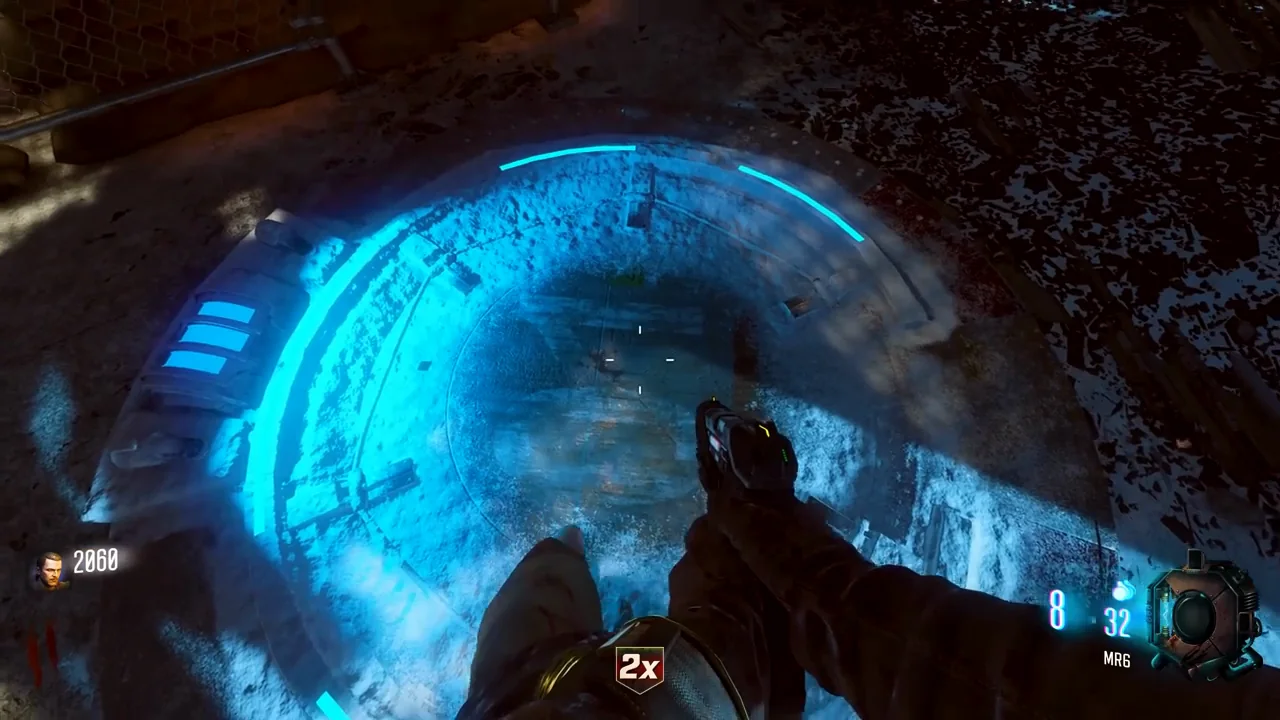
A Wundersphere flings the player through the air to its landing pad for 500 points, much like the gravity lifts of Moon. Each landing pad must first be switched on by hand; an active pad glows blue. After a launch the sphere needs a moment to recharge, and any zombie that steps on an active sphere is thrown and dies.
Rocket Test site to the station
The only landing pad in the First Room. Its sphere is at the rocket, so it is never used with the doors closed.
Death Ray to the Rocket Test site
From the Bastion.
Gate Trap balcony to the Clock Tower
From the balcony above the Gate Trap to the computer near the Clock Tower.
Upper Courtyard to the dragon stairs
From the courtyard near the computer room to the staircase near the dragon.
cat 04-teleporter-and-rocket-test.log§ 4/7
Teleporter and Rocket Test
Der Eisendrache has two teleporters. For 500 points, with no link to make first, they send players between the lab of the Undercroft and the rocket launch pad. On the pad, the rocket fires a test roughly every five to seven minutes: the giant blast doors close, and anyone left outside burns. The Rocket Test plays a part in the Ragnarok DG-4 and in the Fire Bow.
cat 05-anti-gravity.log§ 5/7
Anti-gravity
Four tiles surround the pyramid of the Undercroft. Stand a few seconds on each until it stays blue: once all four are lit, gravity drops for a while, players can run on the walls, and the cycle starts again every two to four minutes. Several bow steps, the Rocket Shield screen, the free GobbleGum and the Plunger all need it.
cat 06-the-tram.log§ 6/7
The Tram
Two gondolas, also called trams, dock at the station where the players spawn. They are the one moving part of the map that still works in a First Room game.
Tram Fuse
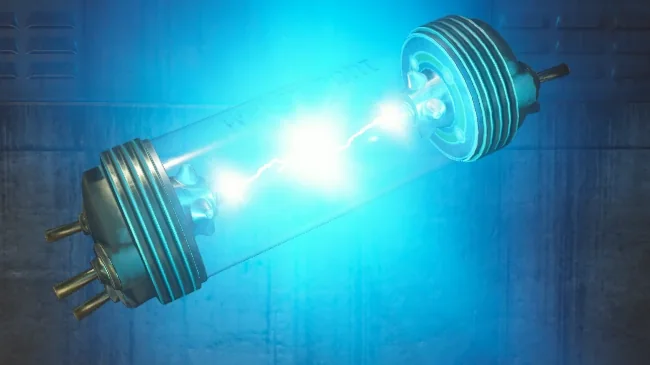
A power-up. One waits in the station when the game starts; zombies and Panzersoldats drop the next ones. A player can hold one fuse at a time, shown next to his points.
Calling the gondola
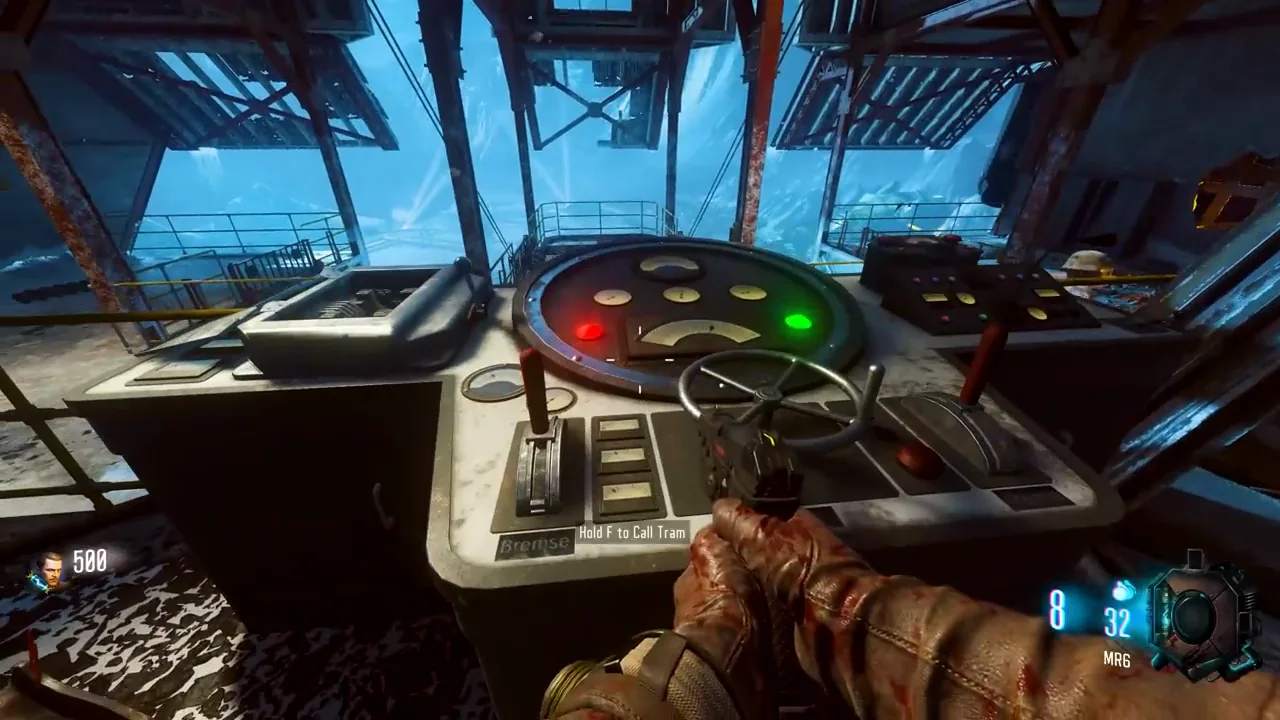
Put the fuse in the control panel by the gondolas. The right-hand gondola comes up with a power-up, a perk bottle, Blood Money or, rarely, a Ray Gun, sometimes with a zombie inside, and leaves once nobody is left in it.
The second gondola
Grenades thrown into the left-hand gondola at the start of the game, before it goes down, make the fifth fuse call it instead. It brings Monkey Bombs, a Pack-a-Punched HVK-30 or a Pack-a-Punched Haymaker 12.
cat 07-traps.log§ 7/7
Traps
Death Ray
1000 points, on the Bastion. For several seconds it kills every zombie that comes in reach and stuns the Panzersoldat; the cables on the ground hurt players while it runs. Its first use spawns a part of the Ragnarok DG-4, and the main quest switches it between “Destroy” and “Protect”.
Gate Trap
1500 points, in the room next to Double Tap. Two gates rise and fall in turn and crush whatever stands under them, players too.
Electro-Shock Defenses
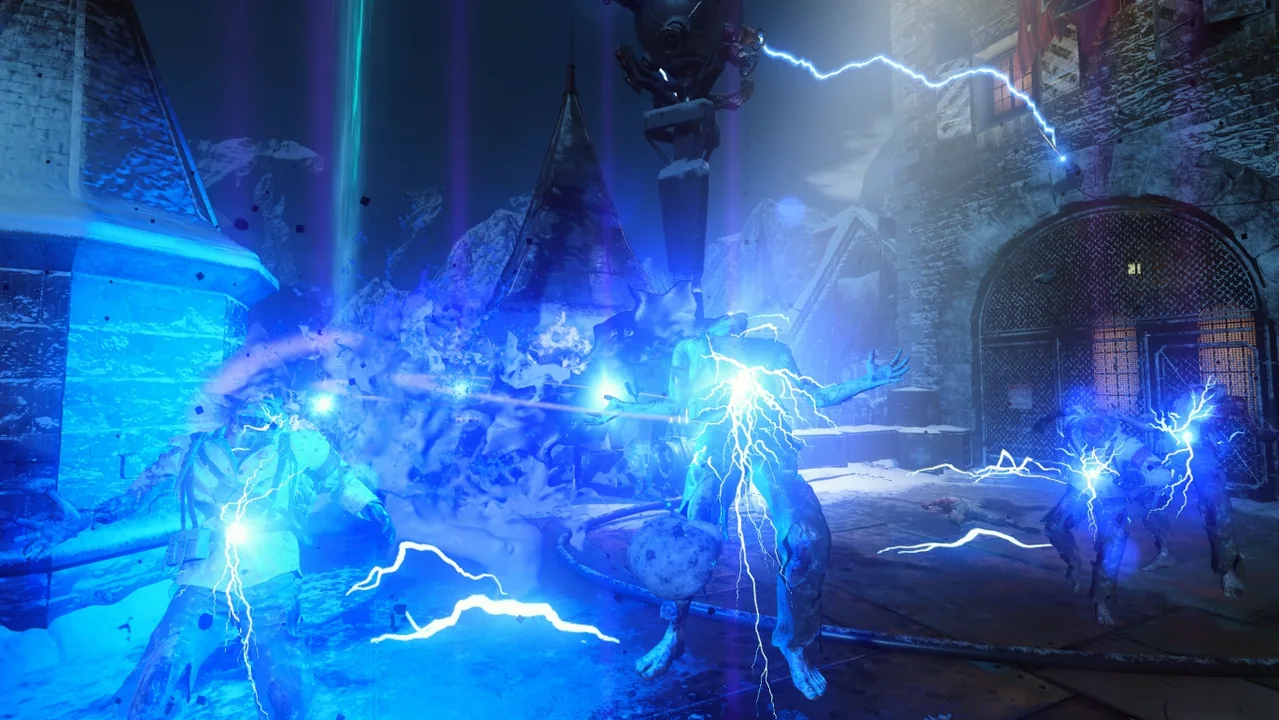
1000 points, in the Upper Courtyard at the entrance of the church. Zombies killed by it give no points.
The Death Ray earns That’s a lot of Jigawatts! for 121 zombies electrocuted, and the Wunderspheres earn Fling Me to the Moon and Death From Above.


 Rankings
 Tools
Tools