


 English
 Français
 Italiano
 Español
 Deutsch
 Rankings
 Tools

The main quest of Return to Das Herrenhaus is called “Samantha’s Games” in the Workshop discussions. The Workshop page announces an “Optional Major EE that starts with the release of a very hard Zombie Boss”. After the first step, four games with the ghost of Samantha can be played in any order, even at the same time, before the steps converge on the Boiler Room. It can be done solo or in co-op. These steps follow the guides of Sassy Asi, Flapix, WGWWilidquaje, Ascended Zombie and Pankake101 and the written guide of the Workshop discussions; where they differ, it is said.
~/hub / custom-maps / return-to-das-herrenhaus
Return to Das Herrenhaus:
Easter Egg
The main Easter egg of Return to Das Herrenhaus step by step: the music box and the Dictator, the four games of Samantha (clocks, Morse code radios, police box, tomb puzzle), the lion heads, the Simon Says, the portal and the escape.
- 6 min read
- 7 chapters
- updated
Before starting
The power
On, and the teleporter linked: every trip needs a new link to the mainframe pad.
A hammer
Needed to repair the power boxes. Sassy Asi gives four spots: on a chair in the spawn, on a table outside in the Cloister, on a table near Double Tap, and on the workbench by the teleporter.
The pink key
It opens the tomb of the fourth game: see the secrets.
The doors
WGWWilidquaje advises opening every door, since Samantha only appears when the path she runs is open.
Step 1: the music box
- Teleport with the bird. In the tower room, stand against the white light in the hole of the wall: the screen turns red and the players land in Samantha’s room.
- Samantha sleeps on her bed. Use the music box to the left of the bed.
- The Dictator appears on the map and follows the players for the rest of the quest. Do not shoot him: he sprints, and his ground slam takes a perk.
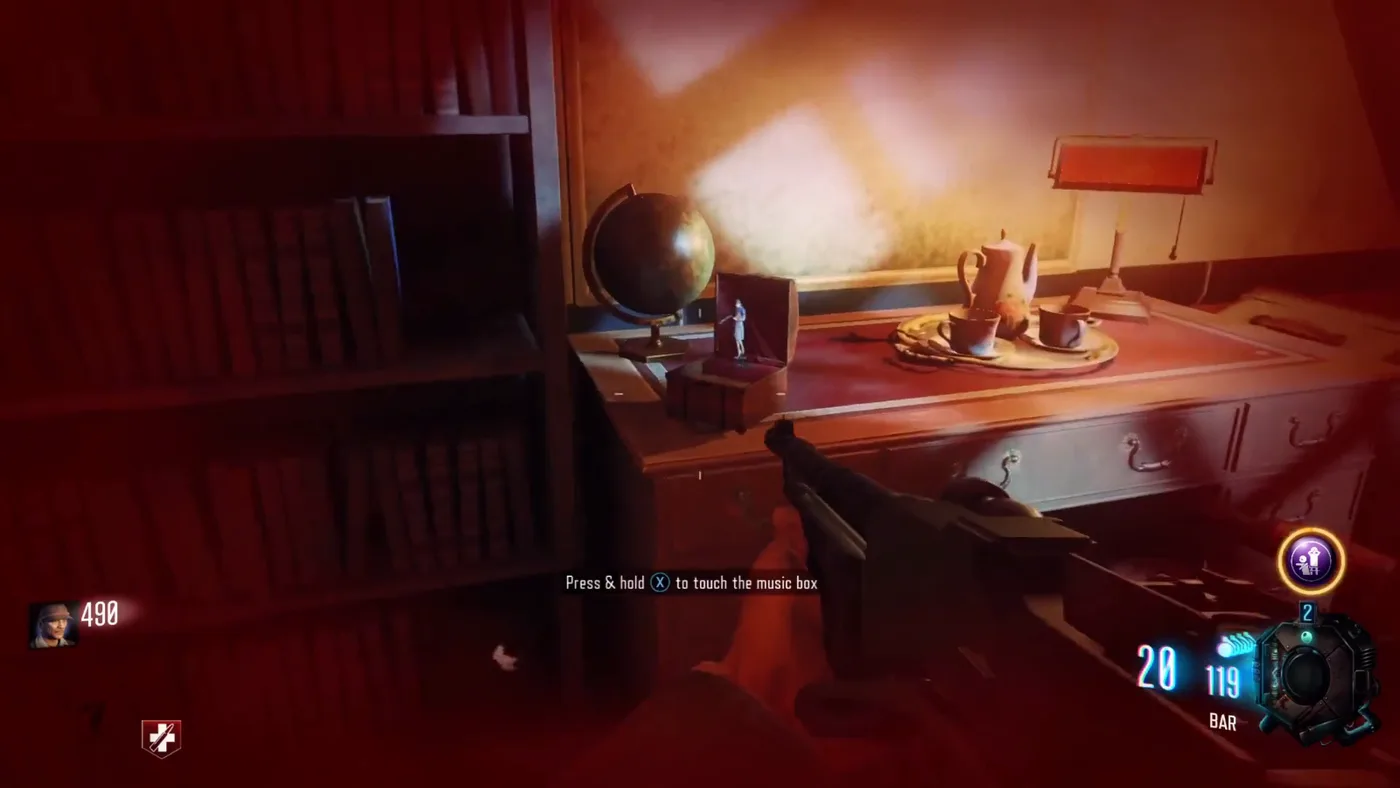
Samantha’s room
Reached through the light of the tower room; the music box is next to the bed.
Step 2: the four games
Each game begins at a crying, invisible Samantha: walk to the spot and use it, without a prompt, then use her again and follow her. Each game ends with a Strange Looking Fuse.
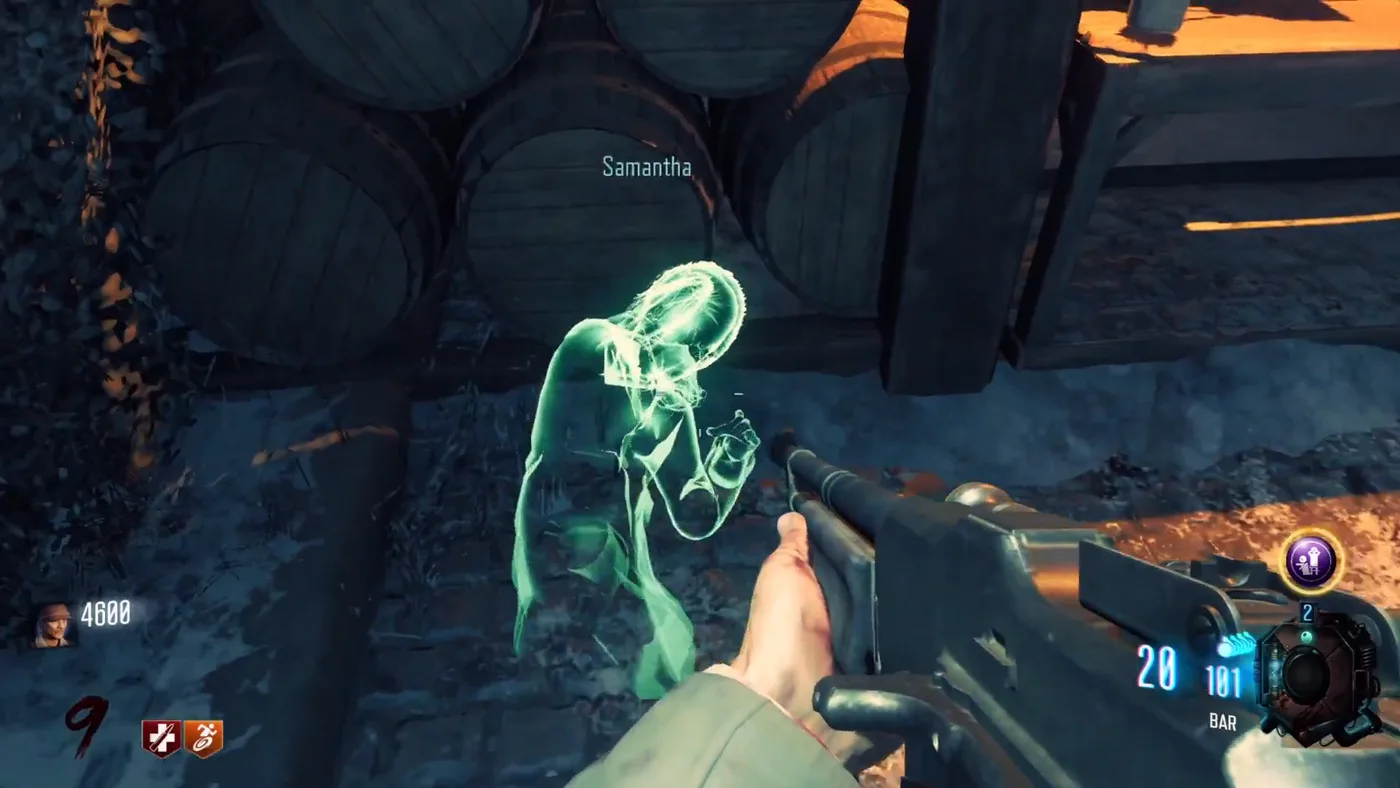
The ghost of Samantha
She appears once the crying spot is used, then runs to the start of her game.
The clocks
- Samantha cries on the top floor of the library, near the staircase, and runs to a clock.
- Use five clocks in this order; each one lights up when the order is right: the clock of the library where she stopped; the clock to the right of the teleporter in the dining hall; the clock of the greenhouse building, near the mine tunnels; the clock of the hallway to the left of the spawn; the clock of the Cloister across from Speed Cola.
- The fuse waits at the big clock on the staircase of the spawn.
A wrong clock plays a failure sound; WGWWilidquaje simply uses the right one again, with no need to wait for a new round.
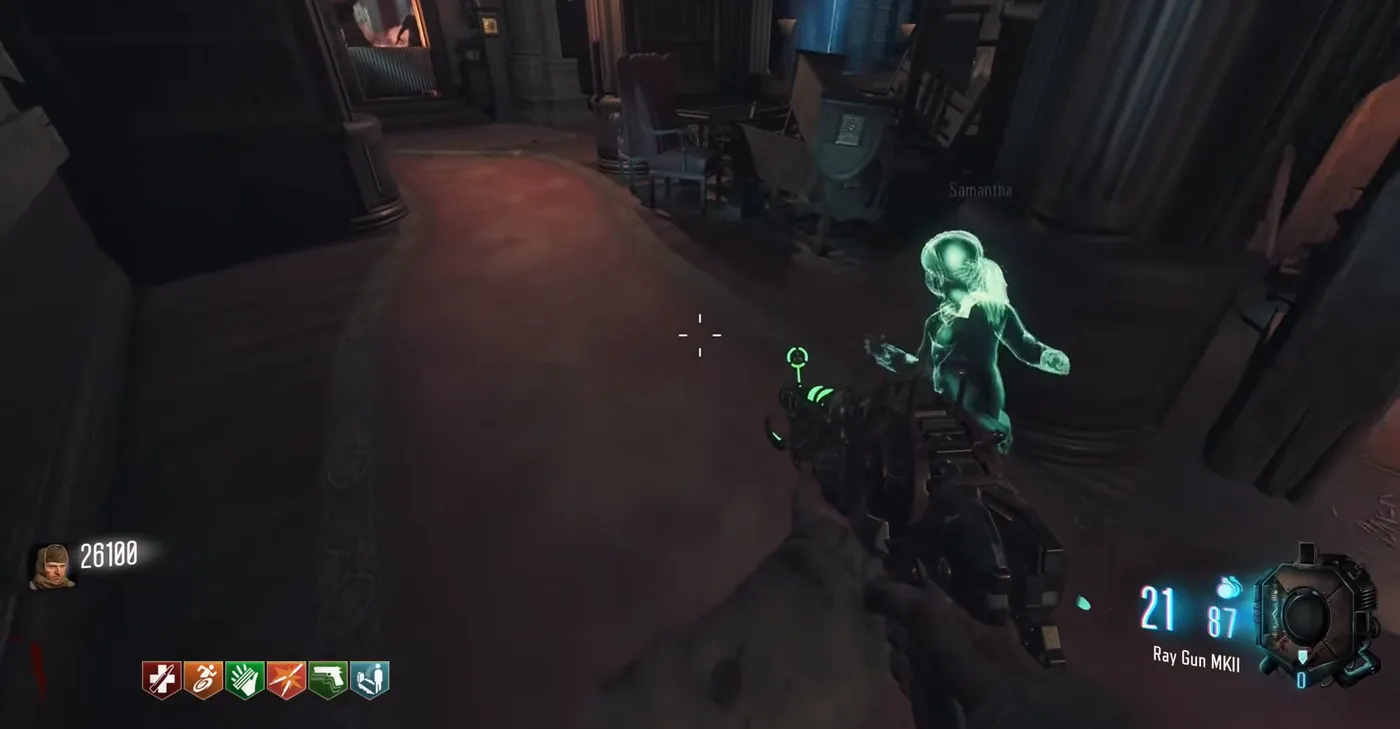
Samantha in the library
The start of the clock game, on the upper floor of the library.
The radios and the air strike
- Samantha cries next to the shield workbench, outside by the ice rink, and runs to a radio set in the shed of the ice rink.
- Shoot four radios hidden around the map. Each one repeats a Morse code: through a window of the dining hall, to the right of Stamin-Up; in the gardens, on the back of a dead zombie in the bushes; to the left of the greenhouse building; in the rafters of the Student’s Residence, near Widow’s Wine.
- Enter each code on the radio set of the shed: a quick press for a dot, a long hold for a dash. Tinhorn advises pen and paper.
- Once the four codes are in, use the radio set again to call an air strike: planes fly over the school.
- Teleport to the bunker: the fuse lies in the central corridor.
The police box
- Open the door of the mine tunnels in the Boiler Room. Samantha cries next to it and runs to the first power box.
- With the hammer, repair eight sparking power boxes, in any order; each repair takes a while. The guides place them in the mine tunnels, in the Boiler Room twice (one across from the screens of the Simon Says, one near Deadshot Daiquiri), in the kitchen, on the wall to the right of the teleporter, in the hallway of the Student’s Residence near its washroom, in the shed of the ice rink next to the radio set, and in the tower room of the bird teleport.
- Go back to where Samantha appeared and use the panel: a police box disappears through time. The fuse comes out of the same panel.
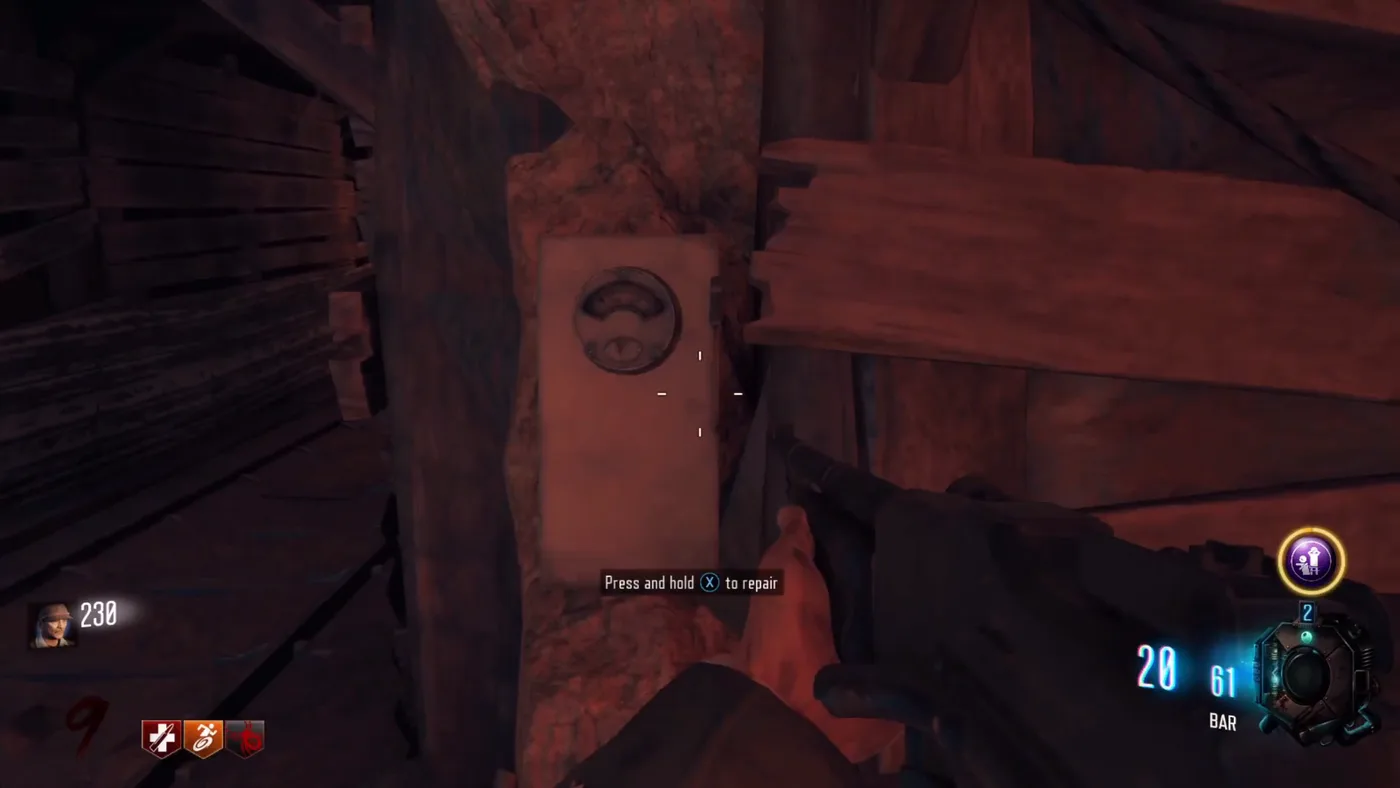
A power box
One of the eight boxes repaired with the hammer: “Press and hold X to repair”.

The panel
In the Boiler Room, where Samantha appeared: its red button sends the police box away.
The tomb
- With the pink key, open the door of the tomb at the bottom of the Boiler Room, behind the mainframe pad. Samantha cries near it and runs inside.
- Four graves turn four rings on the ceiling. The symbols to line up under the arrow are hidden around the map: on the upper floor of the spawn, under benches in the Cloister and by the ice rink, and, according to Flapix, under a bench near the STG-44.
- Sassy Asi and Flapix give the same method. Name the rings A to D from the outside in, and the graves 1 to 4 clockwise from the one next to the door. Set ring C with grave 3, then ring B with grave 4, then ring A with grave 1, then ring D with grave 2.
- A sound plays and the fuse can be taken from the largest coffin.
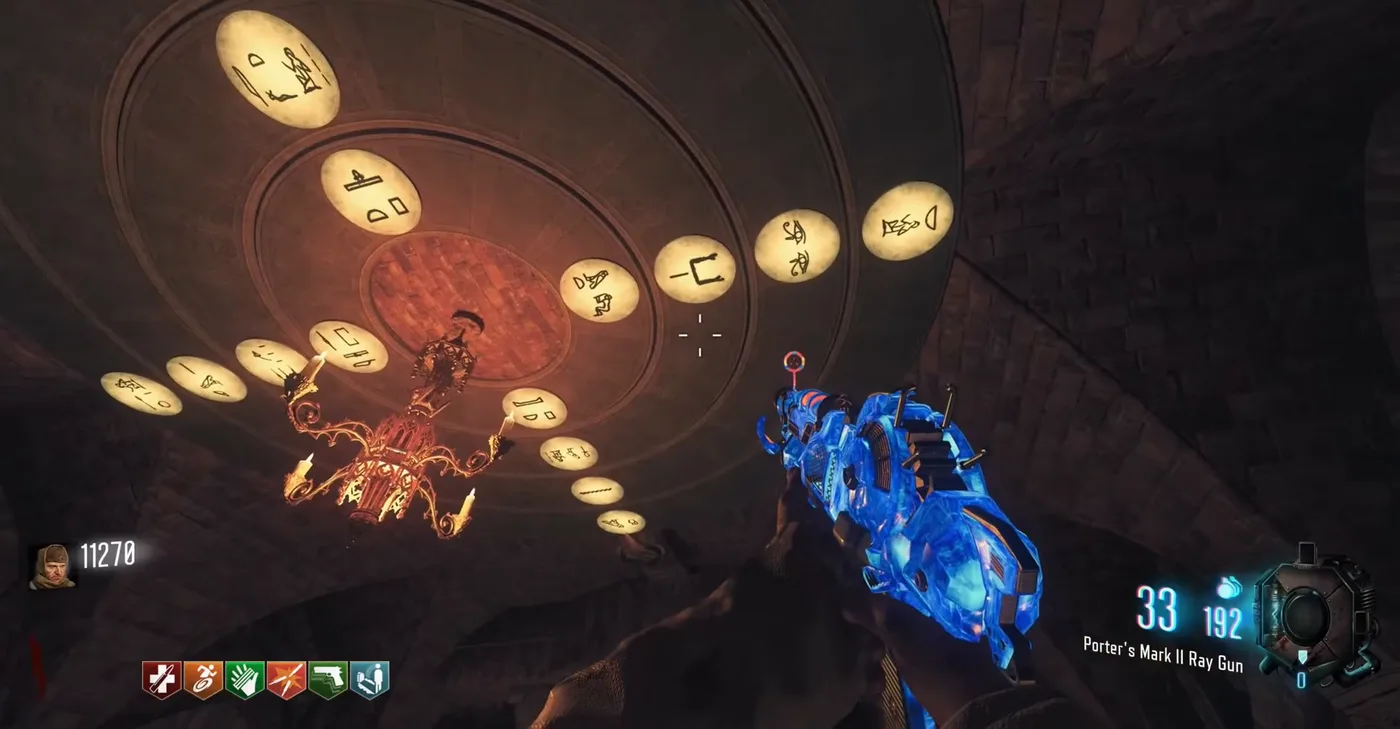
The ceiling of the tomb
Its rings of symbols turn with the graves below.
Spiders come down while the rings turn. The written guide of the Workshop warned in 2019 that the solution might change from game to game; WGWWilidquaje found it fixed, and the method above does not depend on the starting position of the rings.
Step 3: the lion heads
- Place one fuse in a lion head and kill zombies near it until it is charged: about 20 kills for the Workshop guide and for Tinhorn, “maybe 40” for Ascended Zombie. Only one fuse charges at a time; take it back when it is done.
- Do the same at the three other lion heads, one per fuse. The guides place them in the Boiler Room, in the Cloister, in the washroom of the Student’s Residence and at the ice rink.
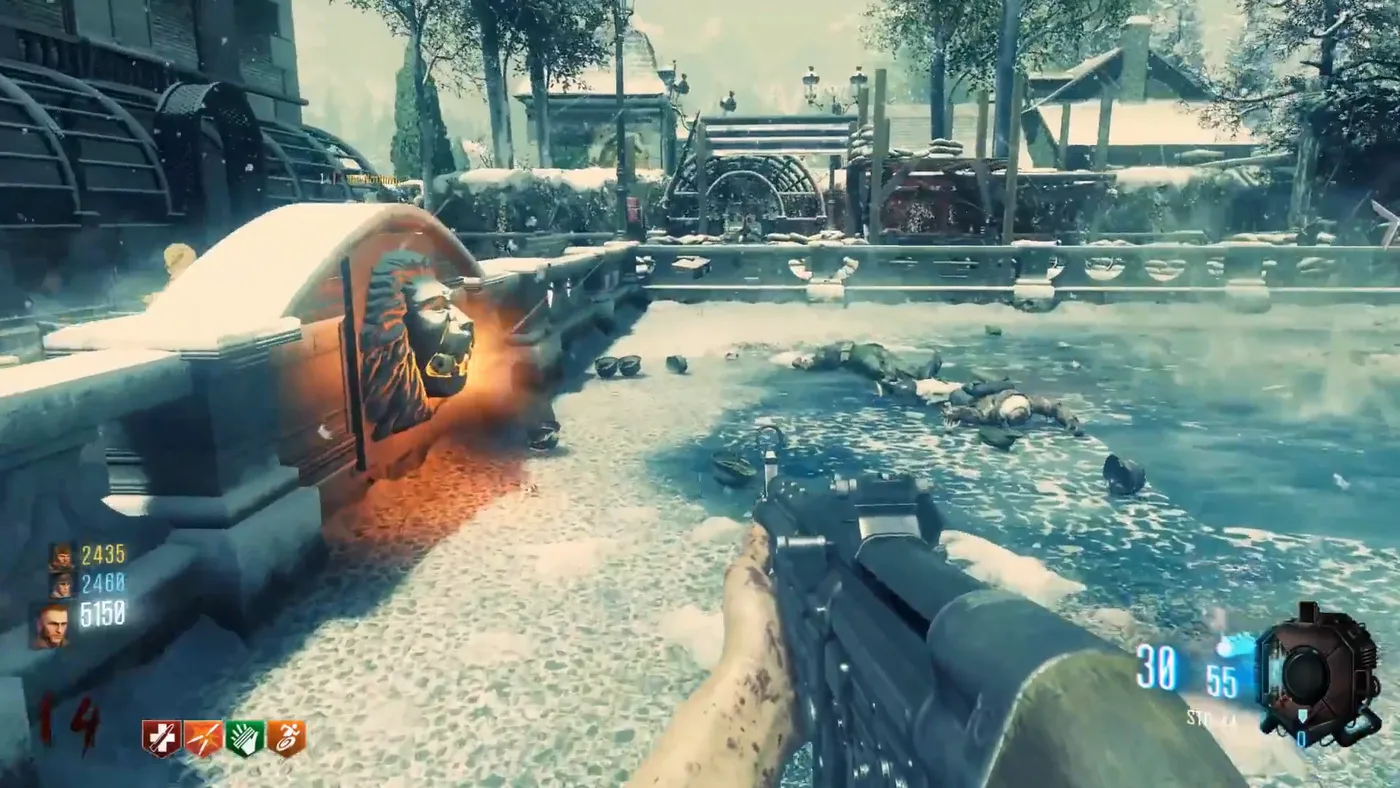
A lion head
One of the four heads where the fuses fill with souls.
Step 4: the launch codes
- Place the four charged fuses in the device next to the mainframe pad in the Boiler Room. An empty fuse gives an electric shock.
- Upstairs in the Boiler Room, play the Simon Says on the four screens of the central console: four rounds, faster each time, for Sassy Asi, Ascended Zombie, Pankake101 and the Workshop guide; Flapix counts three. A failed round does not reset the others. Tinhorn calls the last one “absolutely out of control”.
- Use the console again to enter the launch codes, then use the fuse device.
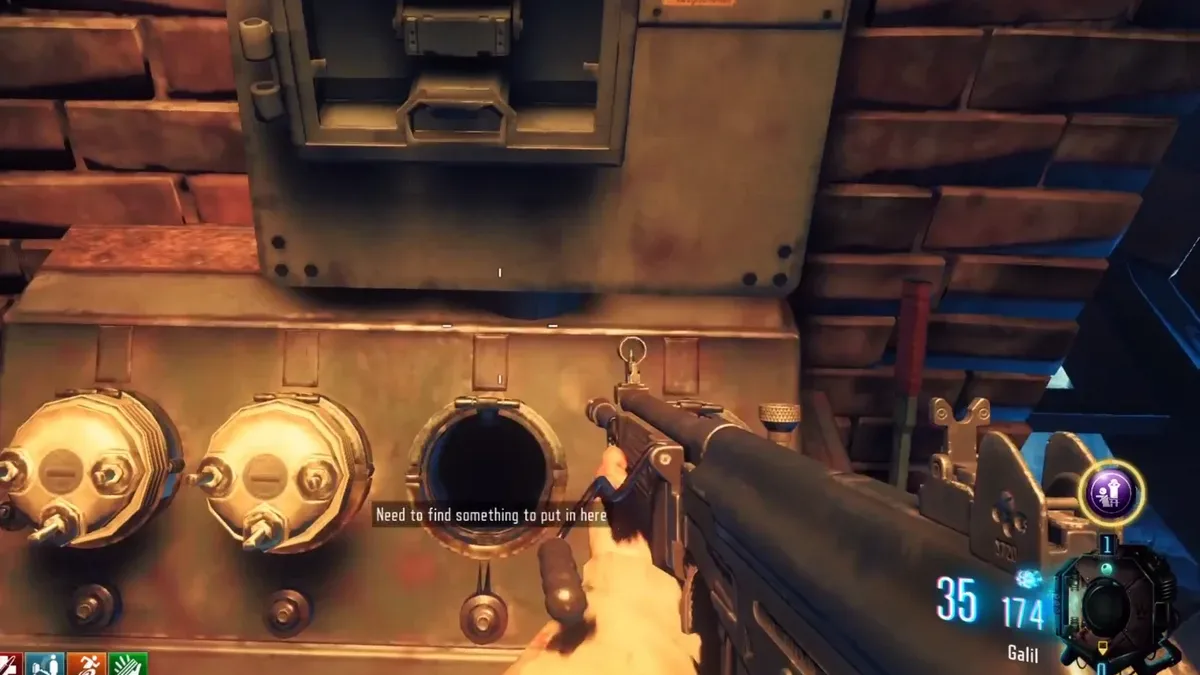
The fuse device
Next to the mainframe pad: “Need to find something to put in here” until the fuses are placed.
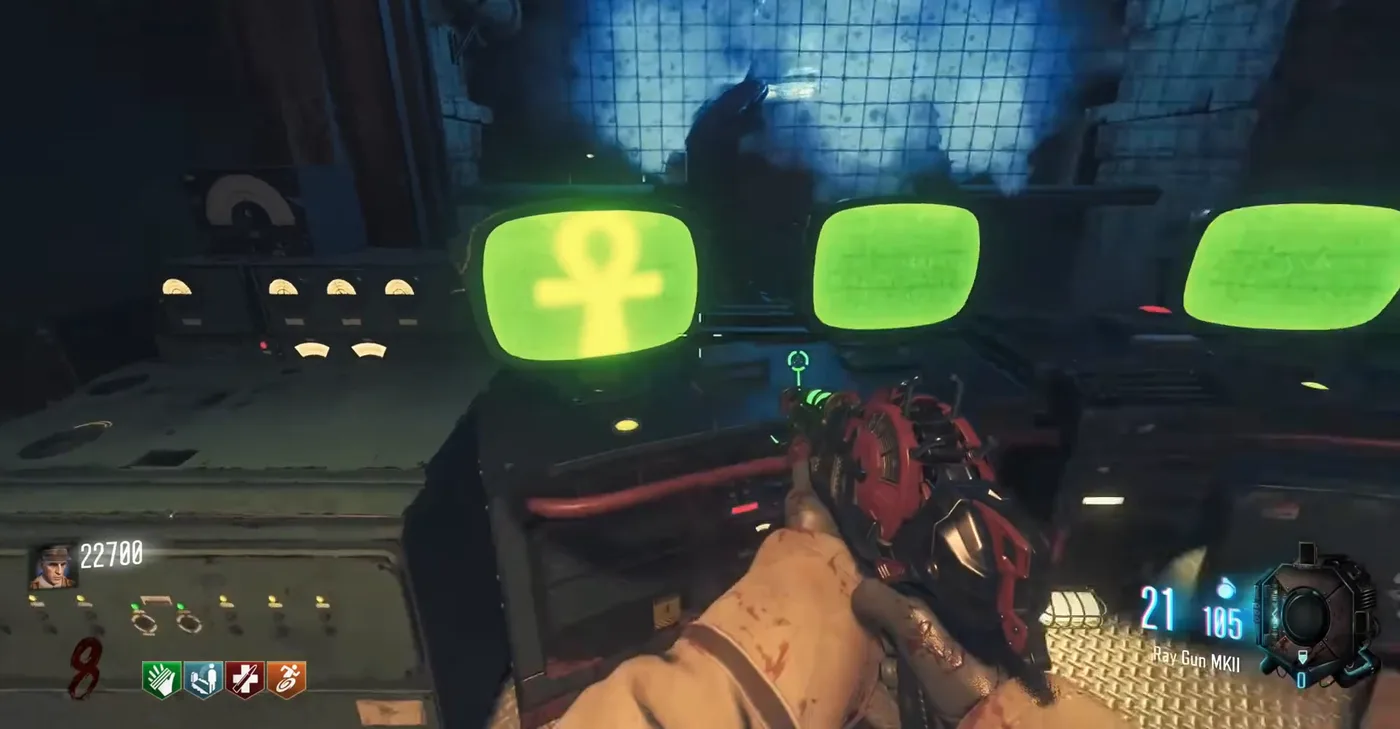
The console
Its screens show the sequence of symbols to repeat.
Step 5: the portal
- A portal opens on the mainframe pad. Bring the Dictator to it; WGWWilidquaje throws Monkey Bombs to clear the zombies.
- Use the fuse device again: the Dictator is pulled into the beam and sent away.
- Every player receives the Blundergat, in place of the weapon in hand according to Flapix, and Perkaholic, every perk.

The portal
It opens on the mainframe pad: “Waiting for test subject. Please, stand clear of the impact zone.”
The ending
- Use the mainframe pad once more: the ghost of Samantha appears.
- Follow her to the teleporter of the dining hall while the school shakes and Pest zombies pour in. Flapix warns about their explosion in melee.
- Hold out until she reaches the teleporter and it is ready, then use it: the game ends.
This ending is optional: the rewards of step 5 are already won.