


 English
 Français
 Italiano
 Español
 Deutsch
 Rankings
 Tools

The side Easter eggs of Return to Das Herrenhaus are four keys, each with its own hunt, a star power-up built from Mario parts, and two things a normal game needs: the GobbleGums and the shield. Tinhorn notes that they borrow the sounds of Luigi’s Mansion.
~/hub / custom-maps / return-to-das-herrenhaus

Return to Das Herrenhaus:
Secrets
The side Easter eggs of Return to Das Herrenhaus: the pink, green, yellow and blue keys and their rewards, the Mario star power-up, the crate that refills the GobbleGum machines and the shield parts.
- 5 min read
- 7 chapters
- updated
The pink key
The heart key opens the tomb at the bottom of the Boiler Room, needed for the main quest and for the star. It has to be shot in six places, in order: it only appears in the next place once the previous one is shot.
- In the spawn, through a zombie barrier of the ground floor, to the right of a painting.
- Past the door that Sassy Asi calls “the door to the left of Quick Revive”, on a shelf right at the entrance of the room.
- Further on, past Double Tap, above the door of an elevator at the end of the hall; the Workshop guide sees it above a gramophone.
- On a window ledge outside the library: from the balcony of the upper floor, on the left.
- On top of the fountain of the Cloister, below the balcony.
- In the dining hall, on the balcony railing across from the teleporter.
The key can then be picked up in the middle of the ice rink.
The green key
The club key raises the perk limit from four to six. Shoot seven perk bottles, in any order:
- In the spawn, up the stairs, by the clock.
- In the basement, past Deadshot Daiquiri, at the top of the staircase, to the left of a poster.
- In the dining hall, above the arch of the teleporter, on the right.
- In the Cloister, on the ledge of the middle window.
- In the library, on the middle chandelier.
- At the ice rink, on top of the lamp post closest to the shield workbench.
- Outside the greenhouse building, above its entrance, on the left.
The key appears in the greenhouse building. It opens the door across the way, and the turquoise bottle inside raises the limit.

The green key
It appears in a glowing box of the greenhouse building.
The yellow key
The spade key needs the Ray Gun or the Ray Gun Mark II from the Mystery Box. Shoot six paintings of the same face, in any order: in the spawn, in the window of the pink key; in the hallway on the left of the spawn; through a window behind the teleporter; in Samantha’s room; on the ground floor of the library, through the window next to the Juggernog room; and on the upper floor of the library, at the top of the stairs. A painting lights up and changes when it is hit.
The key lies in a box under the last painting. It opens the glass case of the Juggernog room. Sassy Asi, WGWWilidquaje and the Workshop guide find a Blundergat inside; Flapix calls it a Wunderwaffe.
A lit painting
A painting of the yellow key once hit.
The blue key
The diamond key needs the Thundergun. Teleport with the bird to Samantha’s room and blow out the four candle fixtures that glow violet on its walls. The key appears in a box under a painting of the room. It opens a door in a recess of the basement, where the players can “grab some treasure”: 25,000 points. WGWWilidquaje shoots the paintings of the room instead of the candles; the other guides all name the candles.
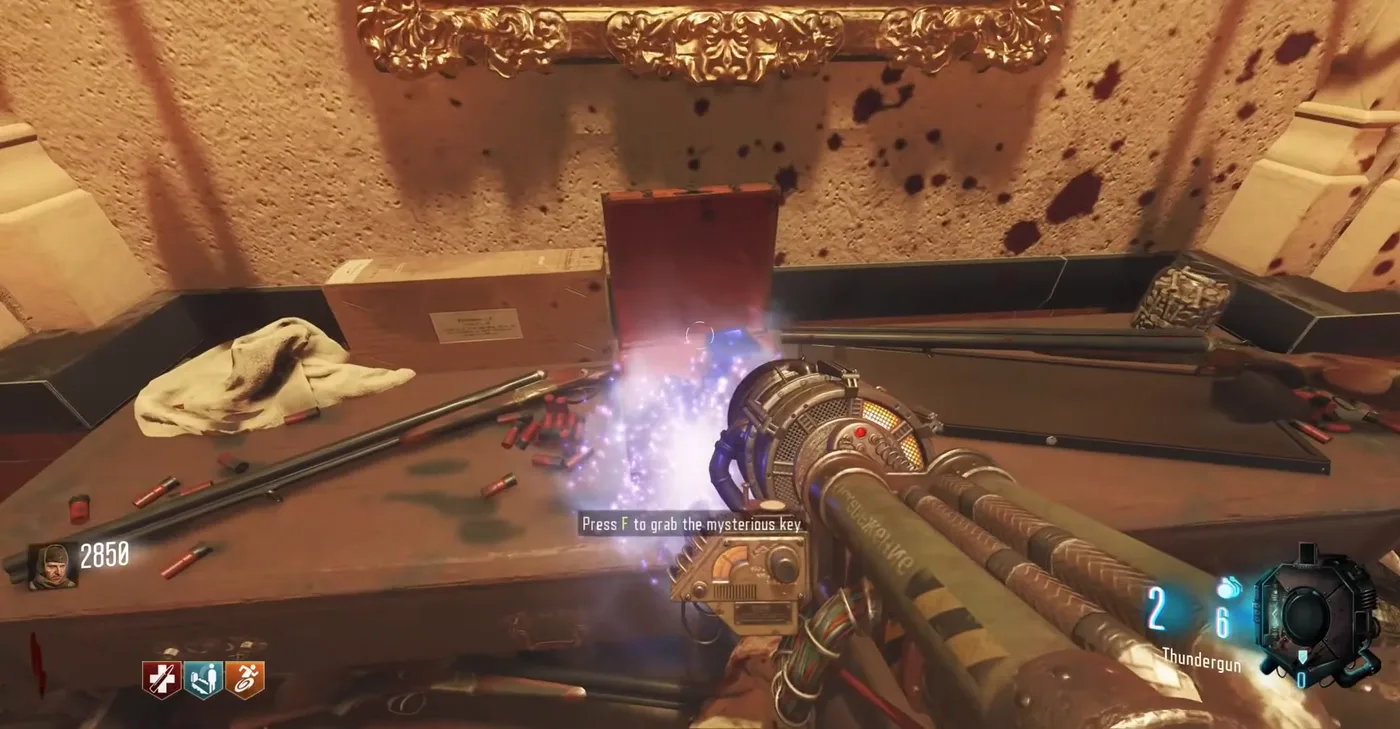
The blue key
It appears under a painting of Samantha’s room once the candles are out: “Press F to grab the mysterious key”.
The treasure
Behind the door of the blue key: “Press & hold X to do grab some Treasure”.
The star power-up
Four Mario parts lie in fixed places:
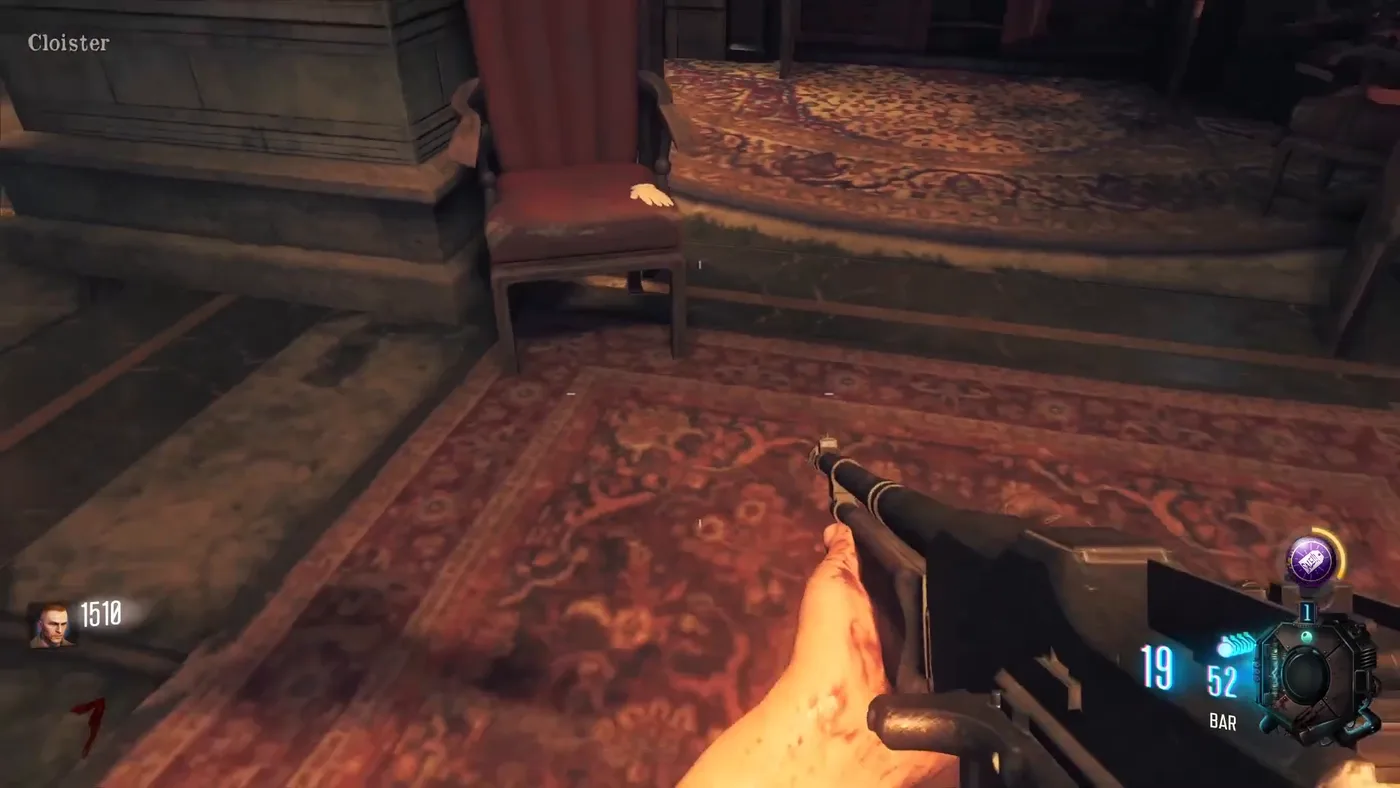
The glove
On a chair on the ground floor of the library for Sassy Asi and Flapix; the game names the area Cloister in Sassy Asi’s footage.
The cap
Under a chair on the upper floor of the spawn.
The shoe
Against a radiator in the washroom of the dormitories, by a lion head.
The star
On a crate to the left of the shed of the ice rink.
Bring them to the tomb opened by the pink key and hold the use button on the cracked coffin to the left of the entrance, which holds what Tinhorn calls an “Italian plumber-shaped skeleton”. A star power-up appears in the middle of the room: 30 seconds of speed and invincibility, with the music of the Mario games. Tinhorn adds that star power-ups can then drop during normal play.
GobbleGums
The GobbleGum machines are “out of gum”. A crate of gumballs has to be found and brought to them. Sassy Asi and Flapix give four spots for it: on a cart in the dining hall, near the trap switch of the Widow’s Wine room, on the right of the shed of the ice rink, and near the outside door of the greenhouse building. Tinhorn likes that the gums cannot be used from round one. WGWWilidquaje shows three other spots: by the fountain, by a clock and in the dining hall. The patch of January 9, 2019 fixed “bgb always spawning in same place”, without saying whether the crate or the machines are meant.
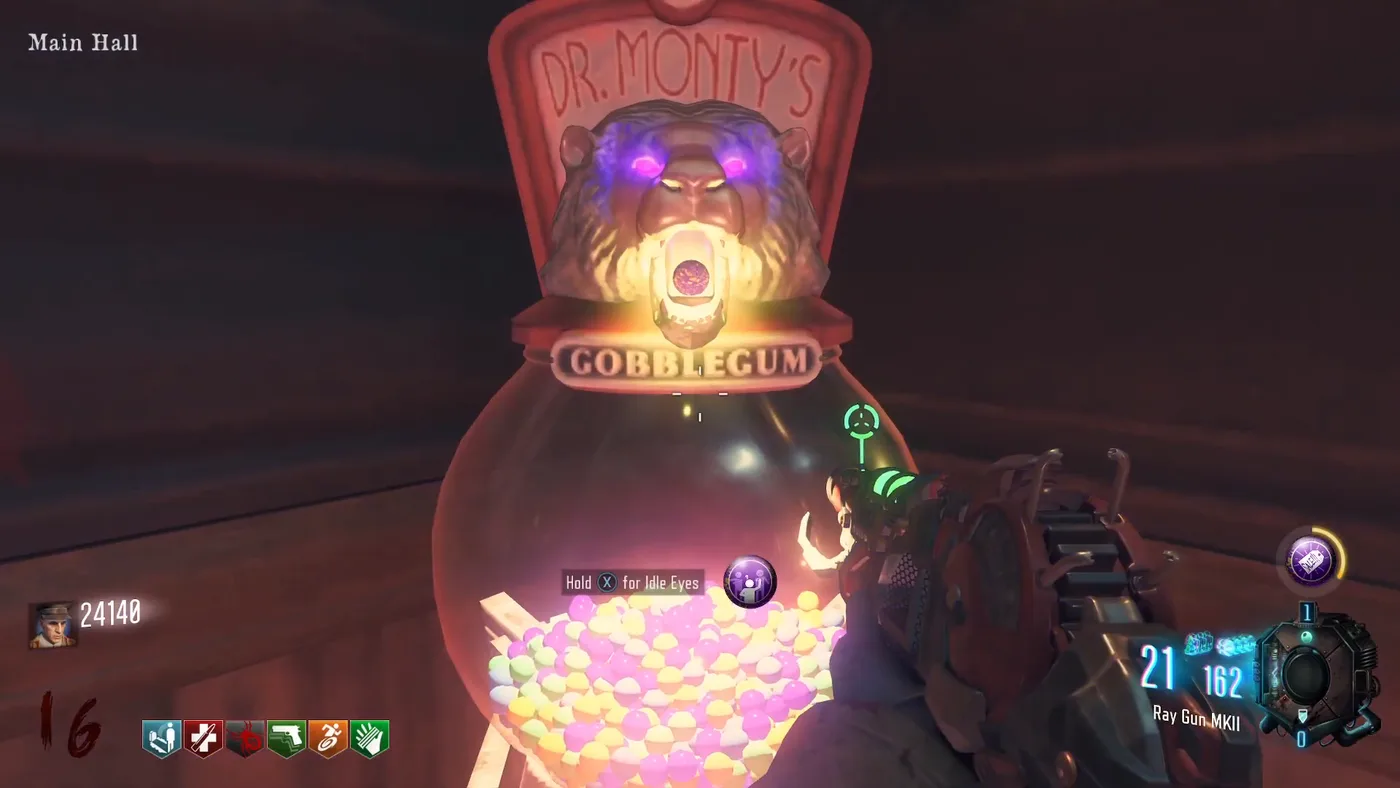
A GobbleGum machine
Once refilled, it sells its gums again.
The shield
The zombie shield has three parts, each with three possible spots, according to Flapix, Sassy Asi and the Workshop guide.
| Part | Possible spots |
|---|---|
| Visor | Near Double Tap, between the spawn and the library; upstairs in the library; next to Widow’s Wine, in front of a bed in the dormitories |
| Front | On a low wall in the Cloister; to the left of the teleporter against crates; near a fire in the dining hall area for Sassy Asi, at the end of the STG-44 corridor for Flapix |
| Handles | In the basement, on a shelf near Mule Kick; in the greenhouse building, against an open trunk; outside near the ice rink, against barrels |
The shield is built at the workbench outside, by the stairs that lead back to the dining hall.