~/hub / custom-maps / the-iron-dragon

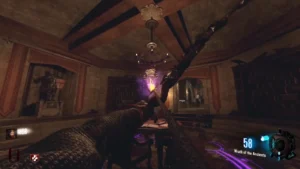
The floating urn of the Void Bow quest in the round room with the statues, The Iron Dragon, Call of Duty Black Ops III Zombies

The Iron Dragon:
Elemental Bows

The Iron Dragon elemental bows step by step: the three dragon heads and the Wrath of the Ancients, then every step of the Void, Fire, Storm and Wolf bow quests and the crypt where the arrows are filled with souls.

  • 7 min read
  • 5 chapters
  • updated

The Wrath of the Ancients

The four elemental bows of The Iron Dragon start, as on Der Eisendrache, from the Wrath of the Ancients, the plain bow. To earn it, feed the three dragon heads of the map: kill a zombie close to a head to wake it up, then keep killing zombies in front of it until it turns to stone and breaks. Guides count six to eight zombies per head. Once the three are fed, the bow waits on its altar in the main stairwell of the castle: from the bridge, go straight into the castle and turn right after the first room.
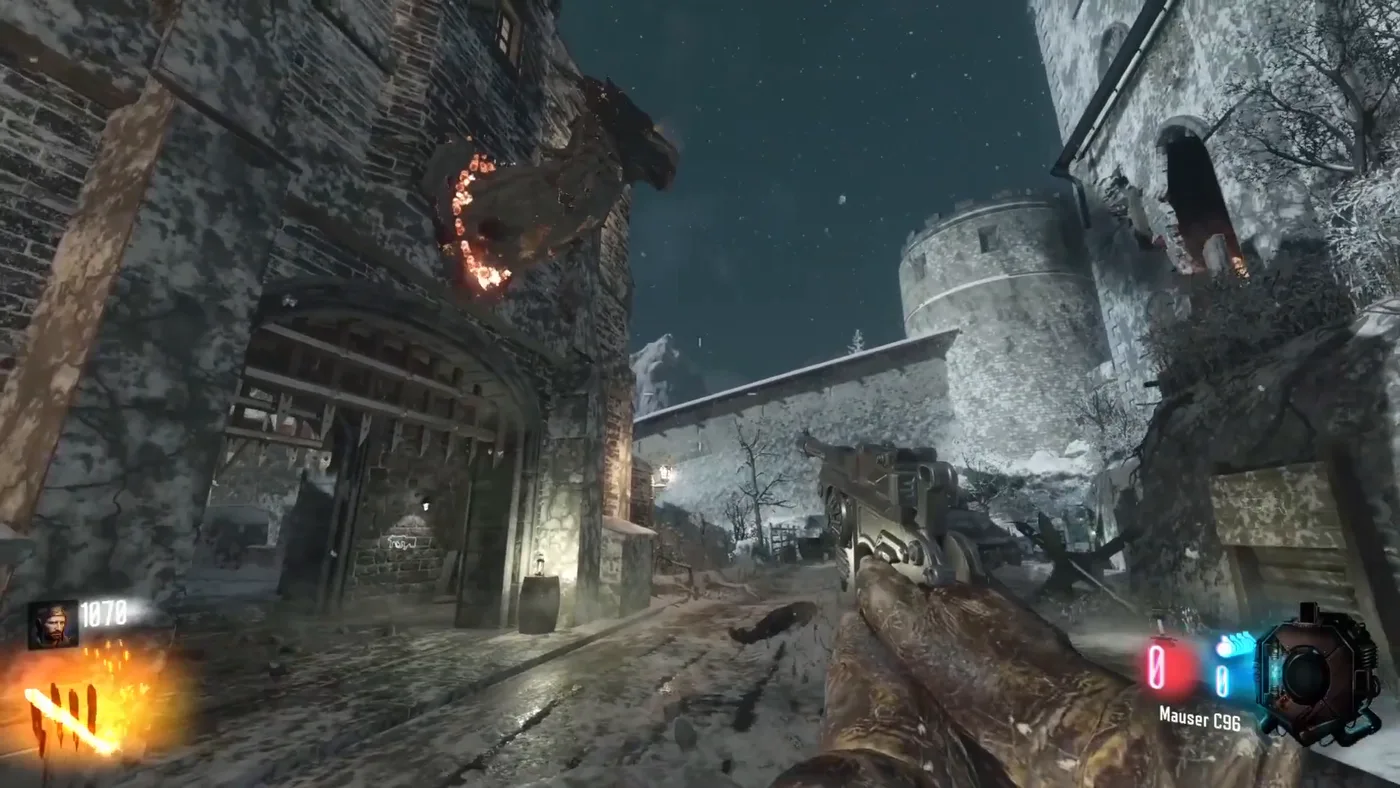
The first dragon head on the gate at the entrance of the bridge, The Iron Dragon, Call of Duty Black Ops III Zombies

Dragon head of the bridge

On the gate at the entrance of the bridge, the first one met when leaving the spawn. Two doors stand between it and the spawn.

The dragon head above the fireplace of the church room, The Iron Dragon, Call of Duty Black Ops III Zombies

Dragon head of Mission Control

Above the fireplace of the church room of Der Eisendrache, which Not So Serious Gaming calls Mission Control: the same spot as on the original map.
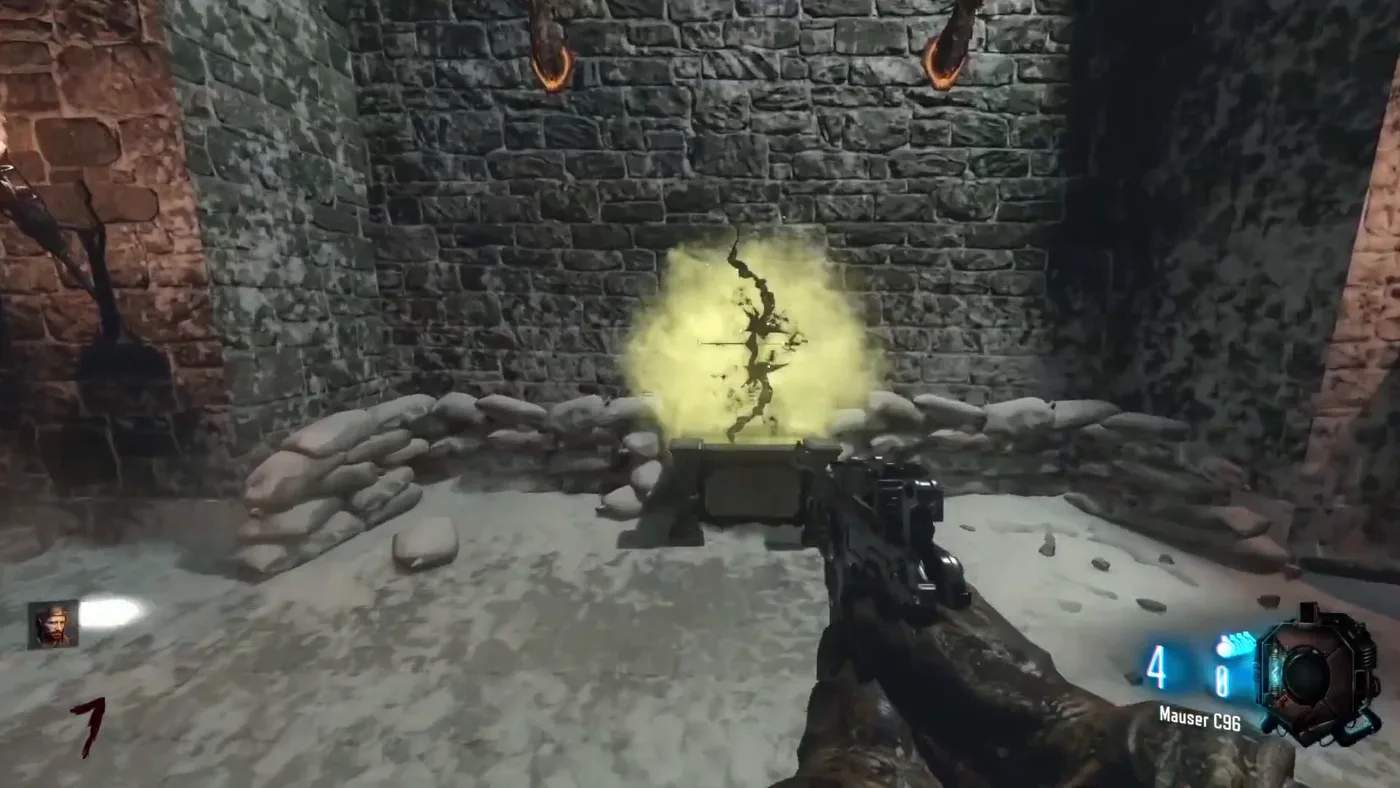
The Wrath of the Ancients on its altar in the main stairwell of the castle, The Iron Dragon, Call of Duty Black Ops III Zombies

The altar of the bow

In the main stairwell, a landmark of the map: the stairs climb from it to Double Tap, the orb room and the Pack-a-Punch, and go down to the crypt of the bows.

Dragon head of the courtyard

In a small courtyard on the left as you enter the castle, near the STG-44 wall buy and Electric Cherry. It hides in the shadows.

Every upgrade then follows the same pattern as on the original map: a broken arrow starts the quest, a few steps reforge it, and the reforged arrow goes on its pedestal in the crypt of the bows, under the castle, where zombie souls fill it until the elemental bow can be taken. Most steps are close to Der Eisendrache, with one or two changed per bow, as the Map Guide pinned on the Workshop page puts it. In co-op, any player can help with any step, whoever started the quest, and each player can carry up to three bows with Mule Kick.

The crypt of the bows

The underground room where the four pedestals stand, opposite the altar of the main quest. It is also the arena of the boss fight.

Splitting the souls

Zombies killed between two pedestals send their soul to both. DKnight 115 shows the trick to fill two bows at once, and Not So Serious Gaming saves the four souls steps for the end for this reason.
Void Bow

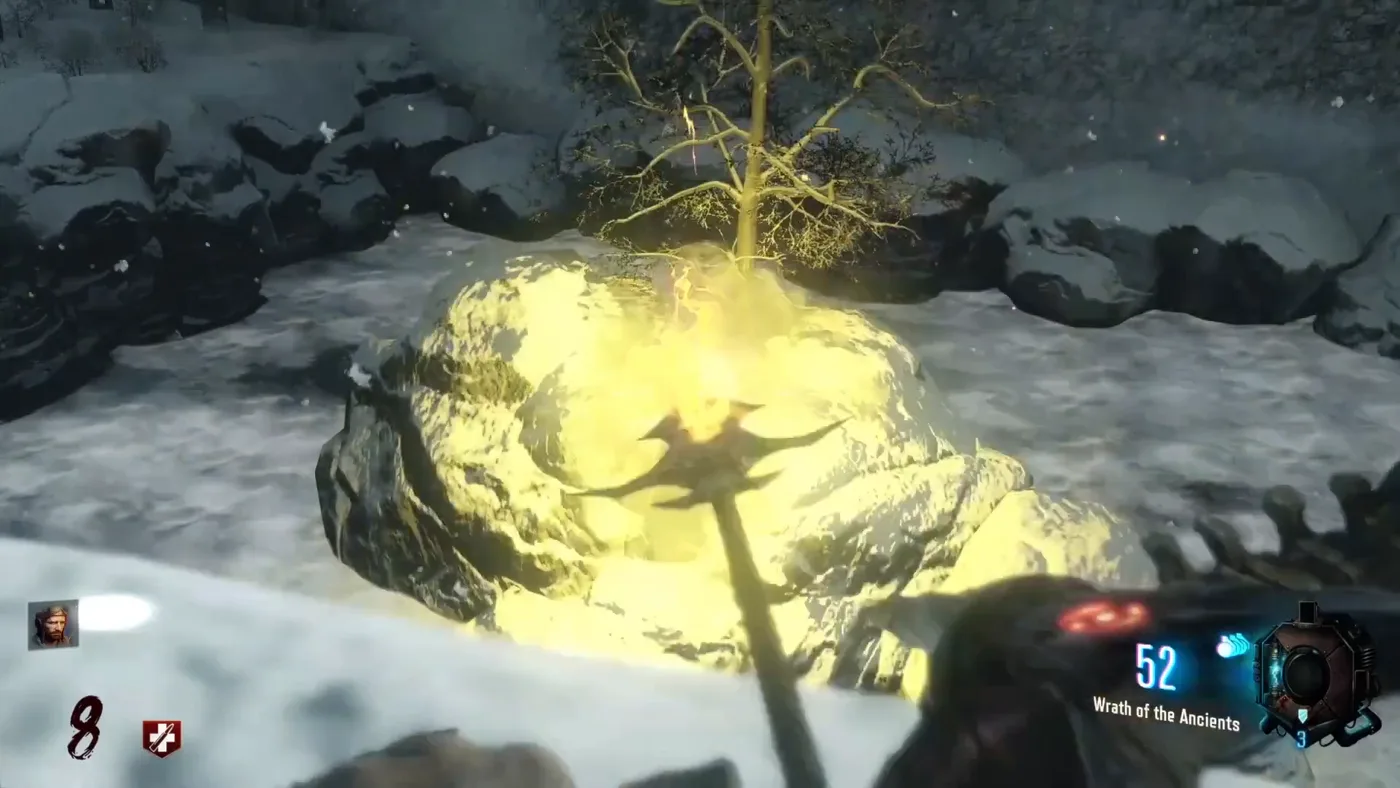
  1. Cross the bridge towards the castle. At its end, between the two gates, a Void symbol is carved in the wall on the left, above the door where the gate trap stands. Shoot it with the bow: the wall crumbles and drops the broken arrow.
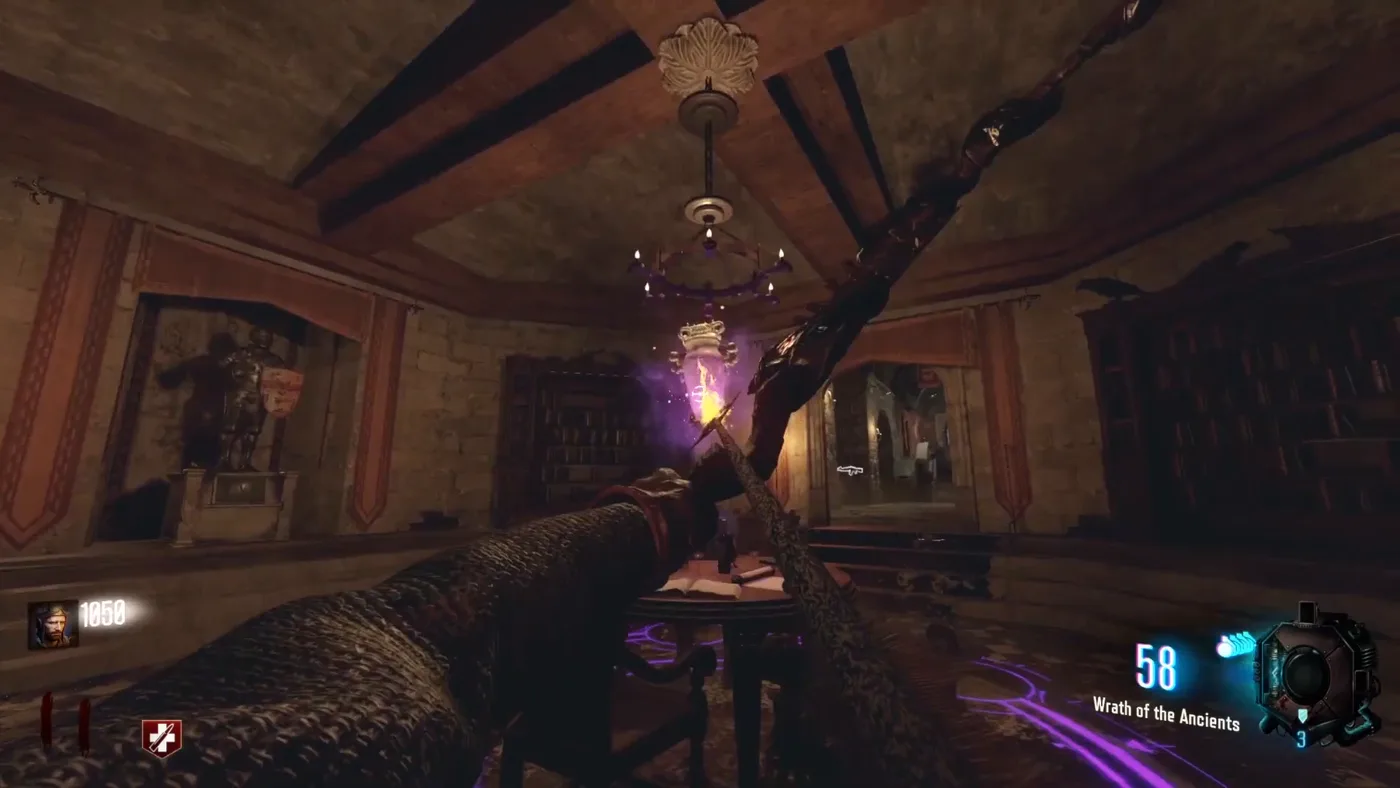
  2. Go to the round room on the left as you enter the castle, with the statues. An urn floats in the middle of it; shoot it with the bow. The spirit inside, as on Der Eisendrache, asks for six skulls.
  3. Pick up the six skulls. Guides agree on their places: on the windowsill of the Origins church in the spawn area; on a barrel next to a motorbike at the first Box spot, by the jump pad; on another barrel next to a motorbike, to the right after entering the castle; in the sandbags on the right of Double Tap; on a table in the building by Mule Kick and the death ray; and on a table across from Electric Cherry.
  4. Back at the urn, the spirit says its name in three words. Each word matches a symbol carved on the base of a statue, and a glowing symbol floats above that statue. Find the floating symbol of each word, then interact with the matching symbols on the floor around the urn, in the order of the words.
  5. A wrong answer makes the skulls fly around the room and they can kill the player: leave the room at once. A right one makes the urn burst and leaves the reforged arrow on the table.
  6. Place the arrow on the Void pedestal in the crypt and fill it with souls.
The floating urn of the Void Bow quest in the round room with the statues, The Iron Dragon, Call of Duty Black Ops III Zombies

The names

The words change from game to game. The guides got “stag, door, horn” (Jason H Gaming and the Map Guide), “heart, horn, stag” (Not So Serious Gaming) and “crown, door, griffin” (YaBoyBadger).

The Void symbol

Carved in the wall between the two gates at the end of the bridge.

Fire Bow

  1. Turn on the power, then go to the balcony of Juggernog, next to the flak cannon, on the left side of the castle. Over the battlements, outside the map, a glowing red orb can be seen. Shoot it with the bow: it flares up and the broken arrow appears.
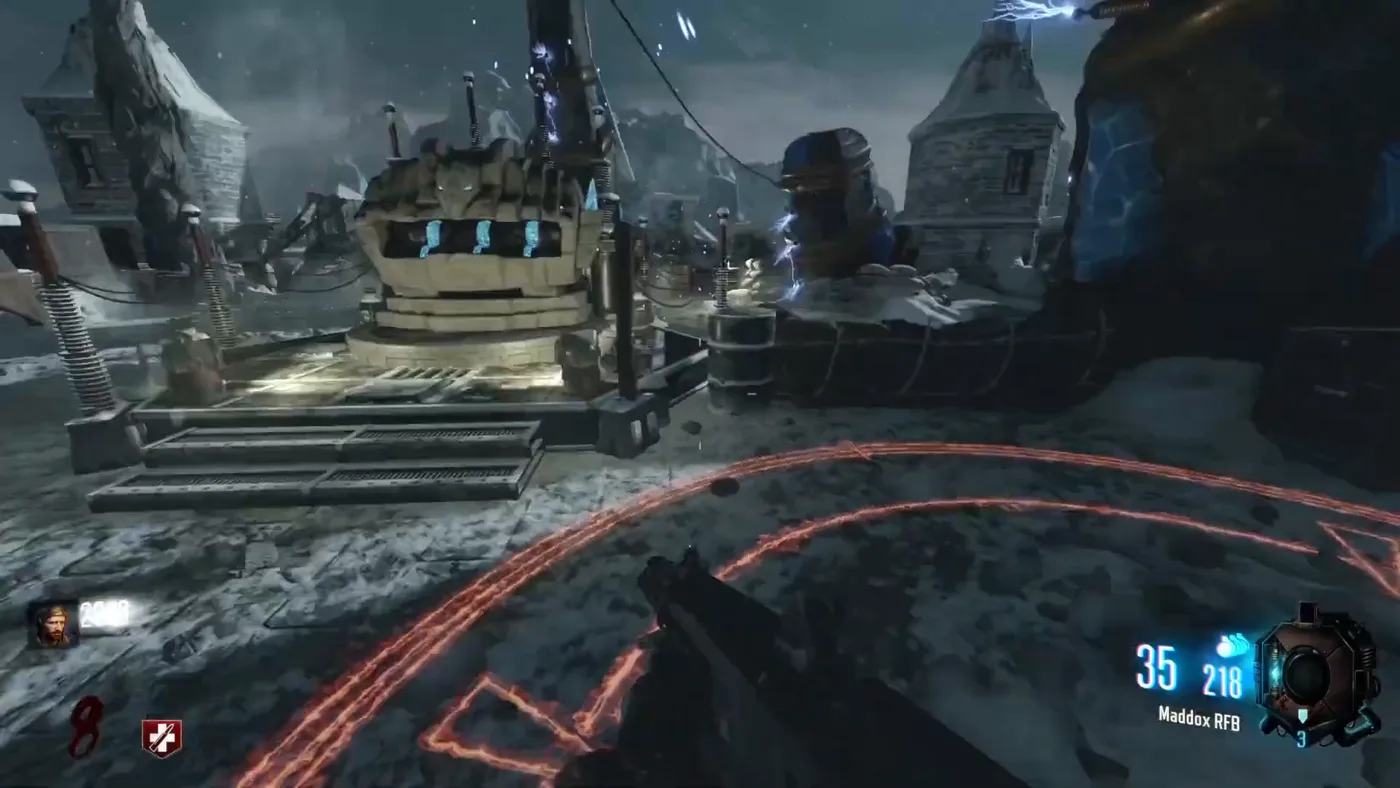
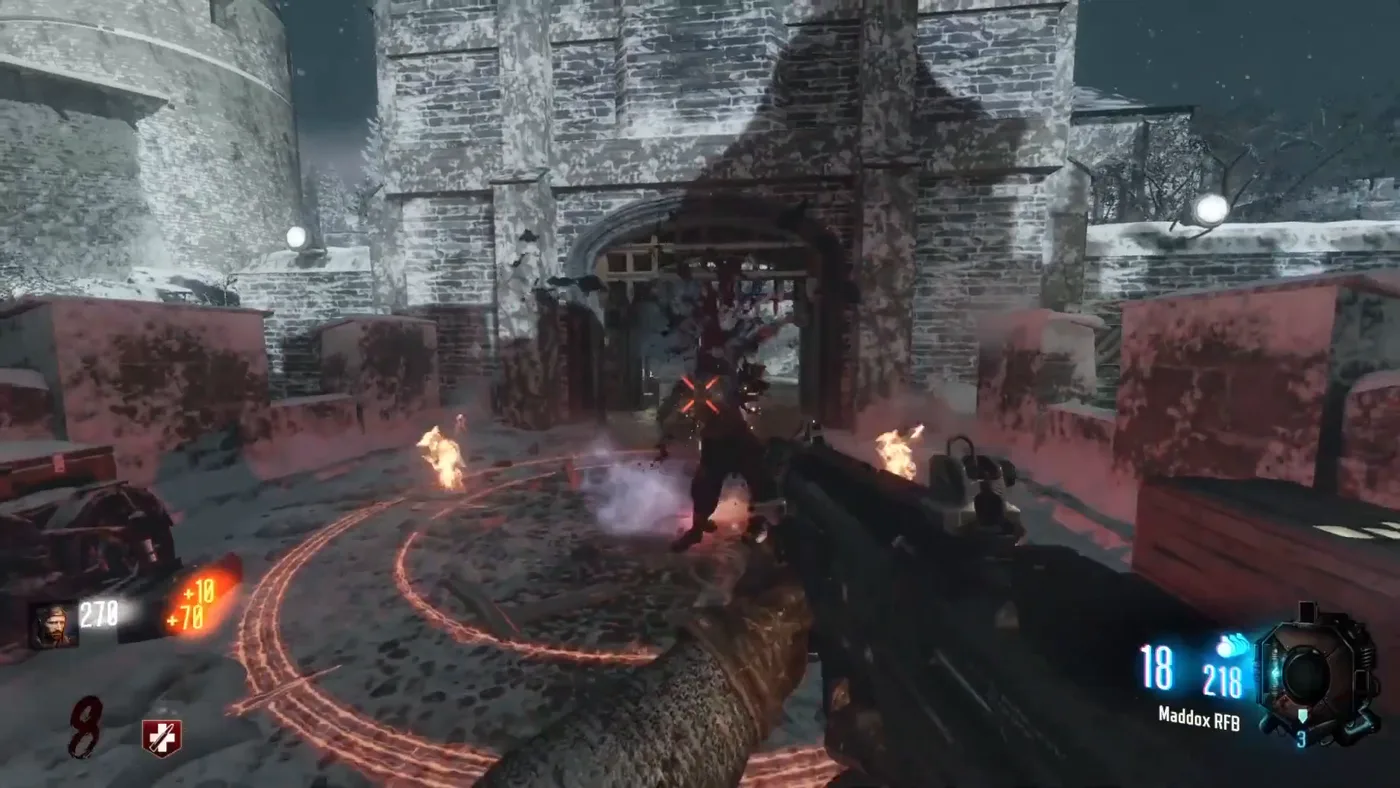
  2. Three fire circles appear: on the bridge by the entrance of the castle, by the death ray on the Mule Kick floor, and at the very top of the castle next to the Pack-a-Punch. Shoot each one with the bow while flying from a Wundersphere launch pad. There are two pads: on the bridge, where the first Box spot is, and at the Pack-a-Punch. A circle hit in flight lights up.
  3. Stand in each lit circle and kill zombies in it until it disappears. Glitching Queen counts ten kills per circle.
  4. In the church room, under the dragon head, shoot the logs of the fireplace with the bow, a normal shot. It spawns a Max Ammo; interact with the fire.
  5. Go back to the death ray: a ball of fire floats there. Interact with it: it explodes and drops the reforged arrow.
  6. Place the arrow on the Fire pedestal in the crypt and fill it with souls.
The red orb outside the map, seen over the battlements by Juggernog, flaring up under the bow shot, The Iron Dragon, Call of Duty Black Ops III Zombies

The red orb

Outside the map, seen over the battlements by the balcony of Juggernog and the flak cannon, as it flares up under the bow shot.

One of the three fire circles of the Fire Bow quest, on the ground at the top of the castle by the Pack-a-Punch, The Iron Dragon, Call of Duty Black Ops III Zombies

The fire circles

The hardest shot is the circle of the Pack-a-Punch: Glitching Queen shoots it with a charged shot at the very top of the jump. YaBoyBadger adds that a player holding an upgraded bow must use it on the circles, or the hit does not count.

A lit fire circle on the bridge in front of the castle gate, with a zombie inside it, The Iron Dragon, Call of Duty Black Ops III Zombies

Filling a circle

The lit circle on the bridge, in front of the gate of the castle: zombies killed inside it fill it until it disappears.

Patch notes

The update of June 6, 2023 fixed the hitboxes of the fire bow trickshot step, which the creator says should now be consistent.

Storm Bow

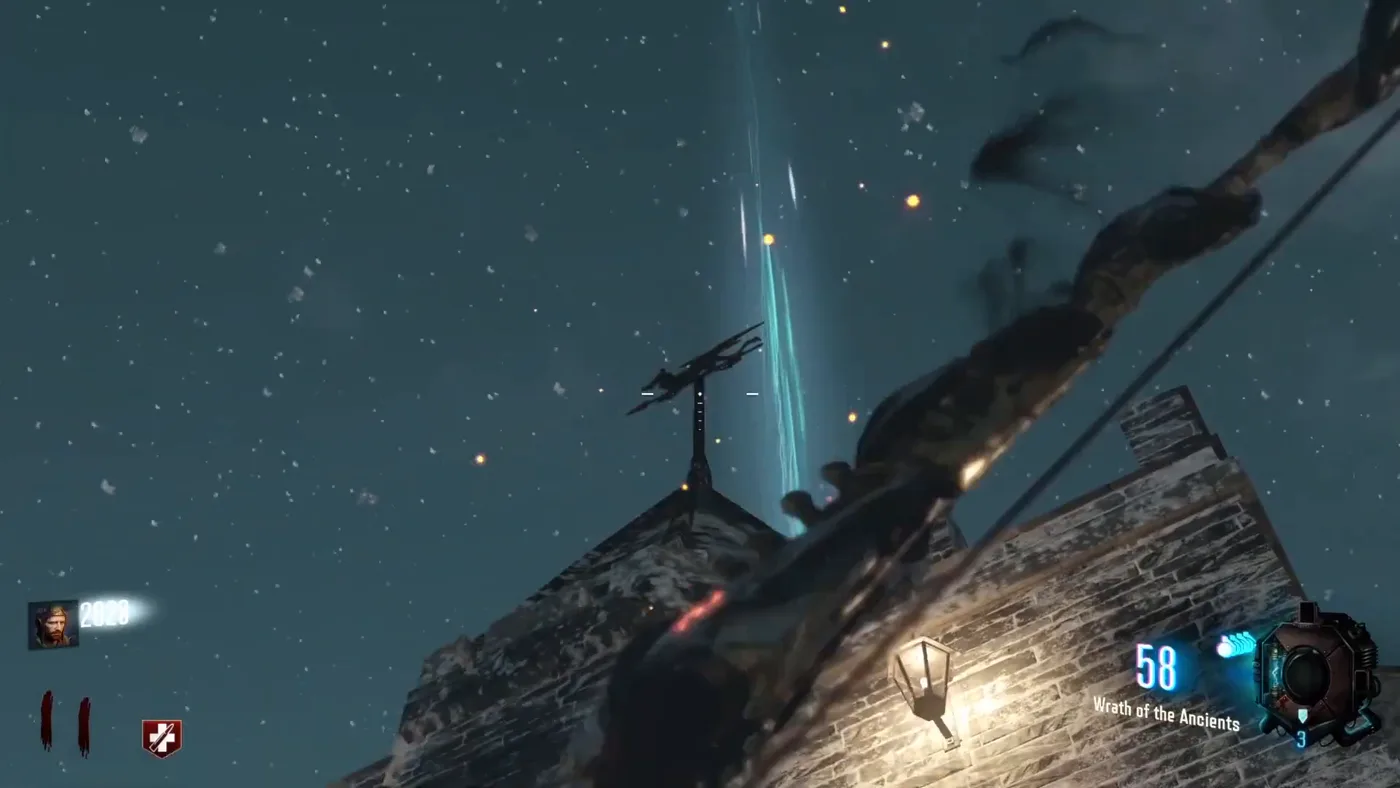
  1. Shoot the weather vane on top of the gate above the first dragon head, at the entrance of the bridge, just like on Der Eisendrache. The broken arrow drops to the left.
  2. Light the three bonfires outside the map with the bow. All three can be seen from the roof of the Pack-a-Punch: one on the left of the stairs as you come up, one across the other way, and one far off near the spawn, which can also be shot from the Mule Kick floor.
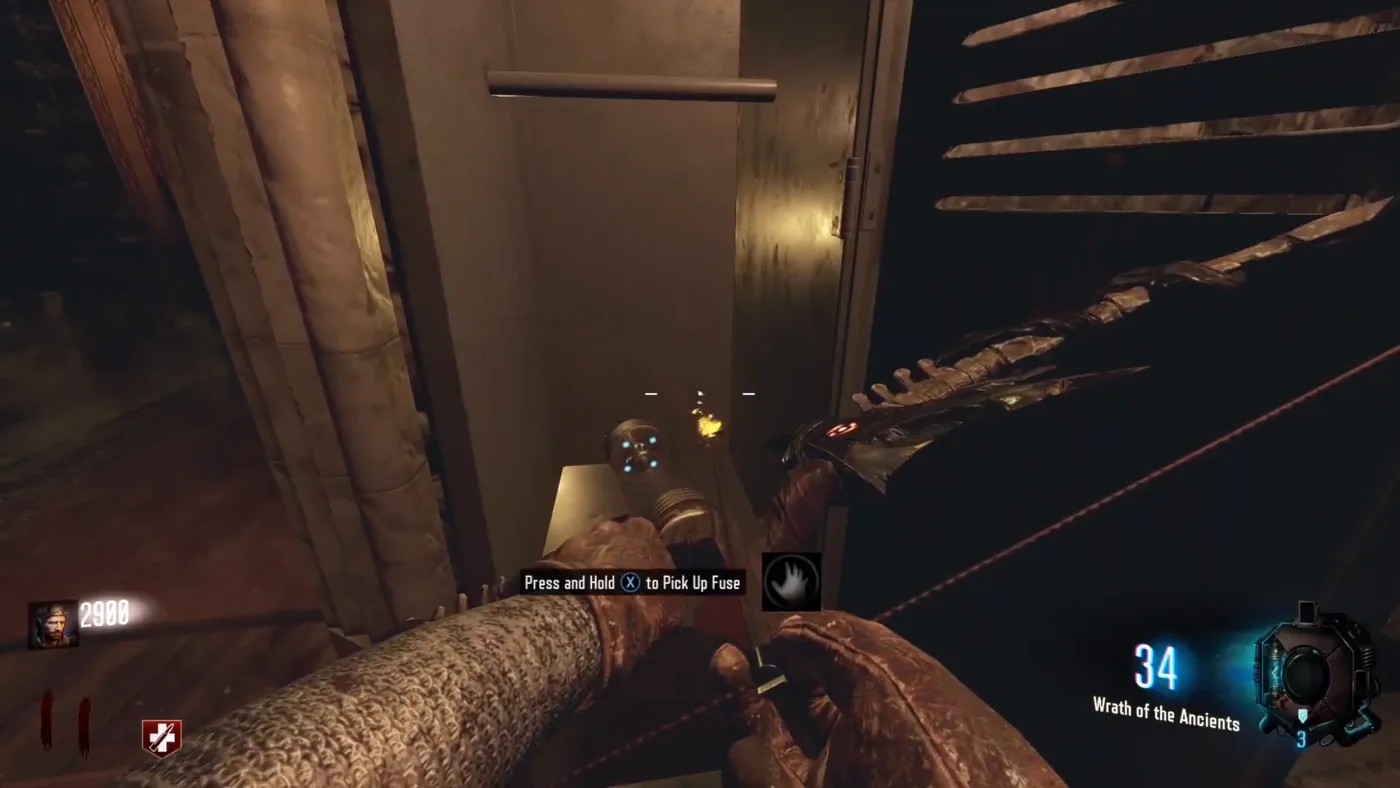
  3. In the room on the left of the altar of the Wrath of the Ancients, a locker carries the Storm symbol. Shoot it with the bow: it opens on a fuse.
  4. Take the fuse to the Armory, the room of the power switch, and place it in the fuse box on the right. A metal gate on the left opens onto the transformers: pick up the coil.
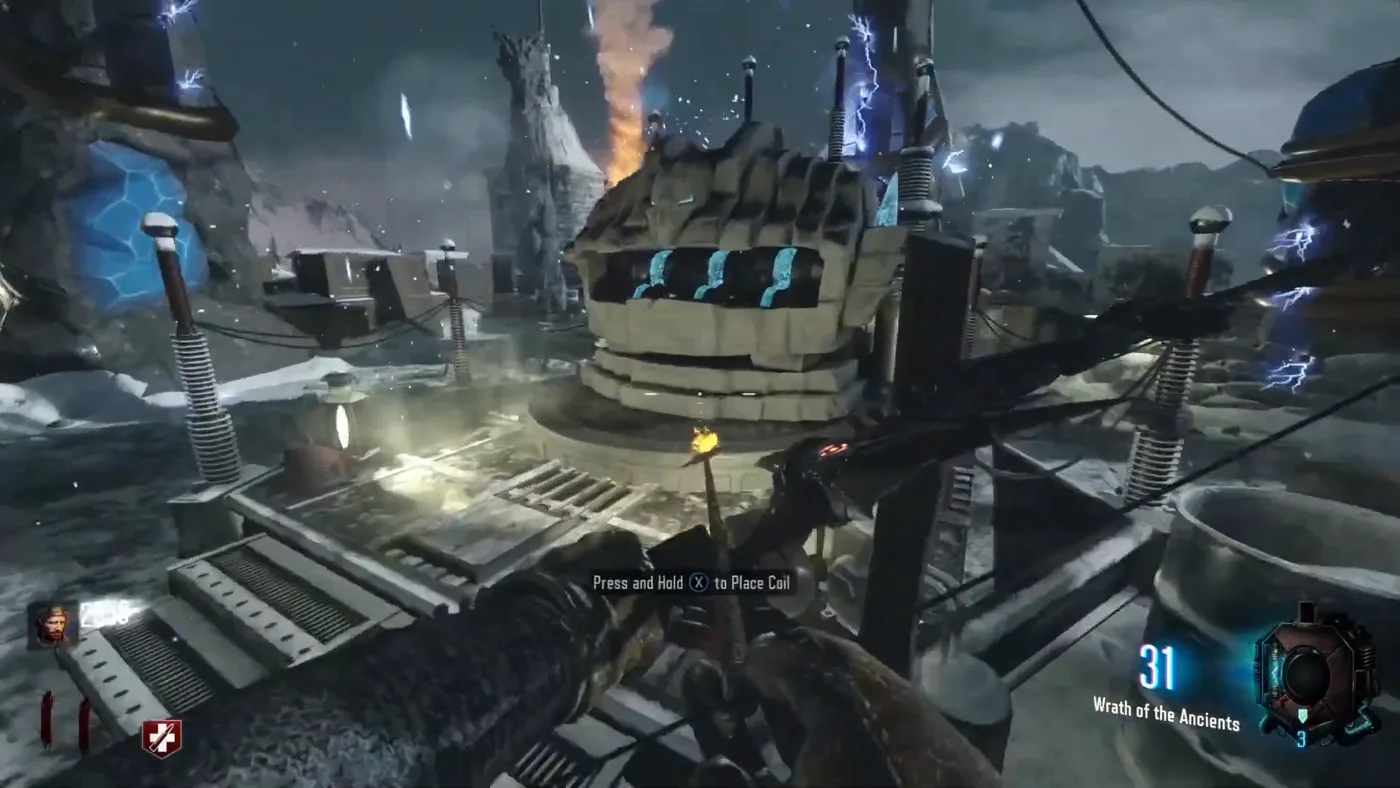
  5. Take the coil to the Pack-a-Punch and set it on the bare wooden pole on its right side. Lightning strikes and leaves the reforged arrow in front of the machine.
  6. Place the arrow on the Storm pedestal in the crypt and fill it with souls.
The weather vane on top of the gate at the entrance of the bridge, The Iron Dragon, Call of Duty Black Ops III Zombies

The weather vane

On the gate above the first dragon head, at the entrance of the bridge.

The opened locker of the Storm Bow quest, with the prompt to pick up the fuse, The Iron Dragon, Call of Duty Black Ops III Zombies

The Storm locker

In the room on the left of the altar of the Wrath of the Ancients. Shot open with the bow, it holds the fuse.

The wooden pole on the right of the Pack-a-Punch, with the prompt to place the coil, The Iron Dragon, Call of Duty Black Ops III Zombies

The coil

Picked up behind the gate of the Armory that the fuse opens, in areas “we’ve never had access to” on Der Eisendrache, Glitching Queen says, then set on the wooden pole on the right of the Pack-a-Punch.

Wolf Bow

  1. In the hallway that leads to the power, look through the window on the left: a painting hangs outside the map. Shoot it with the bow until wolf symbols light up on it.
  2. Interact with the three other paintings, in this order: the one in the hallway past the stairs on the right of Speed Cola, on the left; the one in the church room, up the opposite stairs, on the right of the wall buy; and the one down the big staircase from the altar of the Wrath of the Ancients, on the right wall between two banners.
  3. Go down into the crypt of the bows: the wall on the right bursts open as you walk in and gives the broken arrow.
  4. Back in the spawn area, by the entrance of the Origins church and Der Wunderfizz, a red flag stands on a hill in the distance. Shoot it with the bow: a skull rolls down the hill.
  5. Take the skull to the Wolf pedestal in the crypt and place it on the skeleton beside it. It gives a shovel.
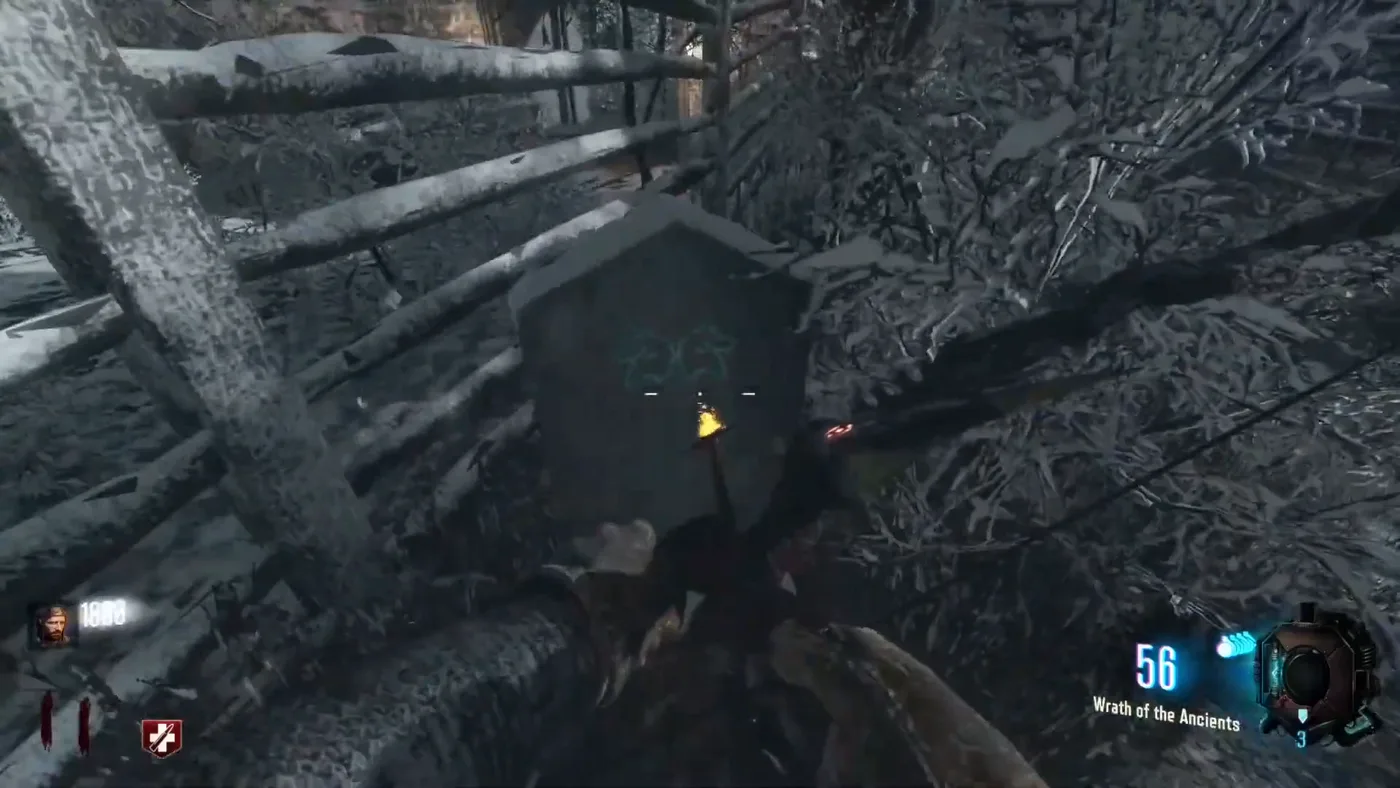
  6. Go back to the spawn: outside the church, a grave carries the Wolf symbol. Dig it up: a skeleton hand rises holding the reforged arrow.
  7. Place the arrow on the Wolf pedestal and fill it with souls.
The grave with the Wolf symbol in the spawn area, The Iron Dragon, Call of Duty Black Ops III Zombies

The grave

In the spawn area, outside the church, marked with the Wolf symbol.

The first painting

Outside the map, seen through a window of the hallway to the power. It is the only painting to shoot; the three others are interacted with.

The sewer

DKnight 115 uses the sewer as a shortcut: it runs straight to the room of the bows. The Workshop credits the sewer transport to Symbo.