~/hub / custom-maps / the-iron-dragon

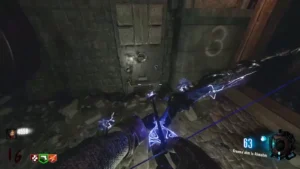
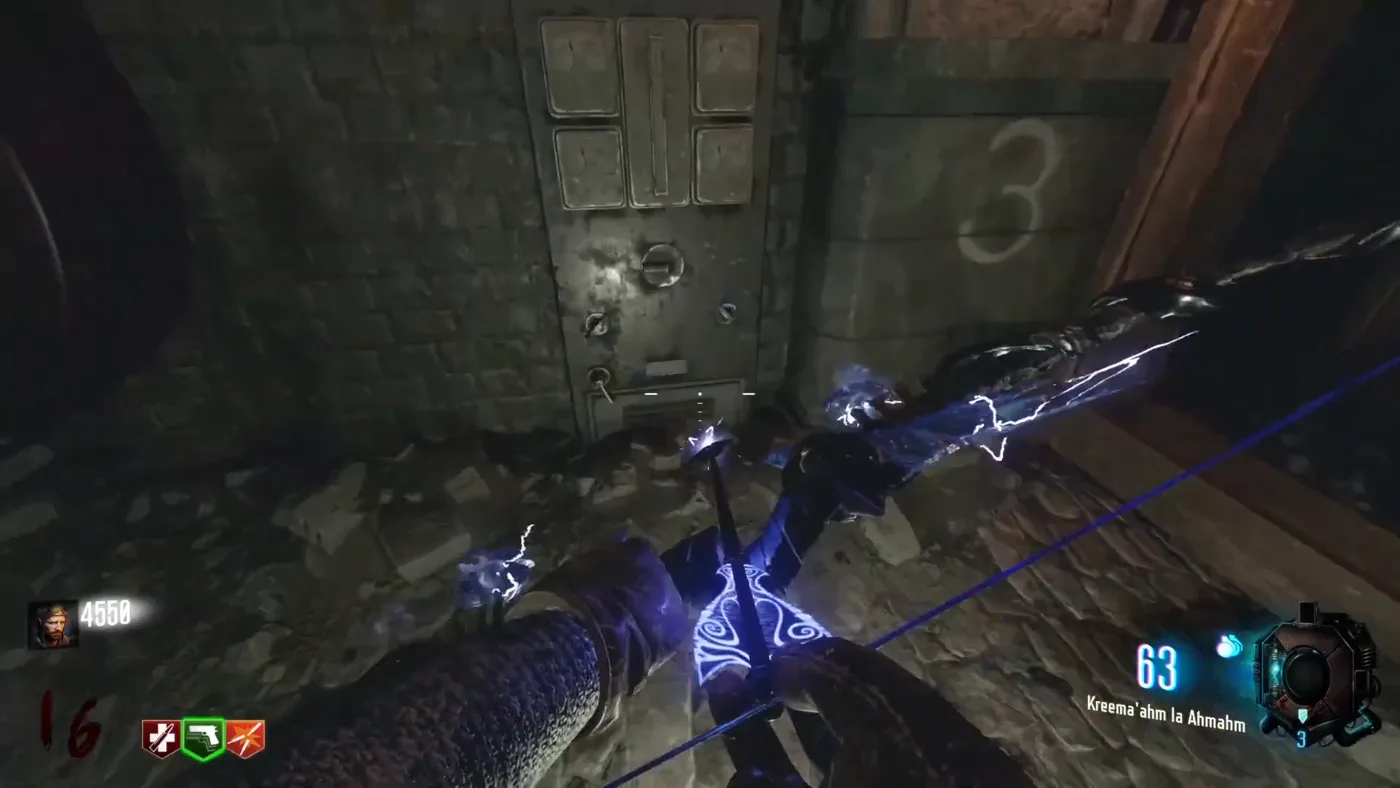
The switch panel under the Origins church, next to torch number 3, The Iron Dragon, Call of Duty Black Ops III Zombies

The Iron Dragon:
Easter Egg

The Iron Dragon main quest step by step: the four orb essences, the melded orb and the flak cannon, the Vril Device and the ghost Keeper, the boss fight against the five Keepers, the Perkaholic and the buyable ending.

  • 7 min read
  • 10 chapters
  • updated

Before starting

The main quest of The Iron Dragon is listed first among the features of its Workshop page, as a “Full Easter Egg Quest”. It ends with a fight against a Keeper in the crypt of the bows, a Perkaholic and a buyable ending. Its steps here follow the Map Guide pinned on the Workshop page, written by Nanikos, to which the creator sends players who ask for a guide, and they are checked against the video guides of Sassy Asi, Not So Serious Gaming, YaBoyBadger and Glitching Queen.
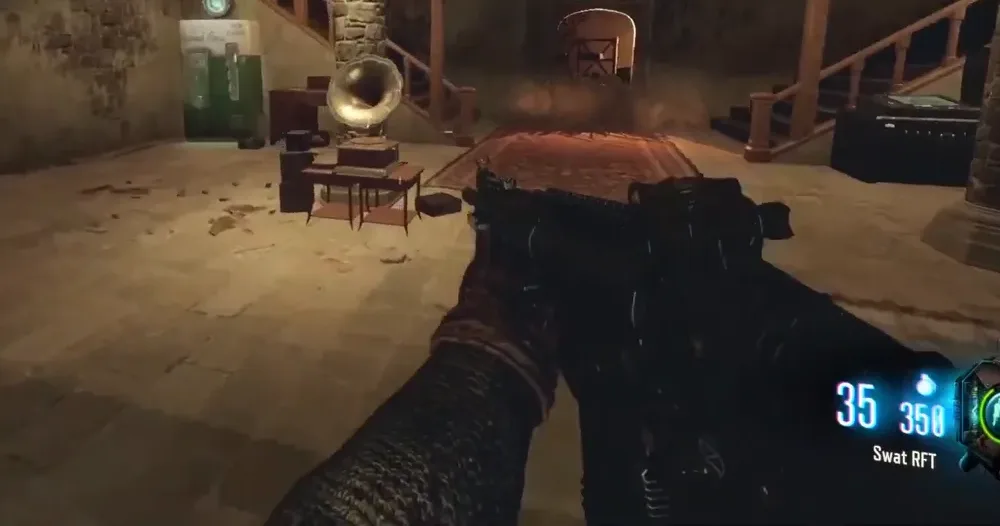
The Gramophone in the church room next to Speed Cola, The Iron Dragon, Call of Duty Black Ops III Zombies

The Gramophone

Needed at the very end, it can be picked up at any time: in the church room of Der Eisendrache, next to Speed Cola.

What it needs

The power, the Pack-a-Punch open, the four elemental bows upgraded, the Ragnarok DG-4 and at least one bullet weapon for the plane, the gravestones, the orb on the tower and the boss. Several guides advise a shield for the later steps, when the Panzersoldats get dangerous.

Solo and co-op

The steps are the same. With Mule Kick, a solo player can hold three bows at once and only needs one more trip to the crypt to swap the fourth, as Glitching Queen points out.

How to get the Wrath of the Ancients and upgrade the four bows
Step 1: the four orb essences

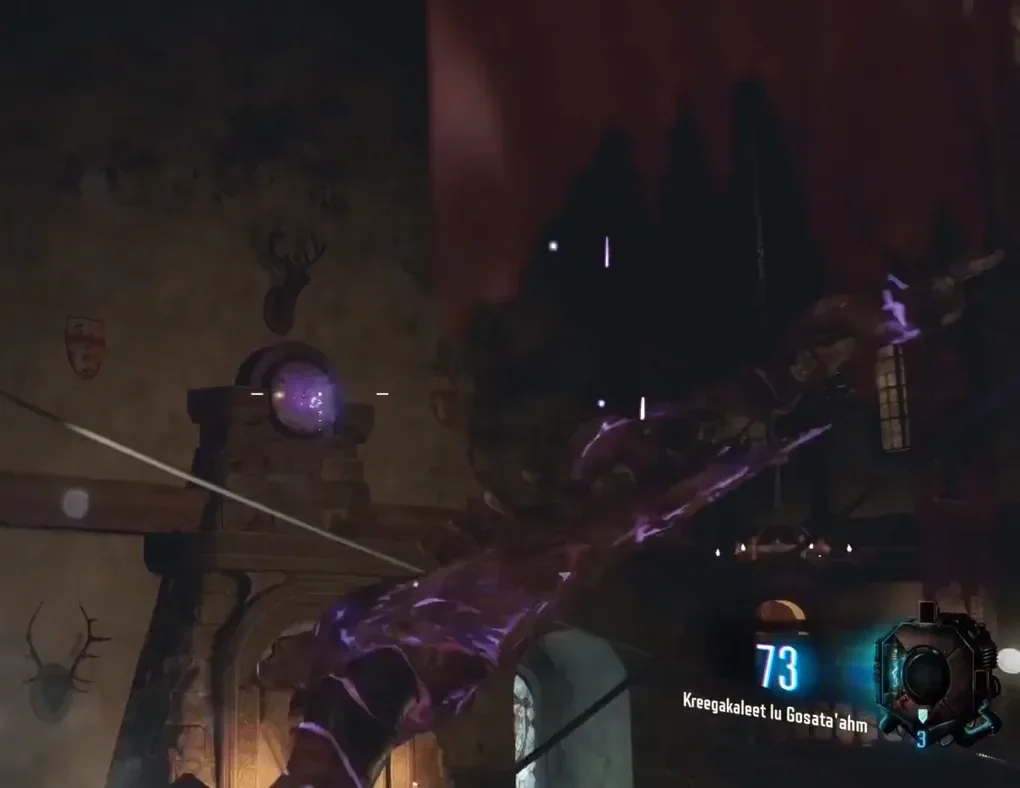
In the orb room, at the top of the castle, the four orbs placed for the Pack-a-Punch now wait to be infused. Shoot each orb with a charged shot of its bow: it makes a noise and starts to glow, and its small quest begins. The Map Guide notes that the second and third parts of each quest can be done in either order. Each quest ends the same way: a completion noise, then an orb essence appears where that orb was first picked up; take it back to the orb room and infuse the orb with it.

Fire essence

  1. Shoot the red orb with the Fire Bow.
  2. A glowing plane circles in the sky around the top of the tower. Shoot it down with a bullet weapon: it falls as an orb that lights the cauldron on the left of the bridge.
  3. The torches in the lower part of the Origins church, the tank station, are now out, each with a number. Light the torches 9, 3 and 5 with the Fire Bow, in that order; Not So Serious Gaming uses charged shots.
  4. Pick up the essence in the robot head of the fire orb, through the red portal next to the power switch.

Void essence

  1. Shoot the purple orb with the Void Bow.
  2. Shoot the three purple statues near the spawn with the Void Bow: one right next to where the players spawn, and one on each side of the entrance of the bridge, the left one by the Wundersphere. Glitching Queen compares them to the wind staff domes of Origins.
  3. Shoot three wisps, always in the same order, each one appearing once the previous one is hit: on the clock above the dragon head of the church room, on the telephone of the power room, and on the radio of the church room near the staircase.
  4. Pick up the essence in the robot head of the void orb, through the purple portal in the crypt of the bows.
The purple wisp on the clock of the church room, shot with the Void Bow, The Iron Dragon, Call of Duty Black Ops III Zombies

The first wisp

On the clock above the dragon head of the church room, the first of the three to shoot.

Storm essence

  1. Shoot the blue orb with the Storm Bow.
  2. Shoot the three bonfires of the Storm Bow quest again with the Storm Bow: a spiral of lightning wraps each one.
  3. Turn the dials of the three switch panels near the spawn. The Map Guide and Not So Serious Gaming give the same answer: the panel at the top of the church by the spawn faces down, the one under the church by the torches faces left, and the one at the entrance of the bridge faces up. When all three are right, a completion noise plays and the panels spark.
  4. Pick up the essence in the robot head of the storm orb, through the blue portal on the left of Speed Cola.
The switch panel under the Origins church, next to torch number 3, The Iron Dragon, Call of Duty Black Ops III Zombies

The switch panels

The one shown here is under the church, next to torch number three, where Not So Serious Gaming sets it facing left. Since the update of July 30, 2023, each panel sparks on its own when it is set right, once this step has begun, “a logical way to be solved” in the words of the creator. YaBoyBadger and Glitching Queen, who played before it, give other positions.

Wolf essence

  1. Shoot the turquoise orb with the Wolf Bow.
  2. In the spawn area, three graves carry the Wolf symbol: next to the red flag of the Wolf Bow quest, next to the grave of the reforged arrow, and across from it on the other side of the fence by the church. Shoot each one with the Wolf Bow until it turns ghostly, then with a bullet weapon until it disappears.
  3. In the room opened by the summoning key, past the orb room, a wolf skeleton glows in the right corner. Interact with it: a ghost wolf appears. Follow it down to the altar of the Wrath of the Ancients, where it starts to dig, and interact with the dig spot to take the bone.
  4. Pick up the essence in the Origins church of the spawn, on the pedestal where the wolf orb was found.

Word of the creator

Many players never saw the wolf essence appear. On August 31, 2023, truman08 pinned a note on the Workshop page: most of them missed the second shot, with a bullet weapon, that destroys the graves.

Step 2: the melded orb

  1. Once the four orbs are infused, they rise and merge into a single orb in the middle of the orb room. Interact with it.
  2. The orb starts to move. Damage it in any way, bullet, melee or bow, to send it to its next spot, and follow it around the map.
  3. It ends above an ammo crate by the flak cannon, on the balcony of Juggernog, then flies into the tower of the Origins church. The crate opens: take the shell.
  4. Load it into the flak cannon: the shot blows the top off the tower and shows the orb again. Shoot it with a bullet weapon: it flies back to the orb room.
  5. Interact with it there to destroy it. The Vril Device appears in its place.

The flak cannon

On the balcony of Juggernog, with the ammo crate where the orb stops.

Step 3: the Keeper

  1. Take the Vril Device down to the crypt of the bows and insert it into the tomb-shaped altar opposite the pedestals. A ghost Keeper appears. Sassy Asi adds that dogs keep coming until this step is over.
  2. Follow it to four stone tablets and kill zombies close to it at each one until it moves on. The Map Guide counts 30 souls per tablet; YaBoyBadger speaks of ten to fifteen kills. Any weapon works, bows or bullets, unlike on Der Eisendrache, and there is no circle to stand in.
  3. The route never changes, YaBoyBadger and Glitching Queen say: first just past the bridge, on the right of the castle entrance, where Sassy Asi points to the Cordite wall buy; then in a corner of the Origins church; then against a wall of the Double Tap area; and last in the hallway near the power, in what YaBoyBadger calls the original Der Eisendrache area.
  4. After the fourth tablet, the Keeper takes its true form and goes back to the altar in the crypt. A cloud forms behind it with the prompt that an energy surge is needed to start the lockdown.

Step 4: the boss fight

  1. Take out the Ragnarok DG-4 and plant them on the plate where the energy surge is needed. The lockdown starts: the Keeper rises, shielded, and four other Keepers appear around the room, each with the color of a bow.
  2. Pick up the Ragnaroks and recharge them by killing zombies. A Max Ammo appears in front of the Keeper; plant them again on the same spot. The shields of the four Keepers drop.
  3. Shoot each of the four Keepers with its bow: purple with the Void Bow, blue with the Storm Bow, turquoise with the Wolf Bow, red with the Fire Bow. They die once all four are hit.
  4. Recharge the Ragnaroks and plant them a third time: the shield of the main Keeper drops. Shoot it quickly to make it move around the room, as with the Shadowman on Shadows of Evil and Revelations, the guides say.
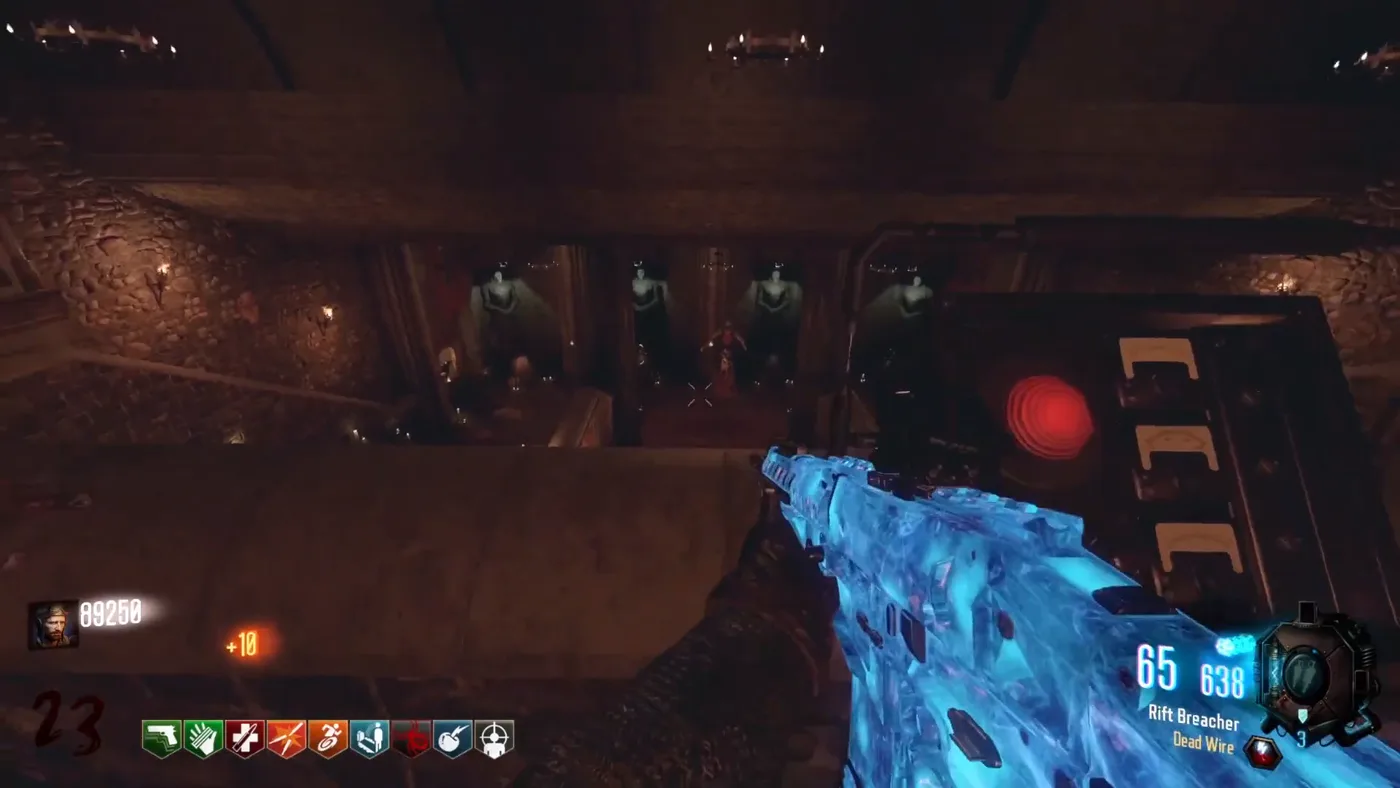
  5. When it stops over its tomb, press the red button of the panel at the top of the stairs: a laser kills the Keeper. If it is too late, the shield comes back and the Ragnaroks must be planted again.
The panel with the red button at the top of the stairs of the crypt, The Iron Dragon, Call of Duty Black Ops III Zombies

The red button

At the top of the stairs of the crypt, the panel of the laser.

The reward

A Perkaholic that gives eight standard perks and the two custom perks of the map, Elemental Pop and Snail’s Pace Slurpee, according to the Map Guide.

Step 5: the buyable ending

  1. Go back down and pick up the charged Vril Device. The altar sinks and opens a hidden doorway.
  2. Place the Gramophone in the secret room behind it, on the table: a portal opens.
  3. Buy the ending for 75,000 points.

In the first version, one player needed the 75,000 points alone, as Glitching Queen explains. The update of April 28, 2024 changed that: the ending can now be paid in several times, so that several players can share the cost.