~/hub / map-wiki

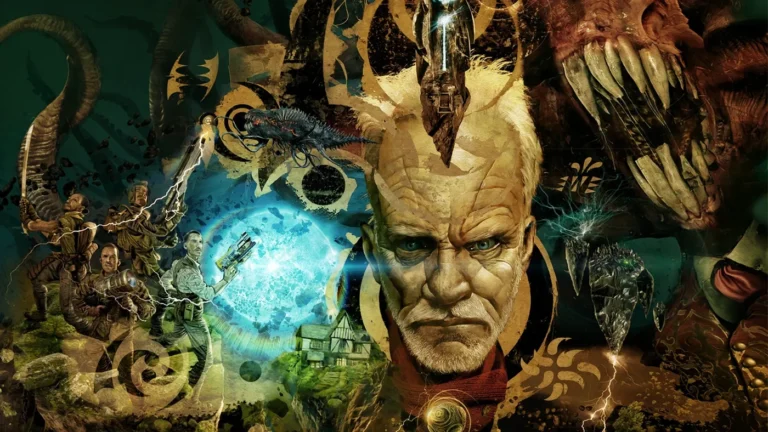
A rocket crackling with lightning, comic panel of the Nuketown Zombies loading screen, Call of Duty Black Ops II Zombies

Nuketown

Nuketown Zombies, the Black Ops II Survival map built on the Black Ops multiplayer Nuketown: the street as the First Room and its B2 rules, perks and Pack-a-Punch falling from the sky, wall weapons, the Mystery Box, the two houses, the mannequins, the round 25 switch and the secrets.

  • 10 min read
  • 16 chapters
  • updated

The First Room

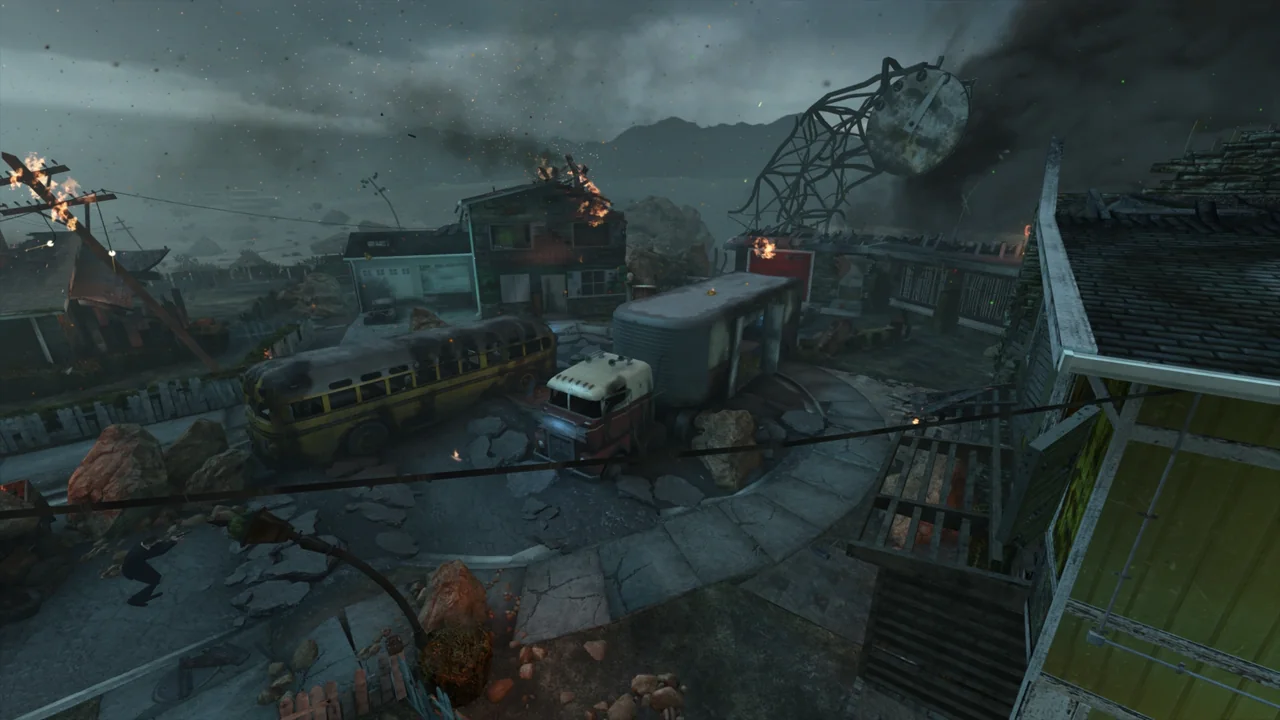
On ZFRR, the Nuketown First Room is the street: the cul-de-sac between the green house and the yellow house, around the yellow bus and the red truck parked in the middle, up to the “Welcome to Nuketown” sign. The game treats it as one area in two halves, a green side and a yellow side, joined from the start. The players spawn in front of the bus and the truck, and everything they can reach without opening anything is the First Room.

Three ways lead out of it, all closed in a First Room game: the front door of the green house for 750 points, the front door of the yellow house for 750, and the furniture piled around the back of the truck for 3000. The street has no window at all: nothing to board, and no Carpenter in the game.
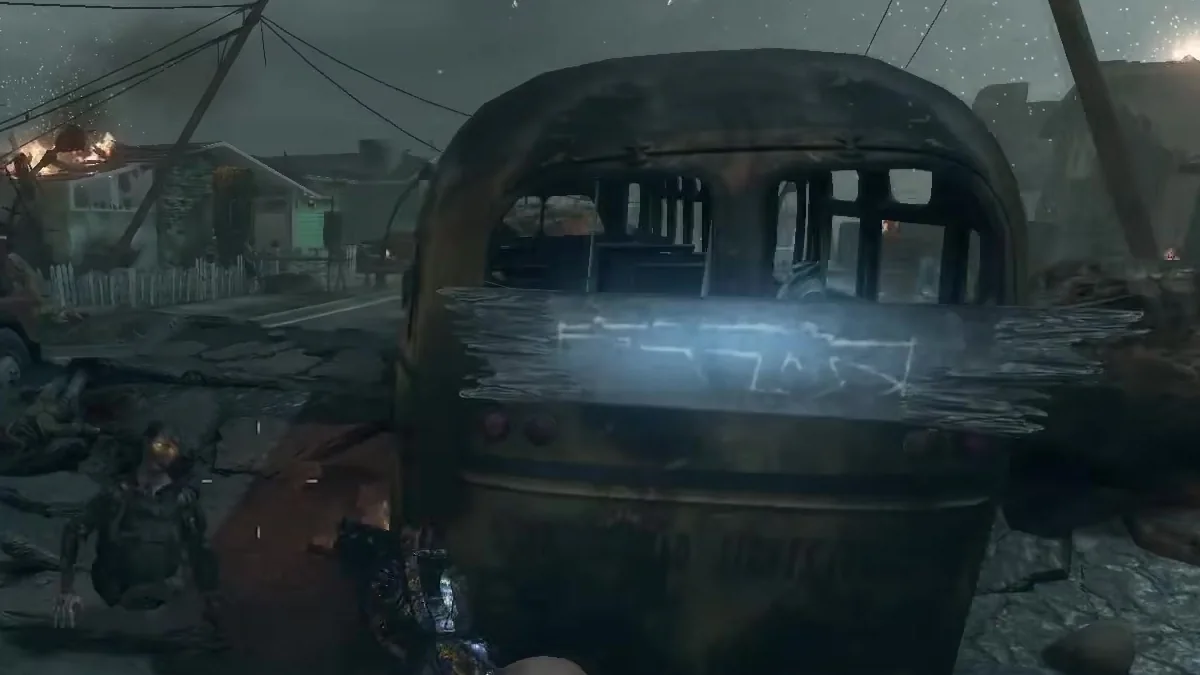
The M14 chalk on the back door of the yellow bus, Hold to buy M14, Cost 500 in Nuketown Zombies, Call of Duty Black Ops II Zombies

M14

500 points, on the back door of the yellow bus.
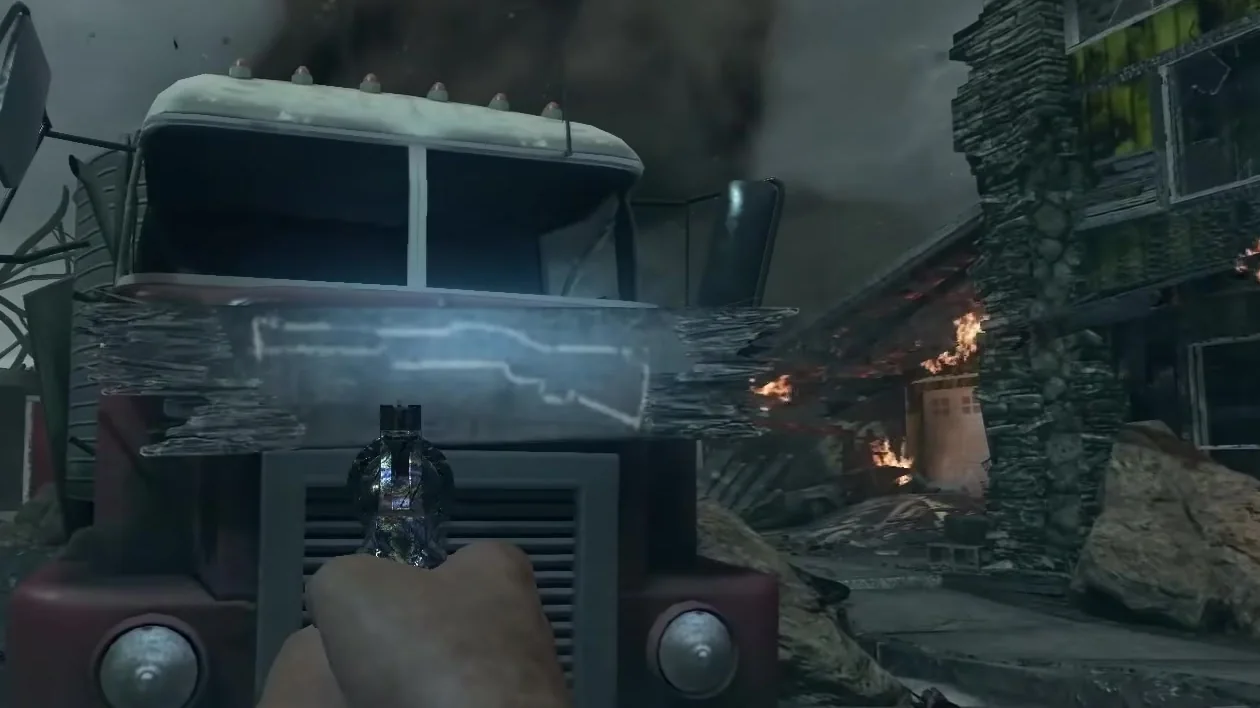
The Olympia chalk on the front of the red truck, Cost 500 in Nuketown Zombies, Call of Duty Black Ops II Zombies

Olympia

500 points, on the front of the red truck.

Those are the only two wall buys of the street. Every other weapon, the Mystery Box included, is behind a door. The perks are not in the street either: nothing stands there at the start. The machines fall from the sky during the game, each one on a spot drawn at random, and four of the ten landing spots are in the street:
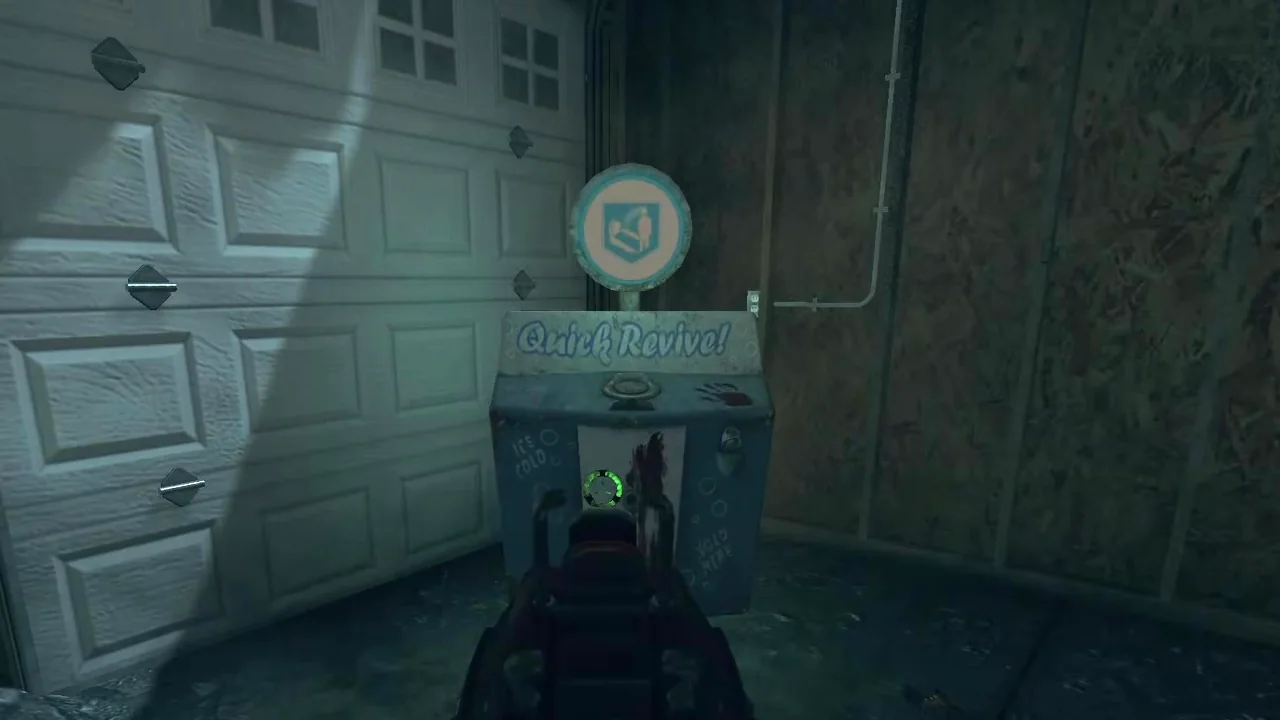
The Quick Revive machine landed in the green house garage, next to the white garage door in Nuketown Zombies, Call of Duty Black Ops II Zombies

Green house garage

A cramped spot the players crawl into, hard to get out of in the middle of a round.

Green side of the street

A landing spot in the open, on the green house side.

Yellow side of the street

The same on the yellow house side.

Welcome sign

A spot beside the “Welcome to Nuketown” sign, at the far end of the street.

In solo, the game always sends Quick Revive first, a few seconds into round 1, and always onto one of these four street spots. The other machines are then given the six other spots, so in solo Quick Revive is the only machine that ever lands in the First Room. In co-op, the five machines are spread over all ten spots, and any of them can land in the street.

B2, whose rules ZFRR follows, has three rules of its own for Nuketown on top of the general ones, and the Nuketown leaderboard keeps a single board:

No Juggernog

Buying Juggernog is not allowed, even if the machine is within reach. The rule has stood since the first rulesets and was confirmed in B2’s sixth vote.

No Juggernog in the street

A game where the Juggernog machine is due to land on one of the four street spots is not valid. The B2FR patch checks it at the start of a co-op game, warns the host and restarts the level.

Blue eyes

Switching the zombies’ eyes to blue with the patch, the effect of the round 25 Easter egg, is allowed in a custom game.

PC patch

On PC, a run must be played on Plutonium, latest version, with the B2FR community patch, also up to date. Steam and Redacted are refused; consoles are allowed.

Custom game settings

None may be changed. Round 1 start, Magic on, Headshots only off, Hellhounds off.
The street rule by rule, solo and co-op

Overview

The street of Nuketown from above, the yellow bus and the red truck in the middle, the clock tower behind in Nuketown Zombies, Call of Duty Black Ops II Zombies

Nuketown Zombies, simply “Nuketown” in the game, turns the Nuketown multiplayer map of Call of Duty: Black Ops into a Survival map, after a nuclear blast. It was first a bonus of the special editions of Black Ops II and of the Season Pass, then sold on its own. Its official description sums it up: “Mass-energy equivalence, secret tests, crash-landing perks.”

GameBlack Ops II
Map packNuketown Zombies (bonus)Hardened, Care Package and Digital Deluxe editionsSeason Pass
ReleaseSeason PassDecember 2012Xbox 360, sold aloneMarch 13, 2013PS3 and PC, sold aloneApril 12, 2013
LocationNuketown, Nevada National Security SiteNevada, USA
DateOctober 13, 2025
ModeSurvival
Players1 to 4

The story runs alongside Moon. A drill digging for Element 115 set off the blast; radiation scientists sent to the site were overrun by soldiers raised by the element; the CIA and the CDC answer their distress call and are cut off. Meanwhile, on the Moon, Richtofen takes control of the zombies, and one of the rockets fired from the Moon ends up on Nuketown.

Characters

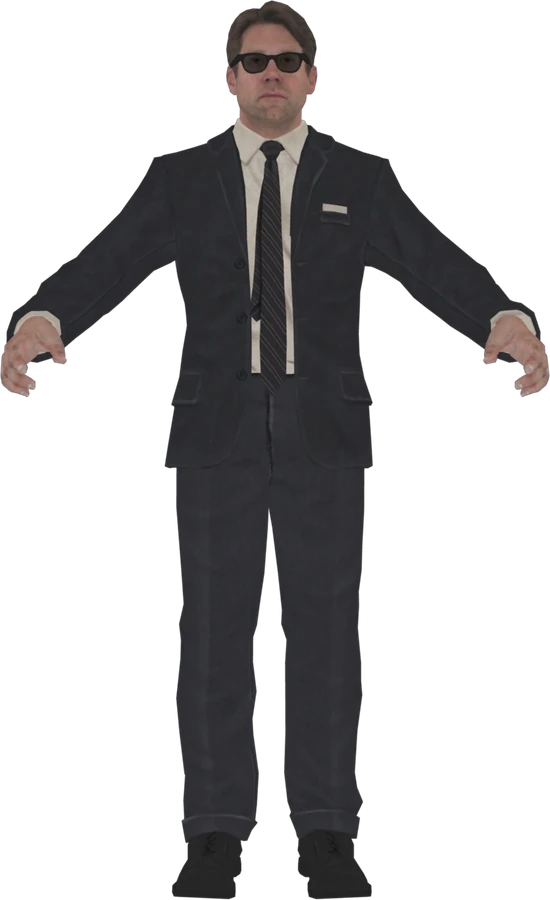
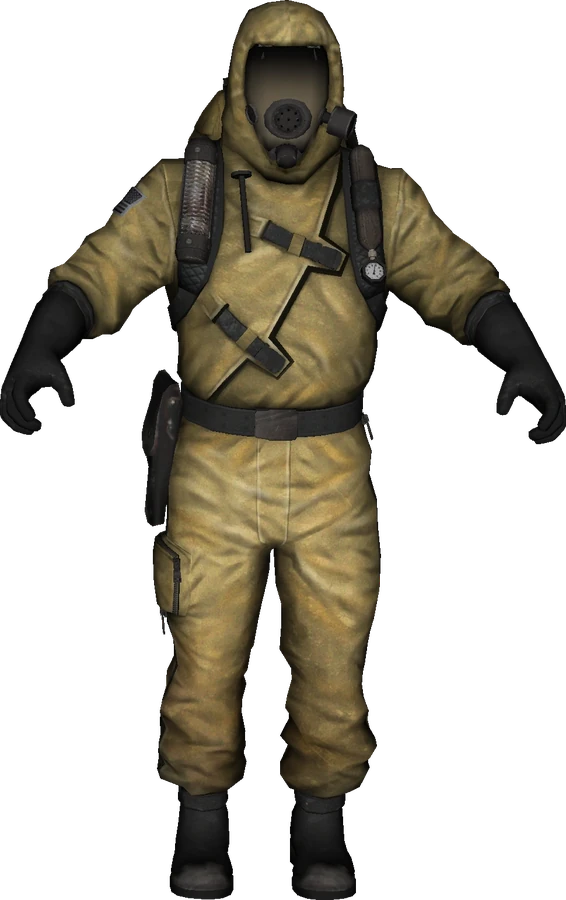
The players are anonymous operatives, all from the same agency, drawn at random each game. They have no voice lines.

CIA agent in a dark suit and sunglasses, character model, Call of Duty Black Ops II Zombies

CIA

Agents in dark suits.

CDC agent in a yellow hazmat suit and gas mask, character model, Call of Duty Black Ops II Zombies

CDC

Agents in yellow hazmat suits and gas masks.

Three voices from the rest of the saga are heard on the map:

S

Samantha Maxis

The announcer, until round 25.

E

Edward Richtofen

Heard on transmissions from the Moon, then the announcer from round 25.

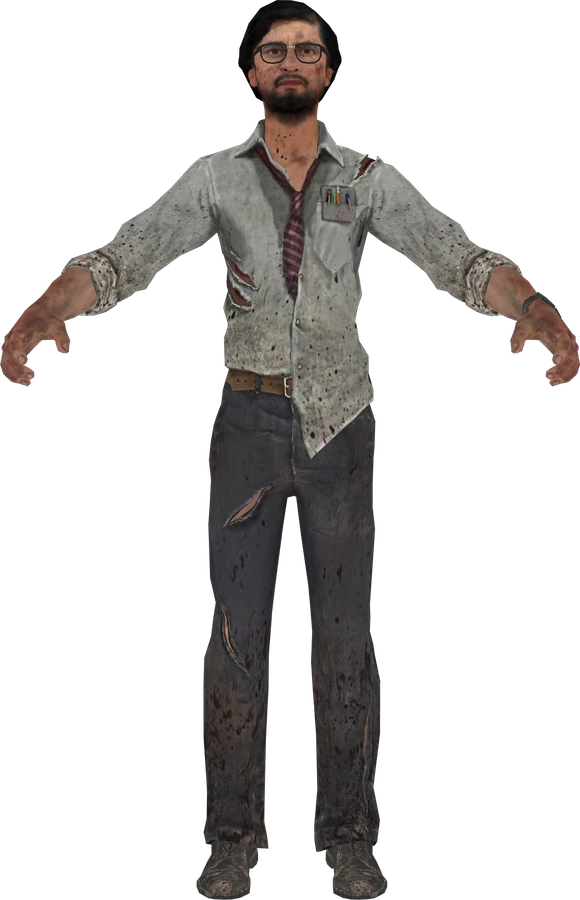
Marlton Johnson, character model, Call of Duty Black Ops II Zombies

Marlton Johnson

The TranZit survivor, hiding in the fallout shelter of the green house backyard.

Enemies

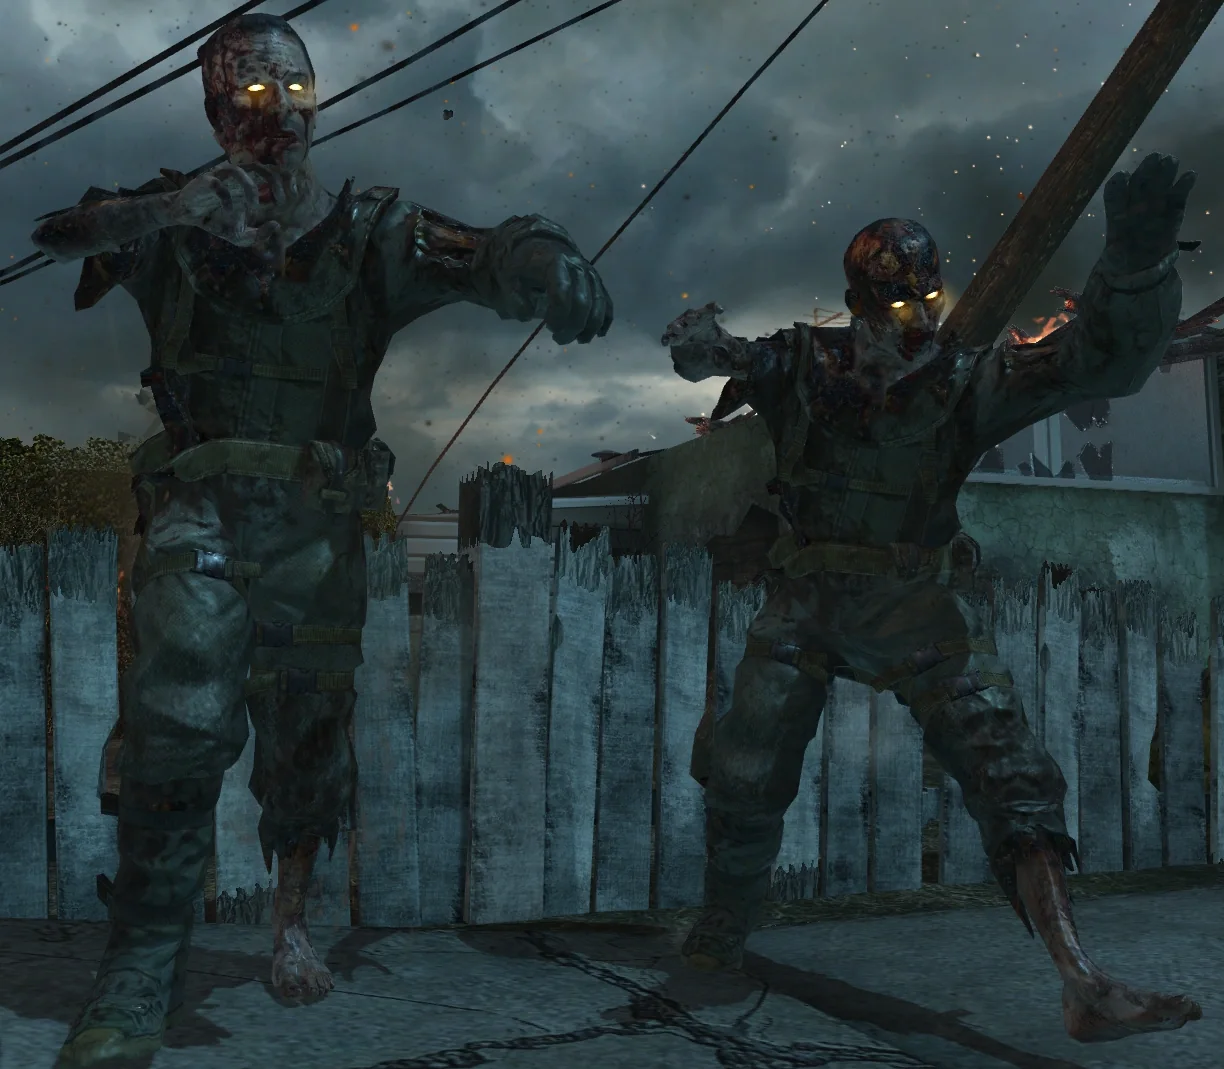
Two zombie soldiers with glowing yellow eyes behind a fence in Nuketown Zombies, Call of Duty Black Ops II Zombies

Zombies

Soldiers and radiation scientists in hazmat suits, raised by Element 115. Their eyes are yellow until round 25, then blue.

Risers and crawlers

With no window to come through, zombies climb out of the ground, and some crawl up out of the nuke crater at the far end of the map before standing up.

No special round

Zombies are the only enemy in a normal game.

The map files contain a Hellhound spawner, but whether the Custom Games Hellhound option works on Nuketown is unclear; B2 keeps every custom setting at its default anyway, Hellhounds off.
Perks

Nuketown has the four original perks and a Pack-a-Punch, and none of them stands on the map at the start. An alarm sounds, a machine falls out of the mushroom cloud and crashes on its spot, throwing nearby players to the ground and killing the zombies around it. It stays there for the rest of the game.

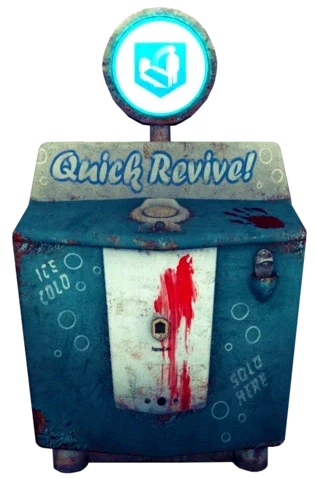
Quick Revive perk machine, render, Call of Duty Black Ops II Zombies

Quick Revive

1500, or 500 in solo. In solo, always the first machine, in round 1.

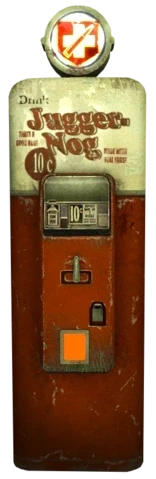
Juggernog perk machine, render, Call of Duty Black Ops II Zombies

Juggernog

2500. Not allowed in a First Room game.

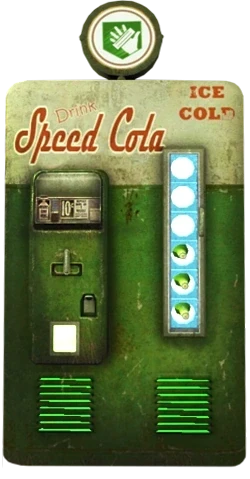
Speed Cola perk machine, render, Call of Duty Black Ops II Zombies

Speed Cola

3000.

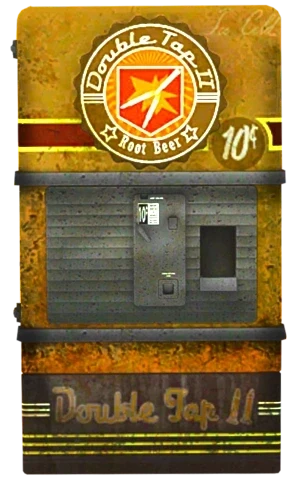
Double Tap Root Beer perk machine, render, Call of Duty Black Ops II Zombies

Double Tap Root Beer

2000, the Double Tap 2.0 of Black Ops II.

DropRoundDelay after the round starts
Quick Revive (solo only)1A few seconds
1st random machine3 or 430 to 60 seconds
2nd6 to 830 to 60 seconds
3rd10 to 131 to 2 minutes
4th15 to 181 to 2 minutes
5th (co-op only)20 to 241 to 2 minutes

Which machine comes at each drop is random, and so is its spot. In solo, everything is on the map by round 18; in co-op, by round 24.

The drops, the ten spots and the Pack-a-Punch

Weapons

Every game starts with an M1911, the knife and frag grenades. Eleven things are bought off the walls, two of them in the street:

Street rifles

The M14 and the Olympia, 500 each, on the bus and the truck. In the First Room.

Inside the truck

The AK-74u, Semtex, Claymores, the Bowie Knife and, behind a box you knife open, the Galvaknuckles, once the 3000 truck is open.

Green house walls

The B23R and the MP5, 1000 each.

Yellow house walls

The Remington 870 MCS for 1500 and the Colt M16A1 for 1200.

The Mystery Box brings the rest, with the M27 and the LSAT, the Ray Gun, the Monkey Bomb and, with the Vengeance map pack installed, the Ray Gun Mark II.

Every weapon, its price and its place

Pack-a-Punch

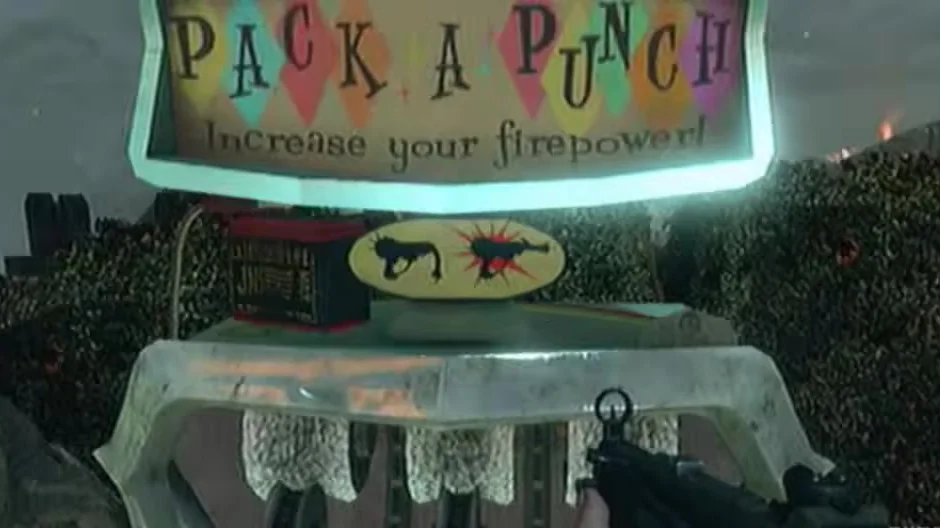
The Pack-a-Punch machine, Increase your firepower in Nuketown Zombies, Call of Duty Black Ops II Zombies

The Pack-a-Punch falls from the sky like the perks, at one of the random drops, and works as soon as it lands: no power, no part to build. It is the same makeshift machine as on TranZit, with a car battery on top. An upgrade costs 5000 points, and a second pass on most weapons 2000. In solo it never lands in the street; in co-op it can.

Mystery Box

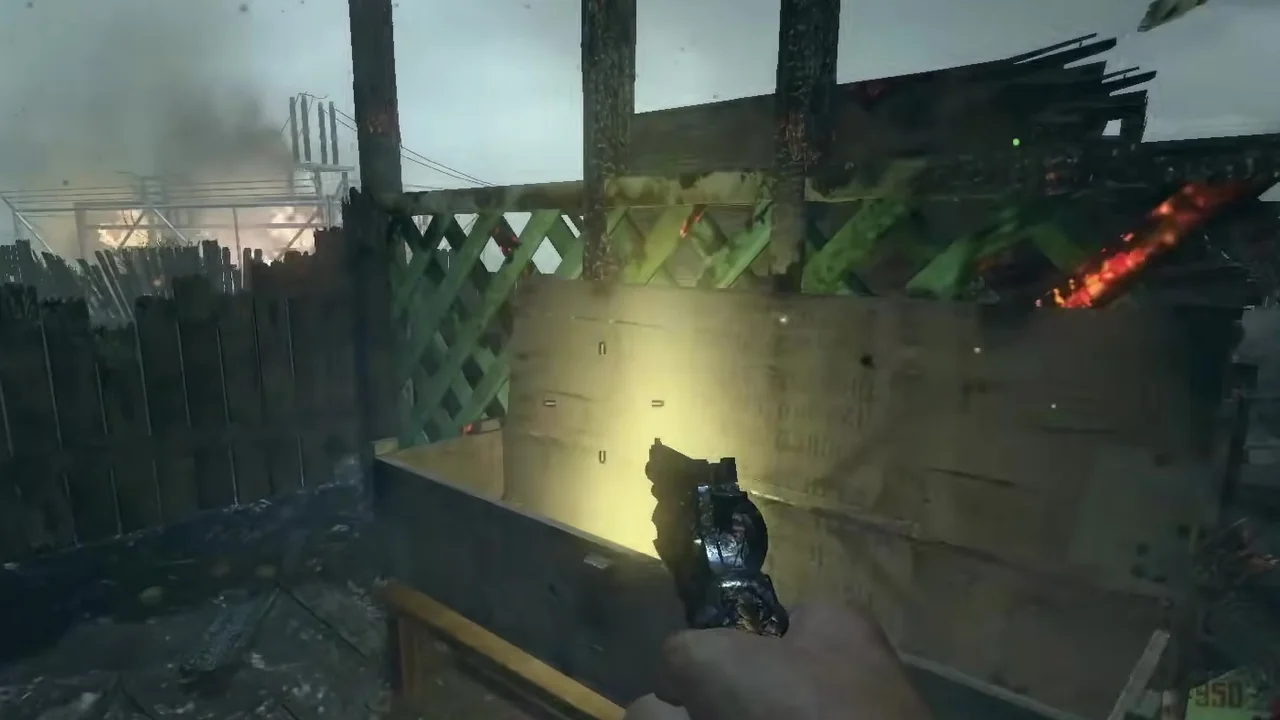
The Mystery Box open in a backyard, in front of a garden lattice in Nuketown Zombies, Call of Duty Black Ops II Zombies

950 points a spin, on five possible spots, none of them in the street. The game starts it in one of the two backyards, and a teddy bear sends it elsewhere:

Fallout shelter

In the green house backyard. One of the two starting spots.

Doghouse ruins

In the yellow house backyard. The other starting spot.

Garden patch

In the green house backyard.

Yellow house garage

By the garage of the yellow house.

Green house stairs

Inside the green house, by the stairs.

Nuketown is one of the four Black Ops II maps with the Fire Sale power-up. The power-ups of the map are Max Ammo, Insta-Kill, Double Points, Nuke and Fire Sale.

The two houses

Everything past the street is in the two houses and their backyards. Each house opens from the street for 750, then a door or a pile of debris leads upstairs and another to the backyard.

WayGreen houseYellow house
Street to ground floorDoor, 750Door, 750
Ground floor to upstairsDoor, 1000Debris, 1000
Ground floor to backyardDoor, 1000Door, 1000 (two doors, one through the garage, open together)
Backyard to upstairsDebris, 1250Debris, 1250
ExtraThe fallout shelterThe power-up shed, 3000
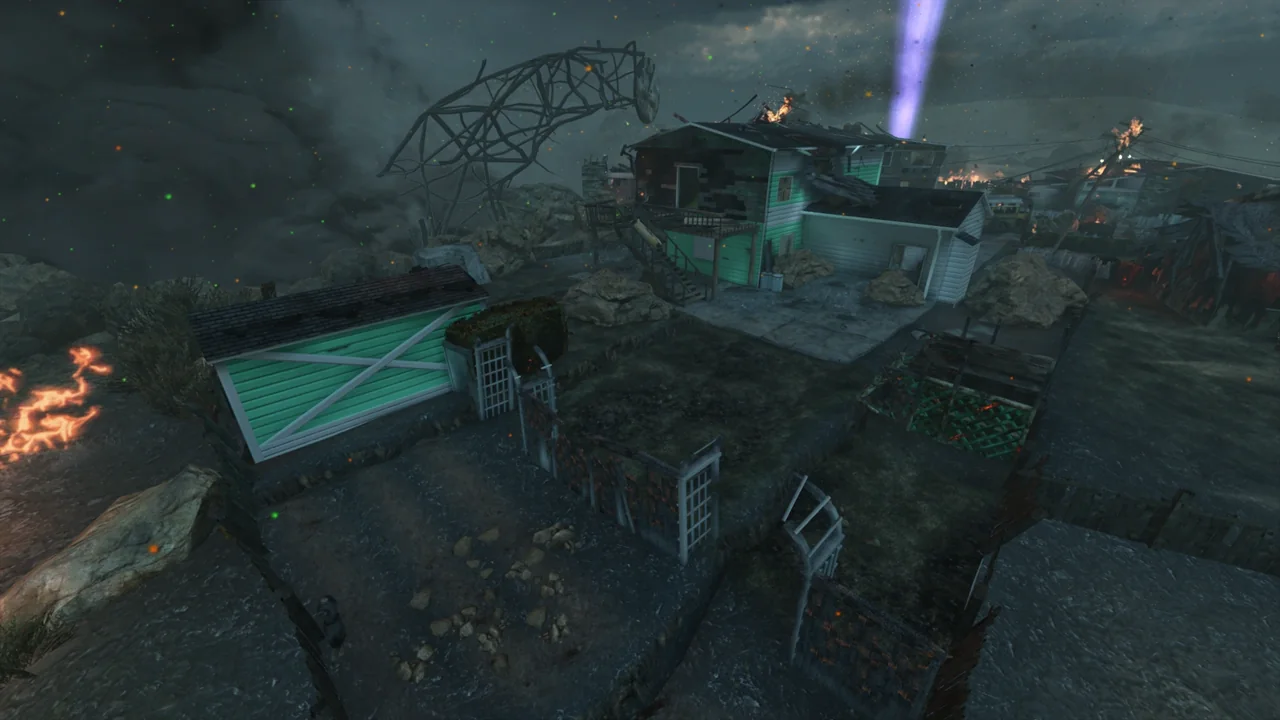
The green house and its backyard seen from above in Nuketown Zombies, Call of Duty Black Ops II Zombies

The green house

The B23R downstairs, a Box spot by the stairs, a television where Richtofen’s transmissions play, and a garage you can crawl into from the street.

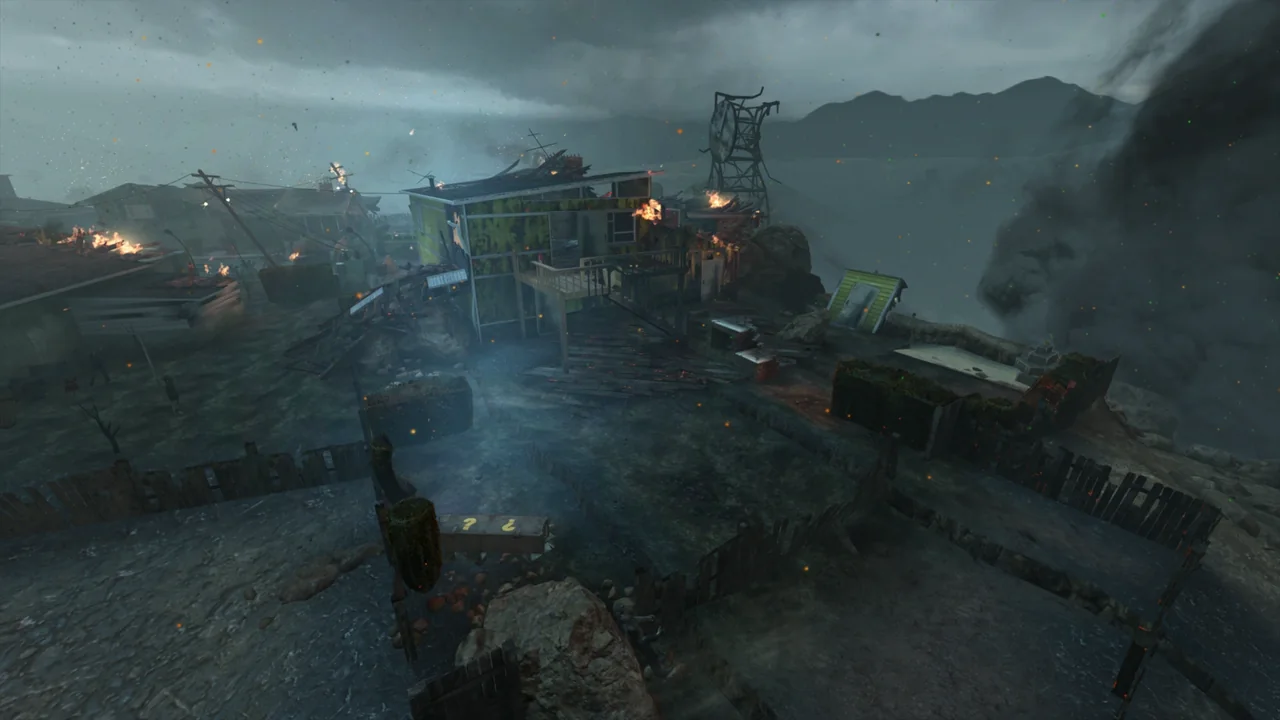
The yellow house and its backyard seen from above in Nuketown Zombies, Call of Duty Black Ops II Zombies

The yellow house

The Remington 870 MCS in the living room, the Colt M16A1 upstairs, and a teddy bear on the top bunk of the bunk beds.

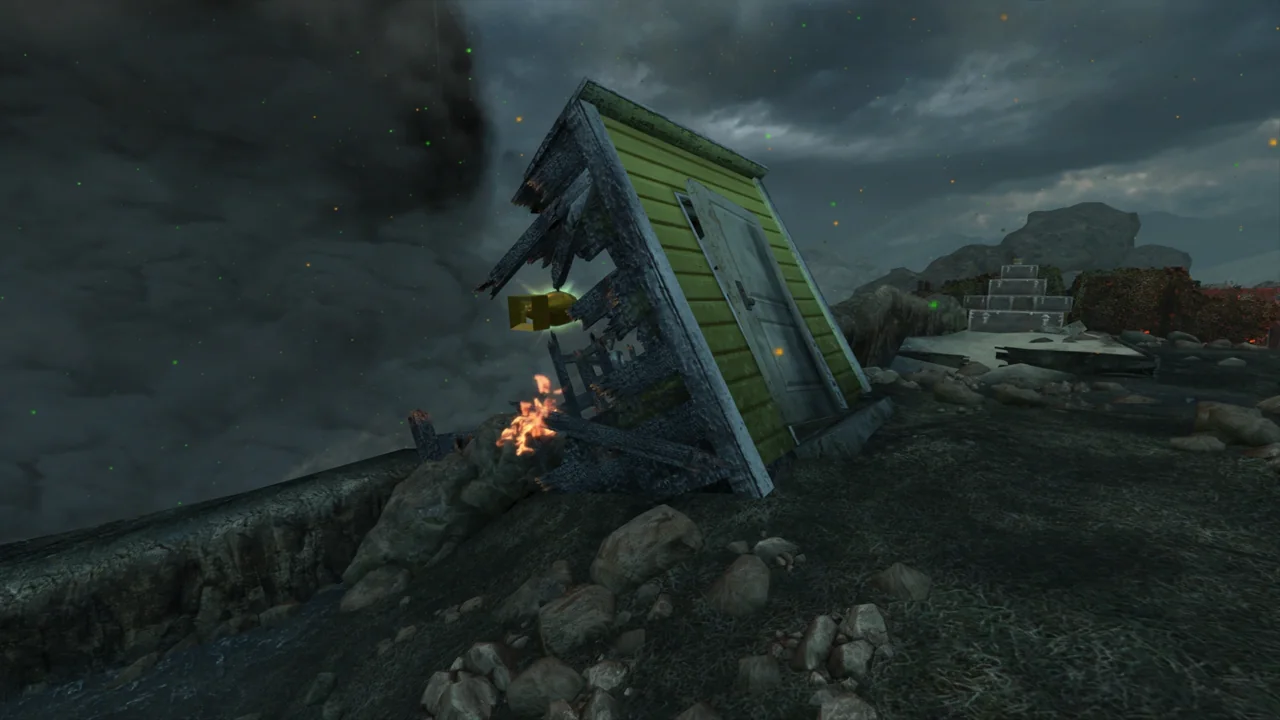
The ruined power-up shed leaning in the yellow backyard in Nuketown Zombies, Call of Duty Black Ops II Zombies

The power-up shed

A ruined shed in the yellow backyard. Its 3000 door gives one power-up, a single time per game.

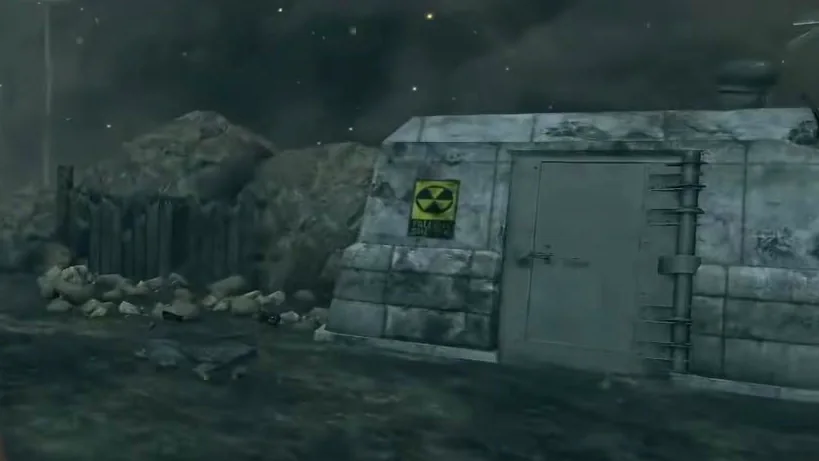
The concrete fallout shelter with its radiation sign in the green backyard in Nuketown Zombies, Call of Duty Black Ops II Zombies

The fallout shelter

The bunker of the green backyard, where Marlton hides, next to a Box spot.

The bus and the truck

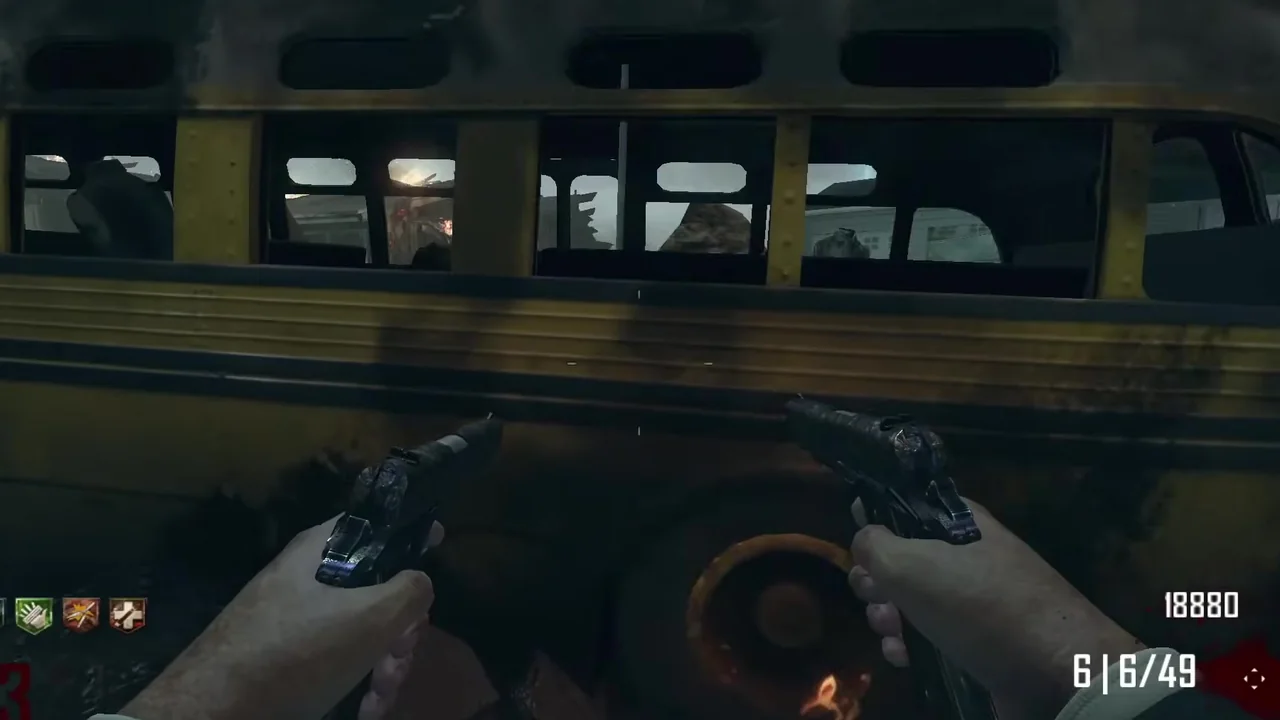
The side of the yellow bus and its windows in Nuketown Zombies, Call of Duty Black Ops II Zombies

The yellow bus

The M14 hangs on its back door, and a teddy bear looks out of one of its windows. It stands in the street, in the First Room.

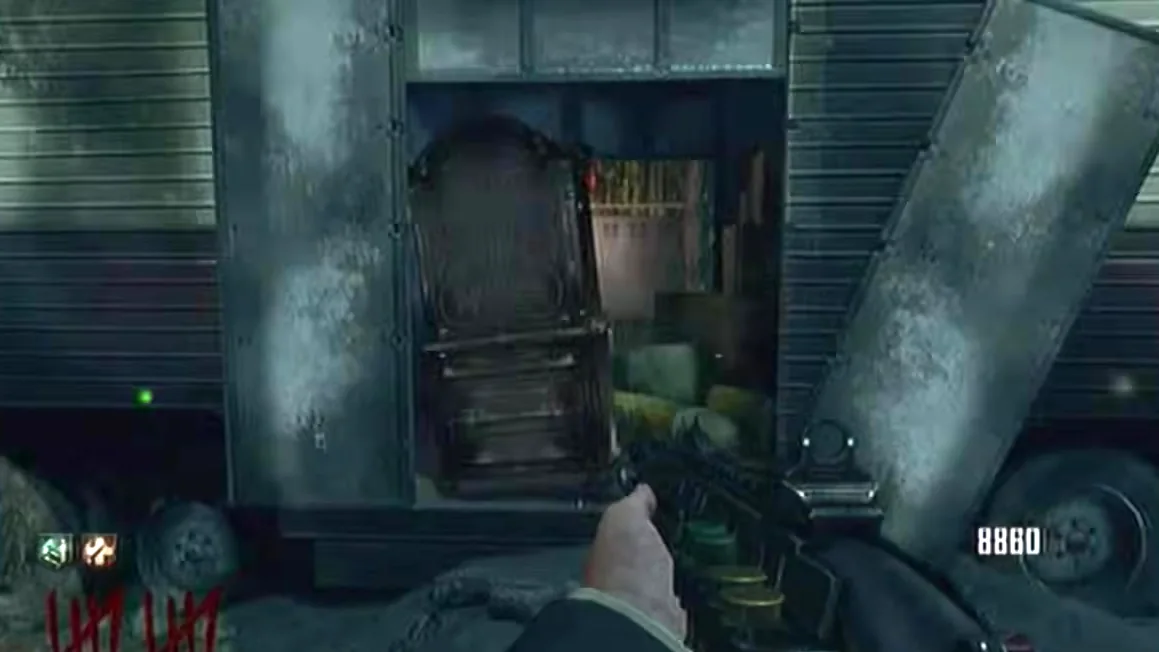
The back of the red truck blocked by a pile of furniture in Nuketown Zombies, Call of Duty Black Ops II Zombies

The red truck

The Olympia on its front, and five weapons in its back behind a pile of furniture that costs 3000 to clear.

Mannequins

The mannequins of the multiplayer map are back, standing in the street, the houses and the yards. The map has 54 places for them and the game keeps 28, drawn at random each game, so they are never in the same spots. Their heads can be shot off, and taking all of them off starts a song. The B2FR patch removes the mannequin standing next to the yellow bus, and B2 forbids moving them around on purpose.

Population sign and clock

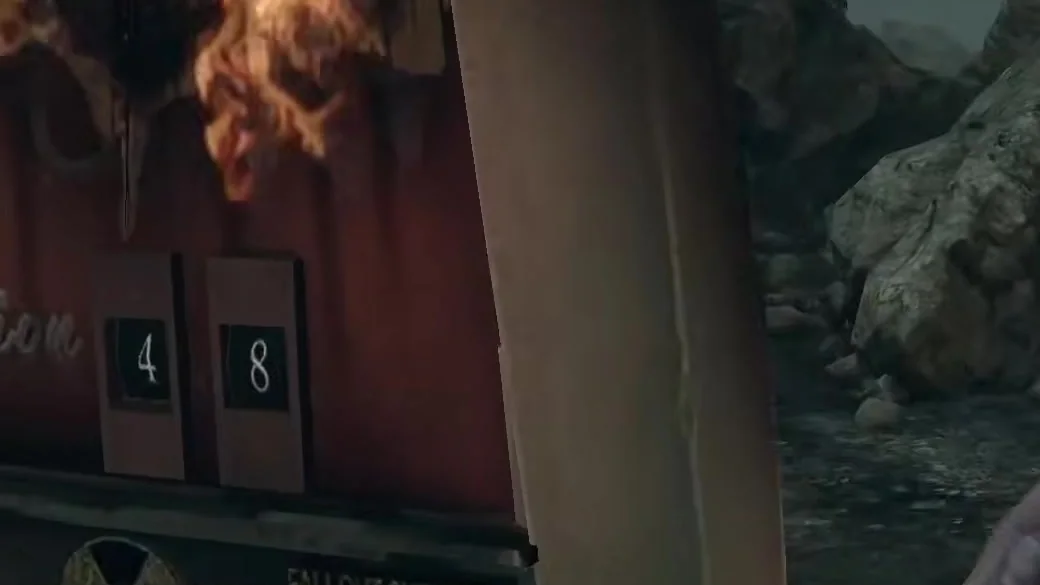
The two dials of the population counter on the Welcome to Nuketown sign, reading 48 in Nuketown Zombies, Call of Duty Black Ops II Zombies

The population sign

The counter of the “Welcome to Nuketown” sign moves by one with every zombie killed, and rolls over after 00.

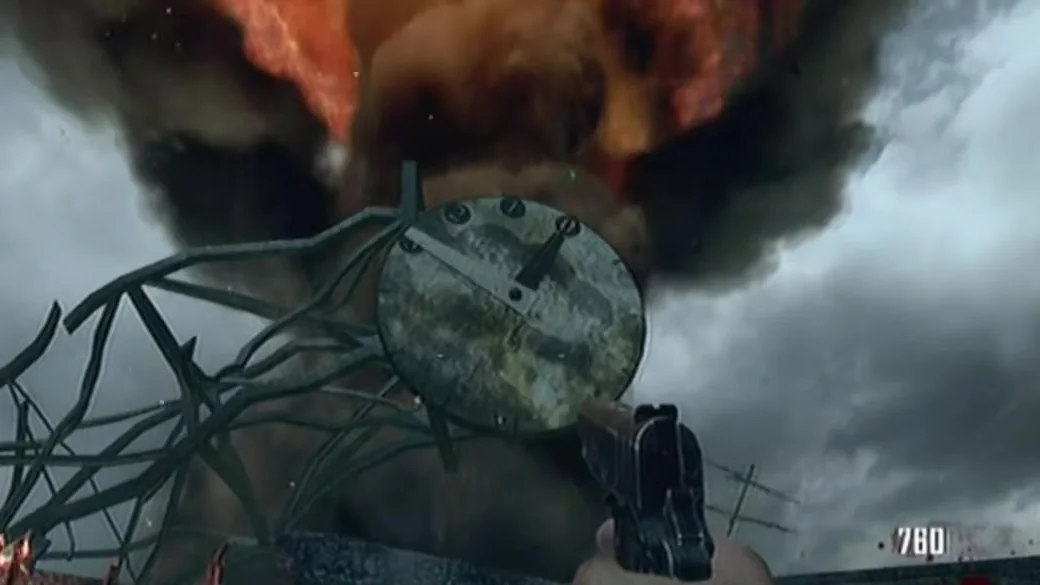
The doomsday clock on its tower, the mushroom cloud behind in Nuketown Zombies, Call of Duty Black Ops II Zombies

The doomsday clock

The clock tower that overlooks the street. Its hand moves each time the sign reads 99, 66, 33 or 00, about every 33 kills, and the clock chimes every fourth move.

The shed power-up

Each move of the clock changes the power-up waiting in the shed, always in the same order: Nuke, Double Points, Insta-Kill, Fire Sale, Max Ammo.

Neither the sign nor the clock decides when perks fall: the drops follow the rounds.

Round 25 and the rocket

Nuketown runs alongside Moon, and the map shows it. At the start of round 25, the last of Richtofen’s transmissions plays, every zombie on the map dies at once, the new ones come with blue eyes, and Richtofen replaces Samantha as the announcer: he has just taken her place in the Aether. When the game ends, the camera follows a rocket from the Moon as it falls on Nuketown.

The change only happens in a game started at round 1 with Magic on, and not on Easy.

Easter eggs and secrets

Nuketown has no main quest, but more secrets than any other Survival map:

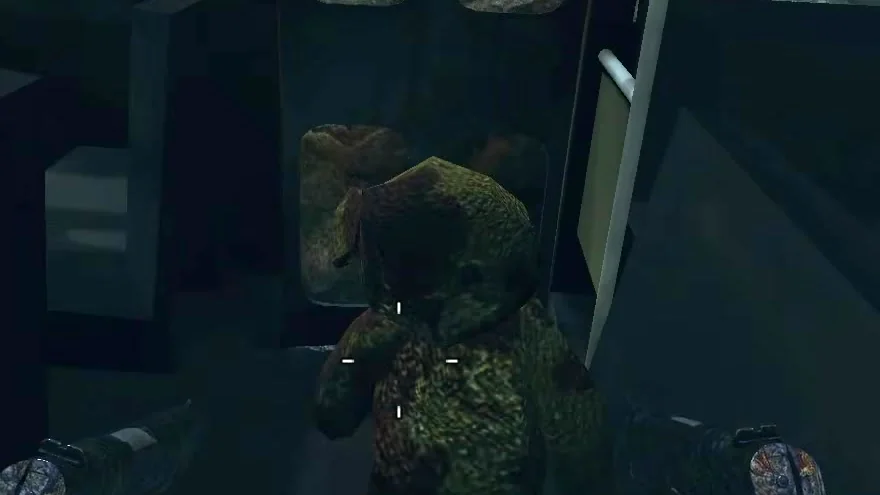
The teddy bear behind a window of the yellow bus in Nuketown Zombies, Call of Duty Black Ops II Zombies

Samantha’s Lullaby

Hold the use button on three teddy bears, in the bus, upstairs in the yellow house and in the green backyard garden.

Coming Home, 8-bit

Shoot the heads off every mannequin.

The shed song

Take the shed power-up while the population sign reads 15, for an 8-bit Pareidolia and Re-Damned.

Marlton in the bunker

Hit the door of the fallout shelter and Marlton answers, once a round.

Moon transmissions

Five recordings of Richtofen on the Moon, the first at the start of round 3, the last at round 25.

The bus horn

The horn of the TranZit bus sounds once, between rounds 5 and 9.

Every Easter egg, step by step

Achievements

None. Nuketown has no achievement of its own, and every base-game Zombies achievement of Black Ops II is written for TranZit or Green Run: the two that the Survival maps of Green Run can give need an EMP Grenade or Tombstone, and Nuketown has neither.

Trivia

  • The concept art calls the map “Nuke’dTown Zombies!”, and the game files call it zm_nuked.
  • Unlike in multiplayer, the garden walls under the windows of the two houses cannot be climbed.
  • The mailboxes marked “Woods” and “Mason” are still there, both knocked over.
  • The loading screen shows the drill that caused the blast, and a gum wrapper with a mariachi and the letters “uhtli”, read as a nod to an Aztec god.
  • An air raid siren wails in the background for the whole game.
  • Nuketown came back twice in Zombies, as Alpha Omega in Black Ops 4 and Paradox Junction in Black Ops 7.