~/hub / map-wiki / zetsubou-no-shima

Concept art of the starting area, a jungle clearing around a large tree, Zetsubou No Shima, Call of Duty Black Ops III Zombies

Zetsubou No Shima:
Areas and the Bunker

Every area of Zetsubou No Shima: the spawn area, the paths to Lab A and Lab B, the crashed plane, the ritual area, the green and blue water, the Bunker with its power room, Docks, Living Quarters and underwater tunnels, and the hidden rooms.

  • 4 min read
  • 6 chapters
  • updated

The island

Zetsubou No Shima is laid out in two halves around the spawn: a path to Lab A on one side, a path to Lab B on the other. Both sides meet in front of the Bunker, whose door only opens with the power of the two labs. The Bunker holds the rest of the map: the anti-aircraft platform, the power room and the Docks, the Living Quarters, the operations room and the underwater tunnels.
The spawn area

The First Room of ZFRR. A clearing in the jungle, with old stone ruins, a large central rock and wooden fences.

Walls

The Sheiva and the RK5, 500 points each, the RK5 next to the GobbleGum machine.

Bucket and planter

One of the buckets of the map and one stone planter for Seeds.

Cleansing pedestal

By the large central rock, one of the four pedestals where a bloody skull is cleansed.

Two paths

500 points each, one towards Lab A, one towards Lab B. Over time a spore grows on the rocks by the path to Lab A.

Towards Lab A

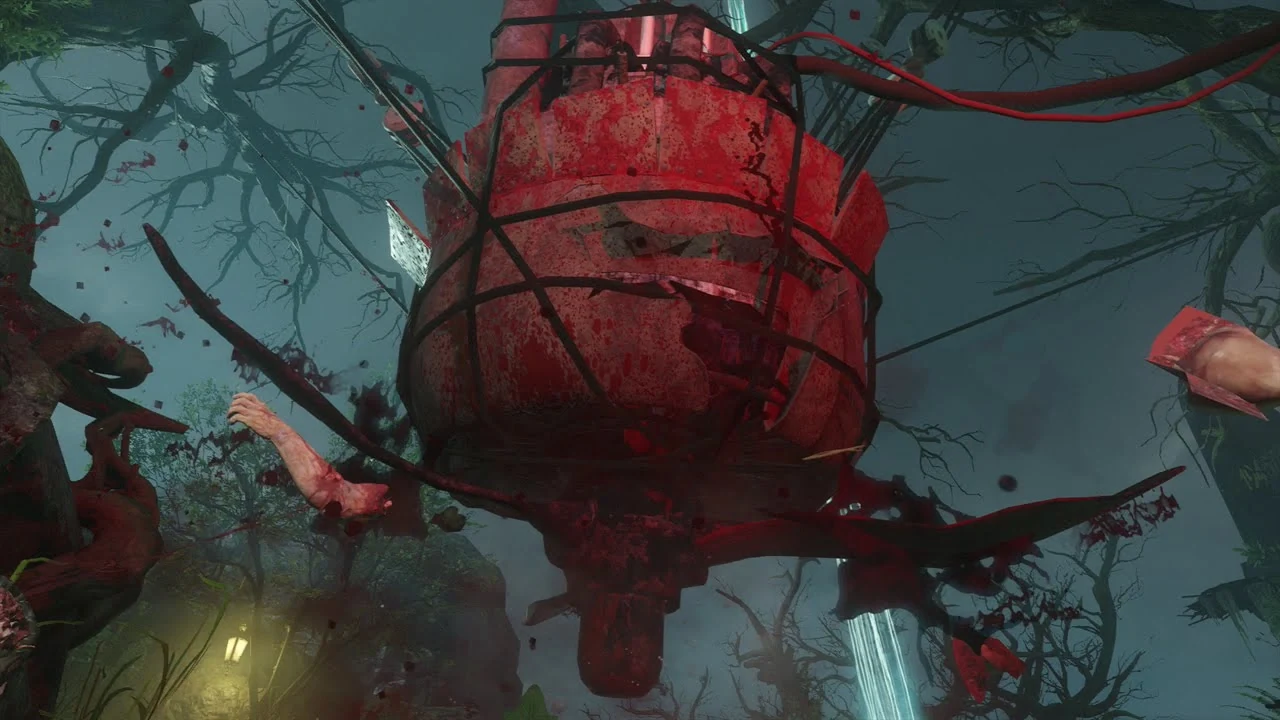
The propellers of the crashed plane, Zetsubou No Shima, Call of Duty Black Ops III Zombies

The crashed plane

The wreck holds the Propeller Trap and a cleansing pedestal next to its lowest switch. The Pharo is sold for 700 points by a Mystery Box spot, one of the two possible starting spots.

Past the first path

The KRM-262 for 750 points and a planter. One of the two spots where the cargo plane drops a perk machine on round 2 or round 6 is here, by the gate to Lab A.

Around Lab A

The Kuda for 1250 under the lab, the pool of blue water behind it, a perk machine by the water, and the web-covered cave of the Giant Spider, opened with the KT-4.

Lab A

Two small rooms raised above the swamp, with the HVK-30 for 1600, a bucket, a workbench, a GobbleGum machine, the water generator of the lab and the cage used to trap a spider for its venom.

The zipline

Once open, it runs from Lab A to the Docks for 250 points.

Towards Lab B

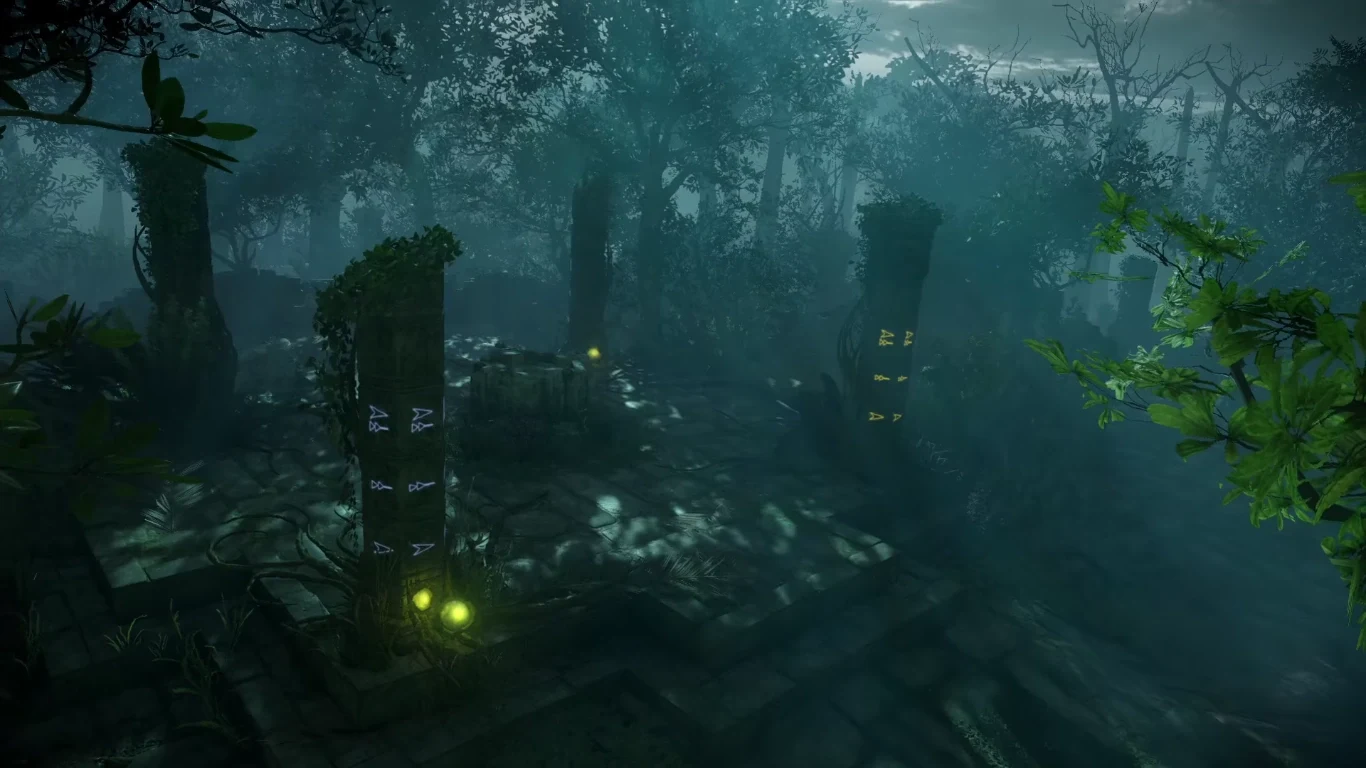
The ritual area where the four bloody skulls rest, Zetsubou No Shima, Call of Duty Black Ops III Zombies

The ritual area

The altar of the four bloody skulls, the four pillars of the Trials of the Ancients, the Argus for 1100 and a Mystery Box spot, one of the two possible starting spots. The Skull of Nan Sapwe rests in a chamber under the altar.

The ruins

The L-CAR 9 for 750 points and the second plane drop spot, opposite the Trials of the Ancients.

Outside Lab B

A wide swamp with the Vesper for 1250 and the Trip Mine for 1000.

Lab B

Two floors, with the M8A7 for 1500, a bucket, a workbench, a GobbleGum machine, the water generator of the lab and a second cage, which leads under the lab with an electrified shield.

The green water

Behind Lab B, a pool around a meteor of Element 115, with the ICR-1 for 1500, a Mystery Box spot, a perk machine on the catwalk, and the exit of the Sewer Pipe from the Bunker.

The Bunker

The two halves meet at the Bunker entrance, where the VMP sells for 1300 and the Bowie Knife for 3000. The Bunker door costs nothing, but stays shut until both labs have power. Opening it lets out a few zombies, one of them already mutating into a Thrasher.

The first room

A GobbleGum machine and a perk machine, Juggernog in solo and Quick Revive in co-op, and the broken elevator of the Easter egg.

The anti-aircraft platform

Through the first door on the right, past the Fan Trap. It holds the FlaK 88 cannon, the KN-44 for 1400 and a Mystery Box spot next to debris sold for 500 points.

The central room

The Pack-a-Punch machine sits in a tank of water, surrounded by three broken pumps.

The power room

The main power switch, above a flooded lower level. A door leads out to the Docks.

The Docks

The end of the zipline, a cleansing pedestal, a Mystery Box spot and the VMP.

The Living Quarters

Flooded rooms full of cocoons, with the purple water, a workbench and the bulbs of Samantha’s Lullaby.

The operations room

On two floors, with the benches of the KT-4 and of the Masamune, a cleansing pedestal and the entrance of the Sewer Pipe.

The underwater tunnels

Past Mule Kick, flooded caves where the KT-4 plant and the Pack-a-Punch valve wheel are found.

Hidden areas

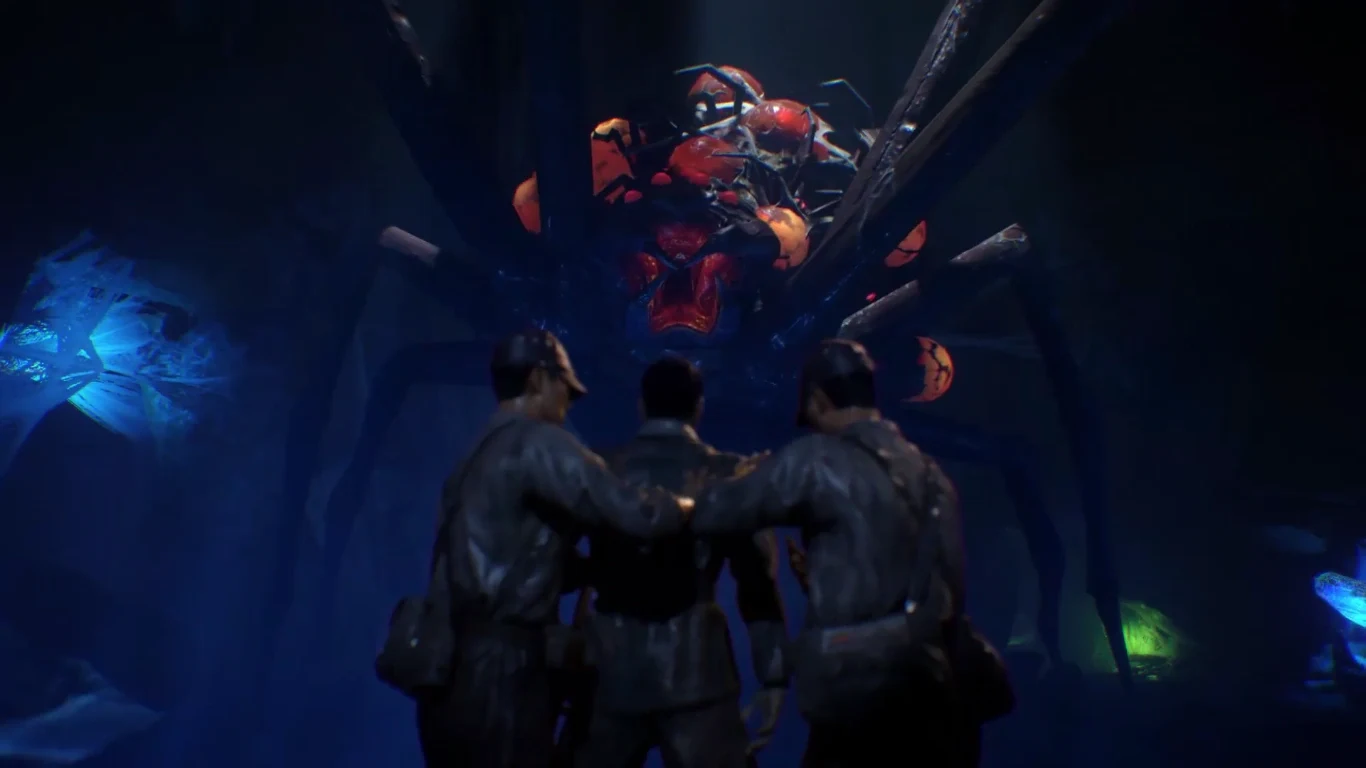
The crew facing the Giant Spider in its cave, Zetsubou No Shima, Call of Duty Black Ops III Zombies

The Giant Spider’s cave

A one-way slide behind the blue water. Zombies do not follow, spiders do. Past the boss, a pool of Widow’s Wine.

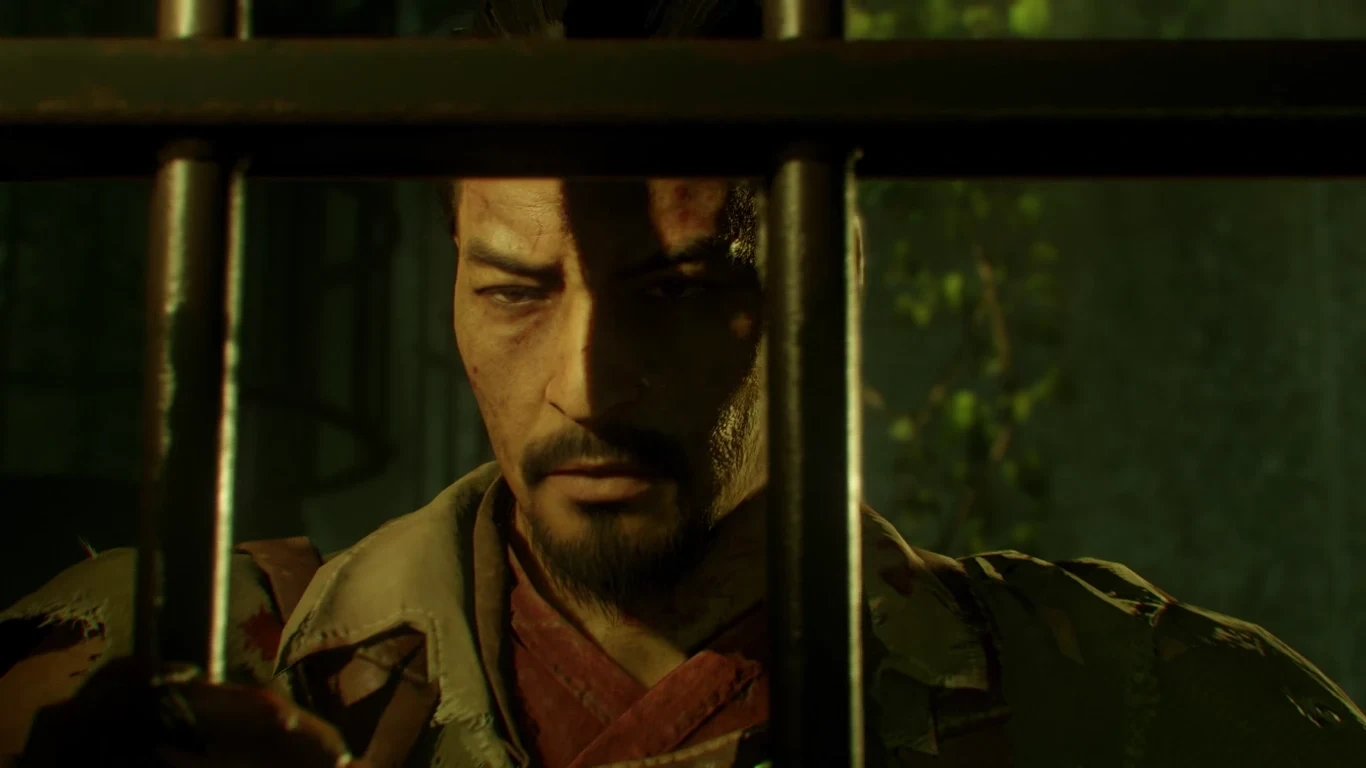
Takeo looking through the bars of a cell in the prison under the Bunker, Zetsubou No Shima, Call of Duty Black Ops III Zombies

The prison

Under the Bunker, reached by the repaired elevator, where the original Takeo is held.

The room above Lab A

Closed in normal play, reached with the Anywhere But Here! GobbleGum during the Easter egg.